TRee Topper Two
Add some flare to the top of your tree with this unique Tree Topper.

Project Info
Paper required: 3 sheets 8.5 x 11 inch (or A4)
Finished Project size: 9 inches (22 cm) tall x 6 inches (15 cm) wide
Difficulty Level: intermediate
Click button below to get your free printable pattern !
Click button below to get your free printable pattern !
INSTRUCTIONS
STEP 1
Print the Tree Topper Two pattern onto three matching paper sheets of your choice. Both sides of the paper will show in this project. I chose paper that is silver on one side and red on the other.
Read the pattern key included in the General Instructions.
Step 2
Cut out the 20 parts (7 hexagonal points, 12 square points, and one base) by cutting on all black lines. On the base part, this includes the black lines between the C-Flaps and the adjacent small triangular flaps.
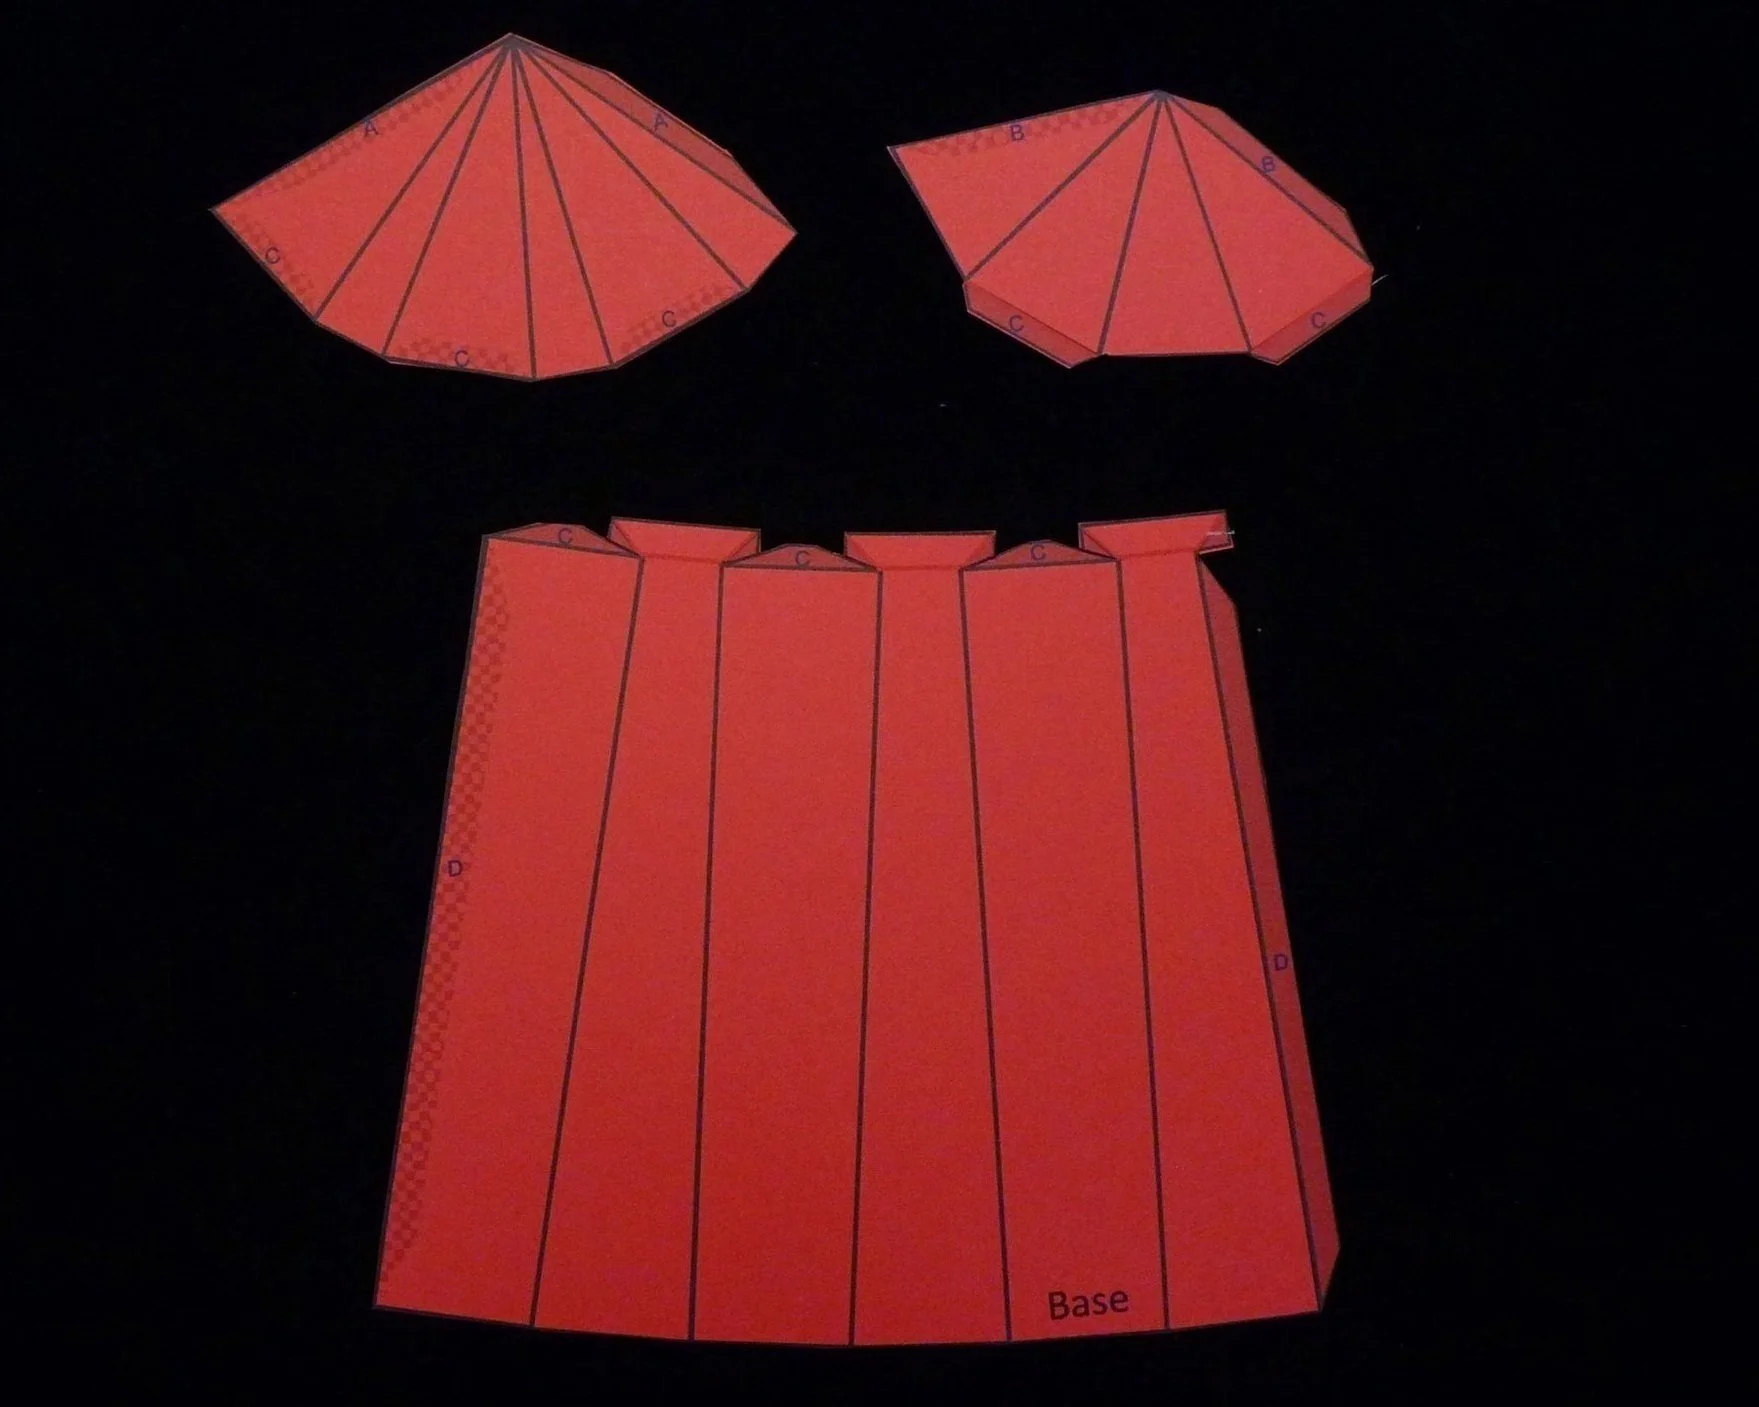
Photo 1. Inside of Three Parts after Step 2
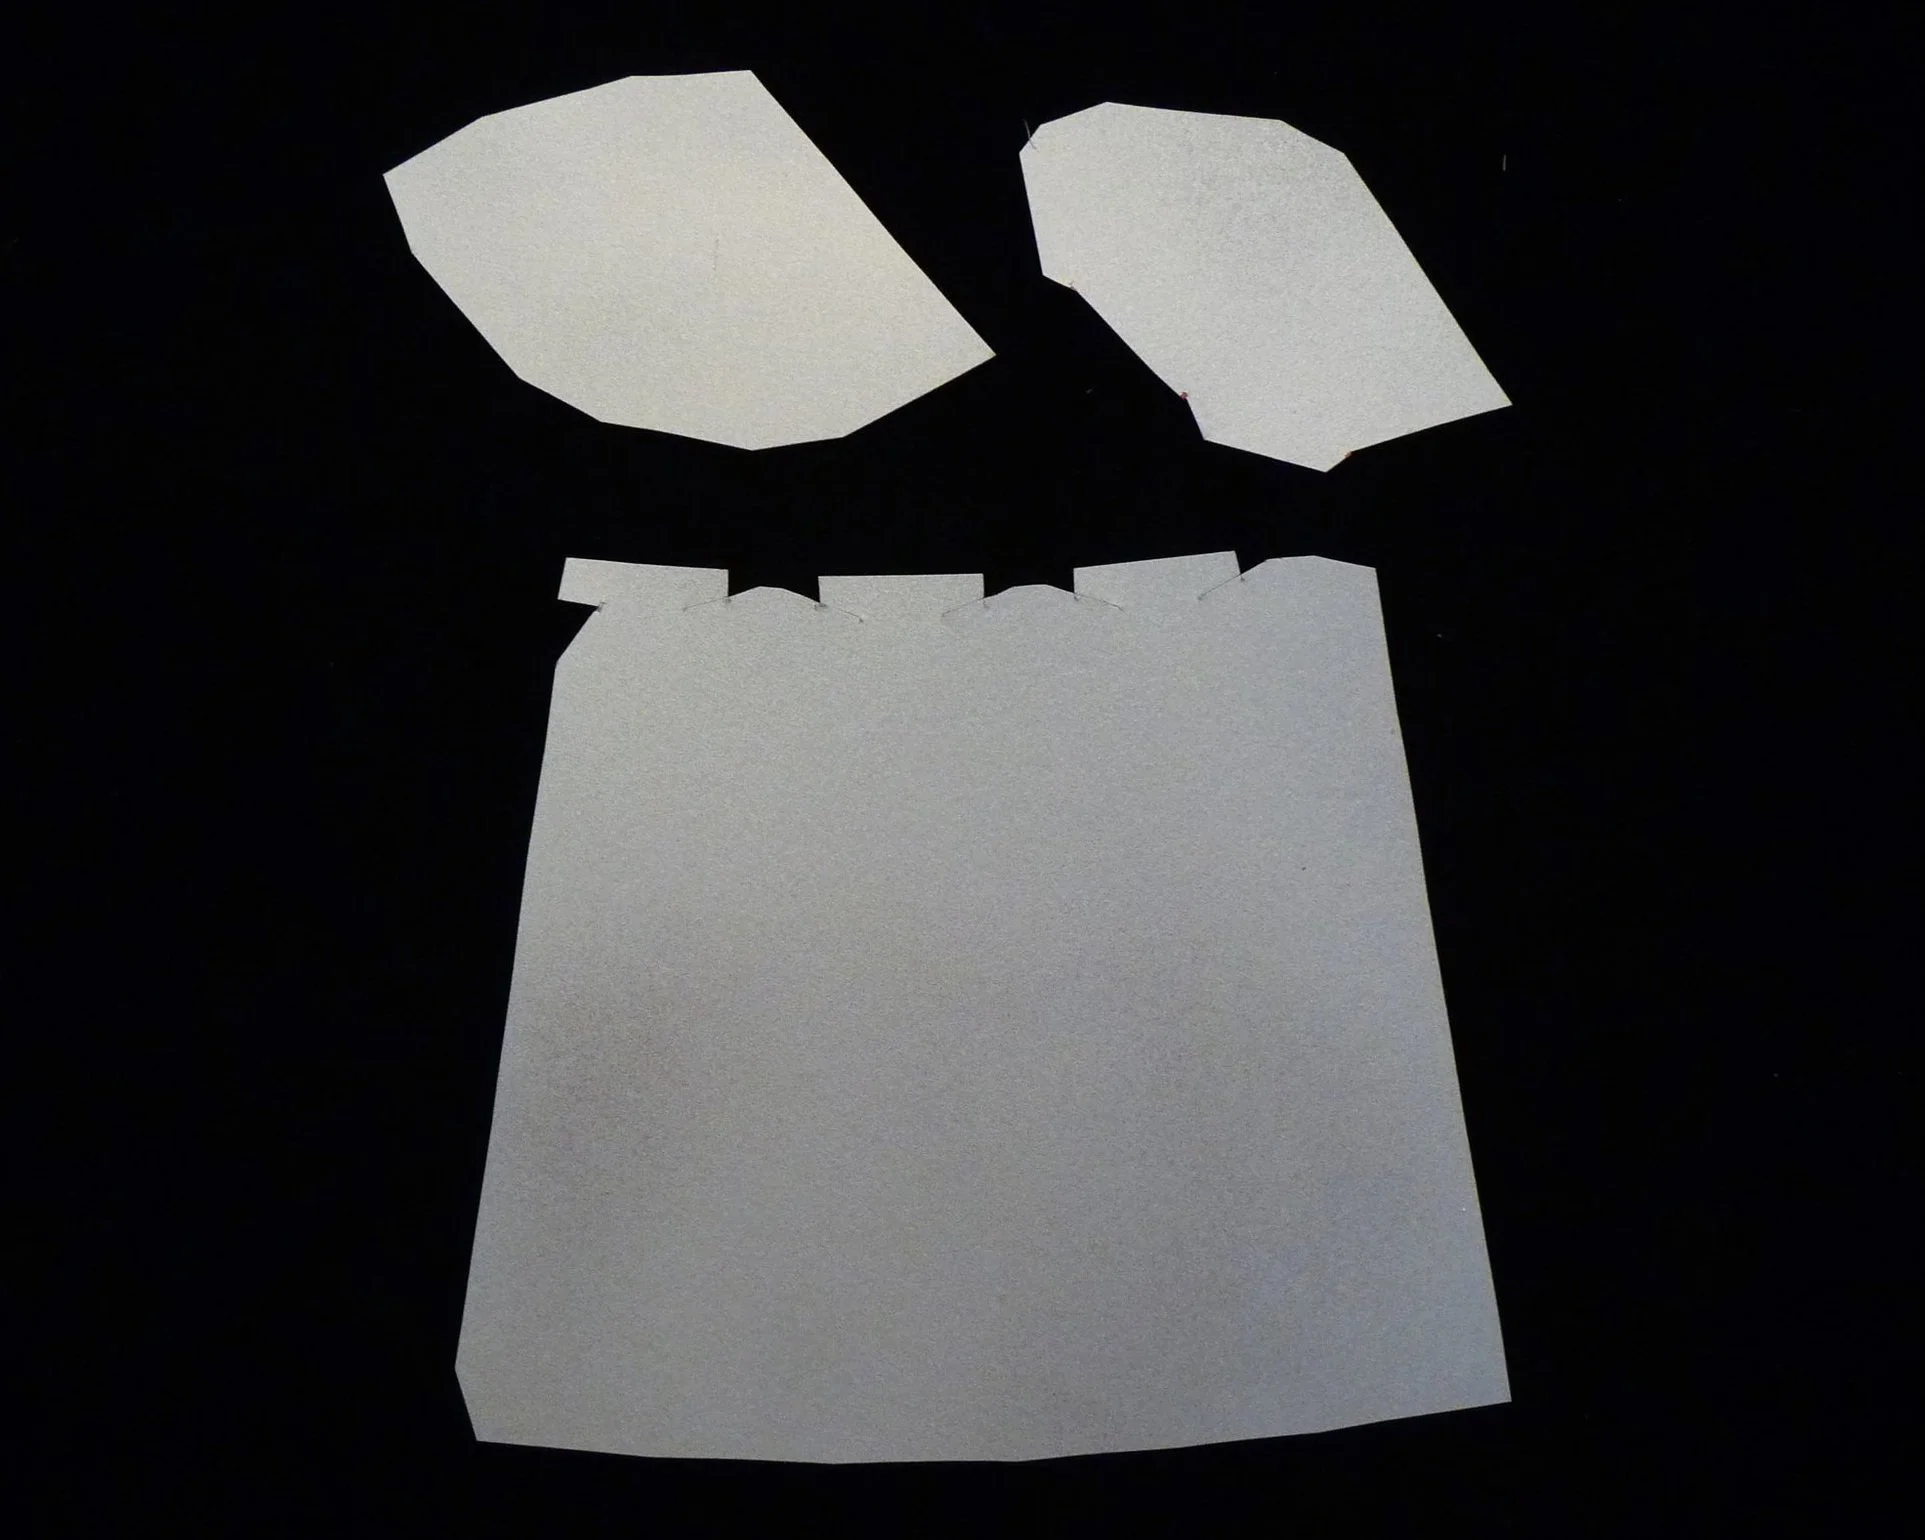
Photo 2. Outside of Three Parts after Step 2
STEP 3
On all 20 parts, fold the red lines as mountain folds and the green lines as valley folds.

Photo 3. Inside of Three Parts after Step 3

Photo 4. Outside of Three Parts after Step 2
Step 4
On each of the seven hexagon points, glue Flap A to the checkered Patch A. On each of the twelve square points, glue Flap B to the checkered patch B. On the Base, glue Flap D to the checkered patch D.
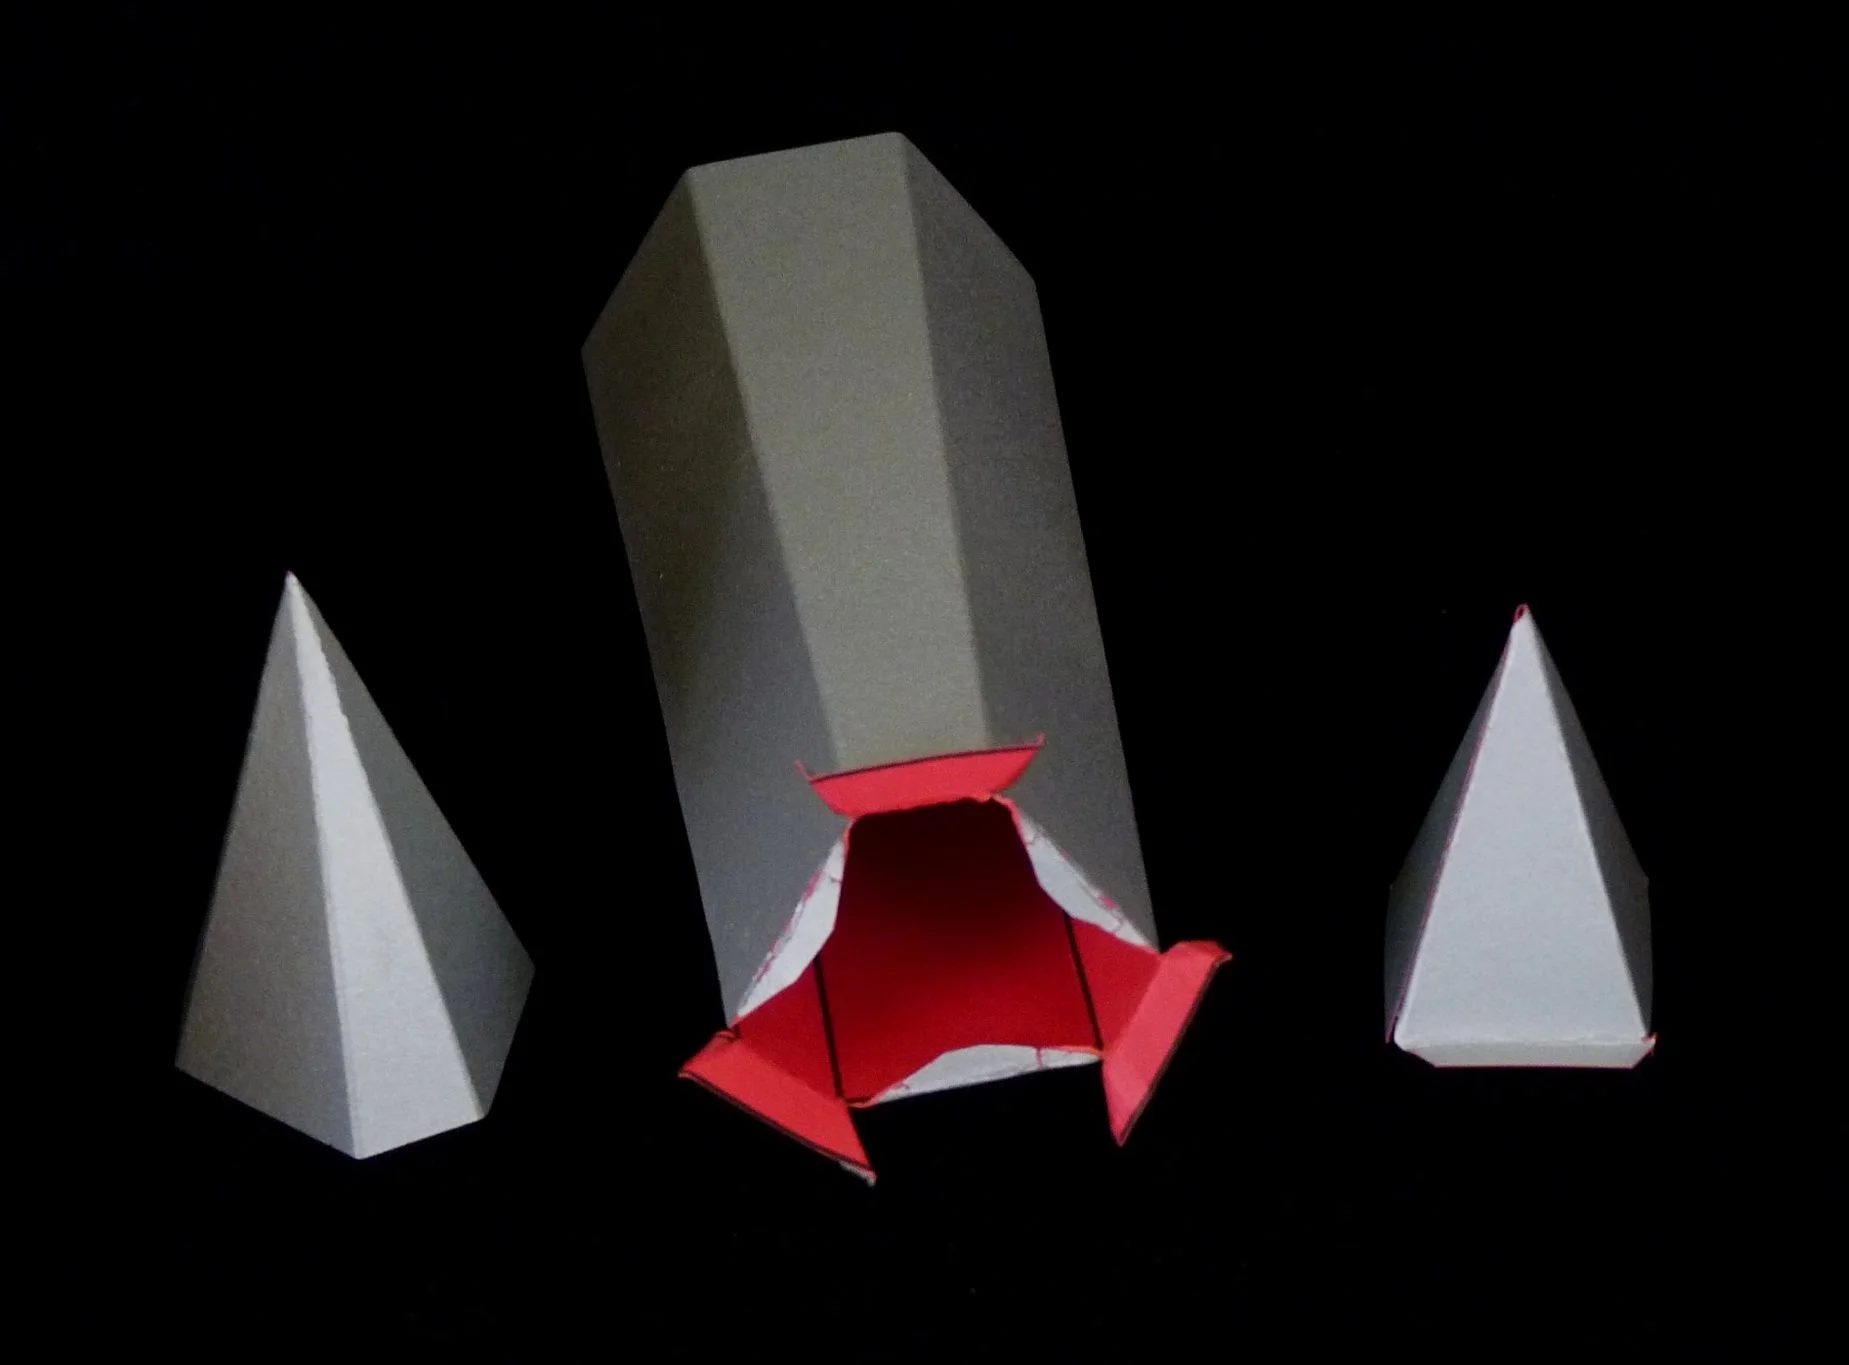
Photo 5. Three Parts after Step 4
Step 5
Attach three square points to the Base by gluing one Flap C on each square point to a Flap C on the Base. Next glue each of the six small triangular flaps on the base to the inside of the adjacent square point so that the points are at about 45 degrees to the base.
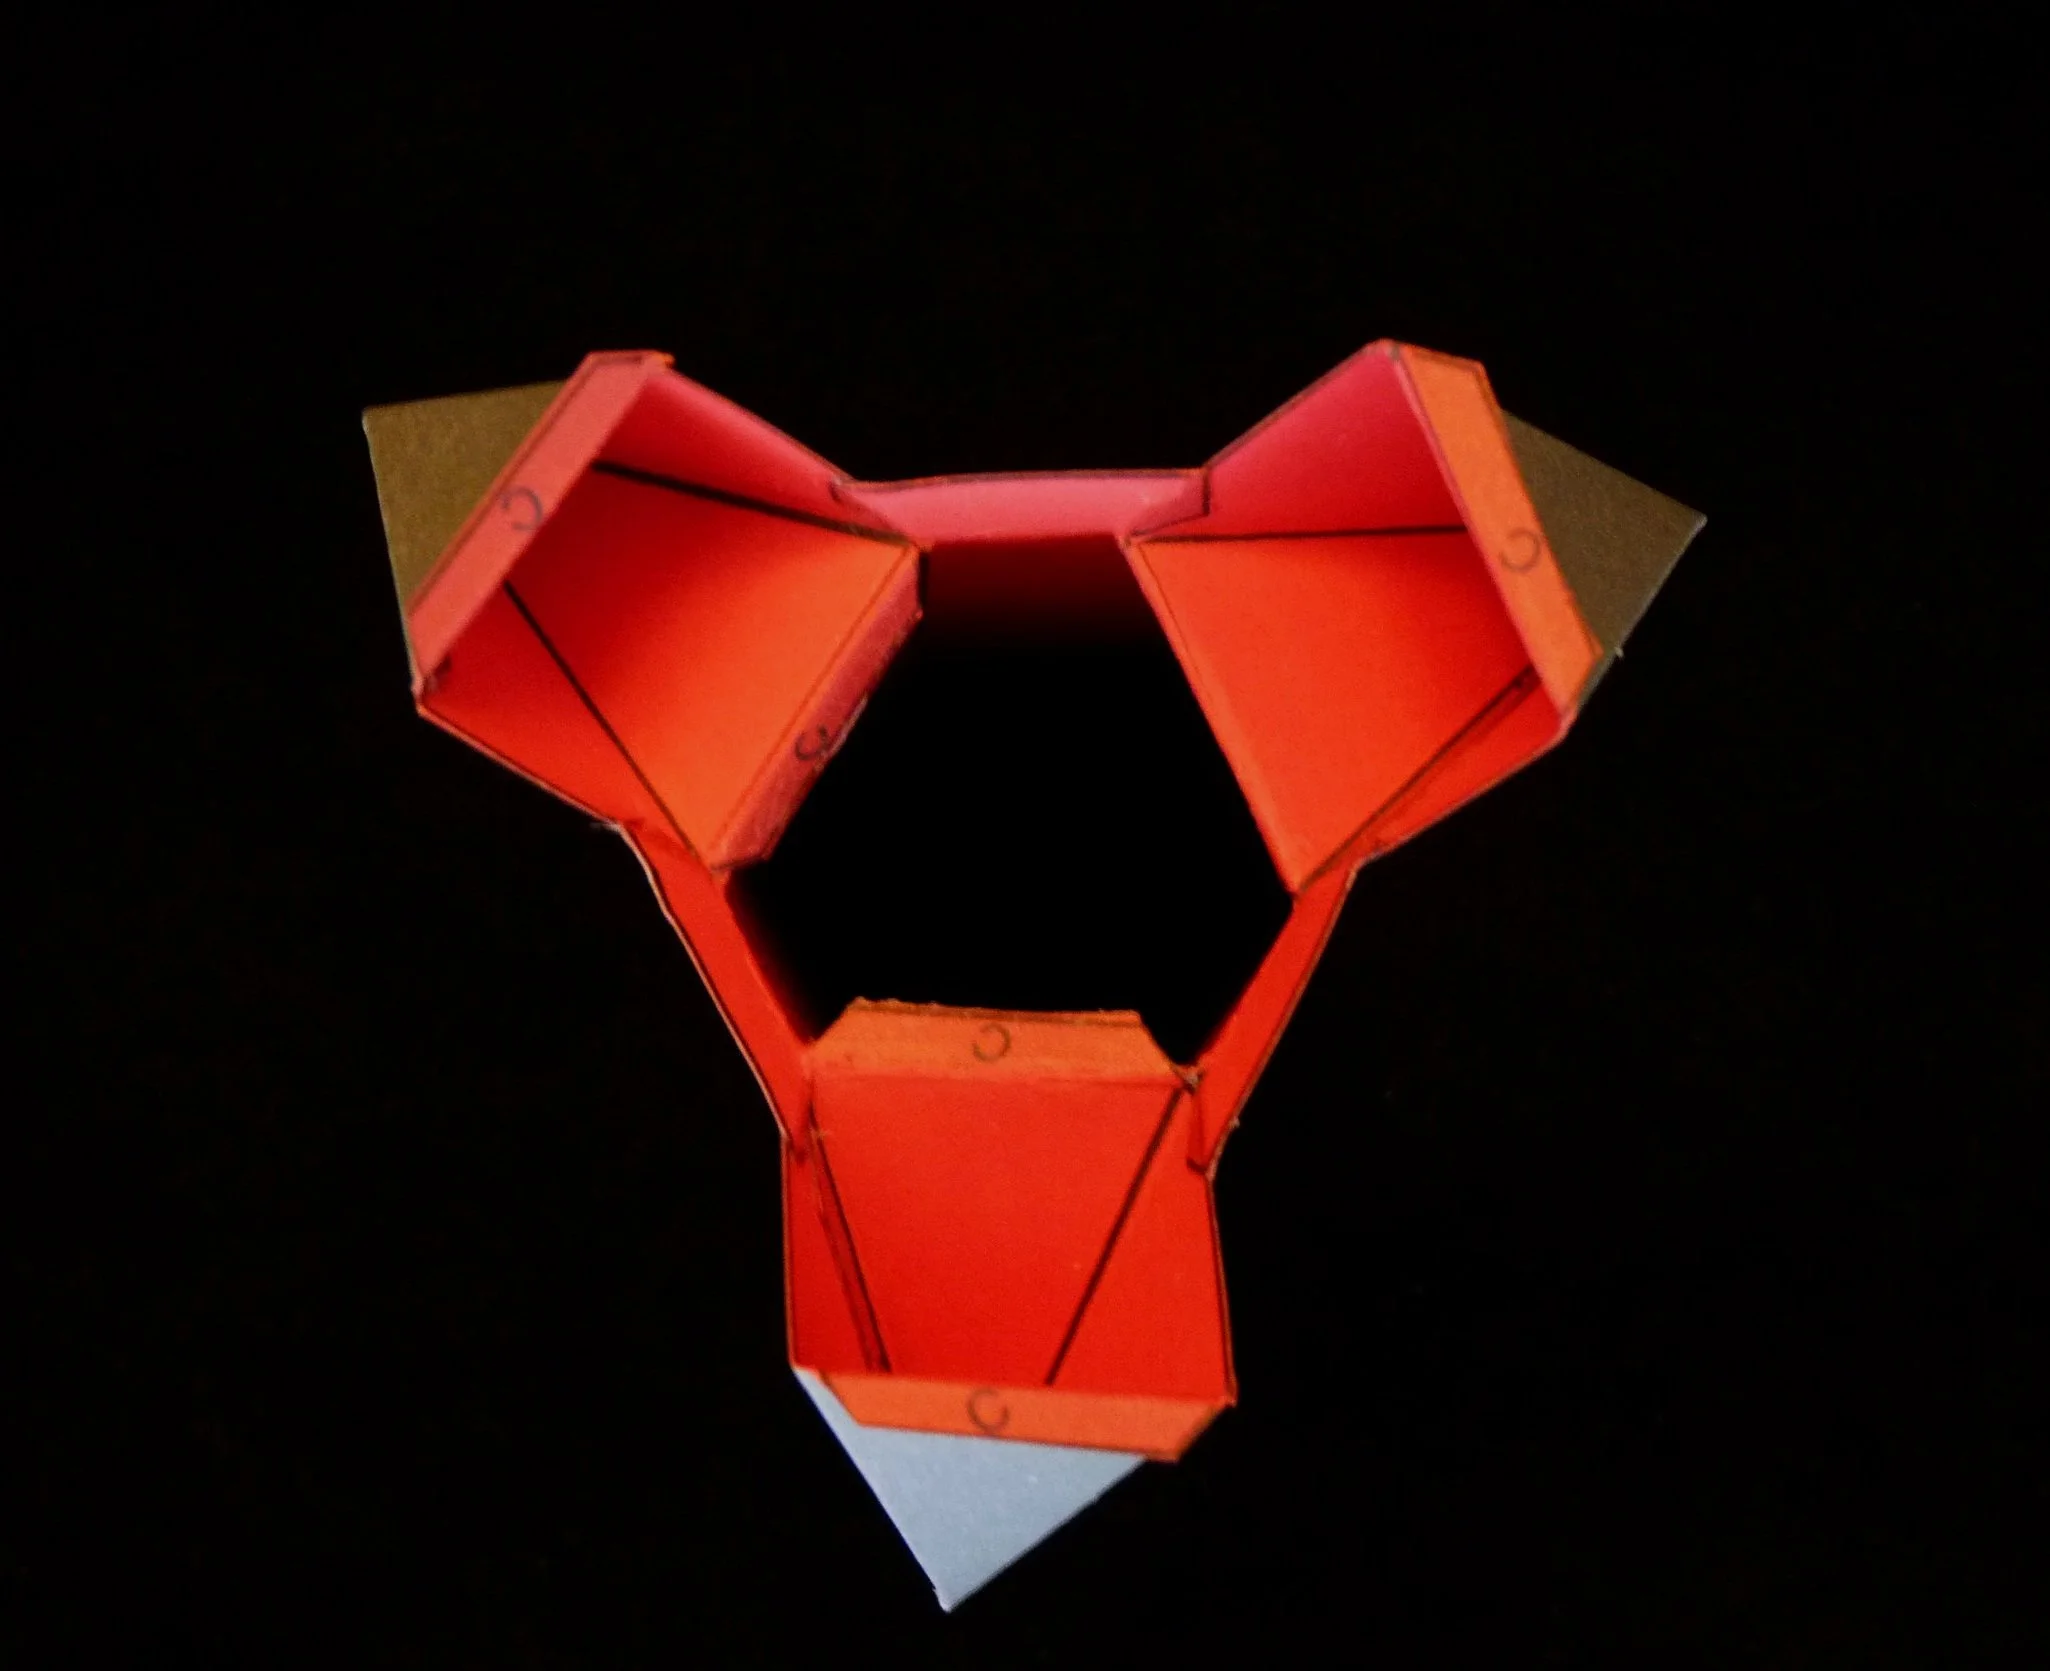
Photo 6. Project Top View after Step 5

Photo 7. Project Side View after Step 5
Step 6
Attach a hexagon point to each of the three square points on the project by gluing the remaining Flap C on each project square point to a checkered patch C on the inside of a hexagon point.

Photo 8. Project Top View after Step 6

Photo 9. Project Side View after Step 6
Step 7
There are now four hexagonal points not attached to the project. On three of these, attach two square points to make a three point module; and on one of these, attach three square points to make a four point module. Make all attachments by gluing the Flap C on the square point to the checkered patch C on the hexagonal point.

Photo 10. Three Point Modules

Photo 11. Four Point Module
Step 8
Attach each three point module to the project between each pair of hexagonal points on the project. Make the connection by gluing the remaining Flap C on the square points on the module to the checkered patch C’s on the project hexagonal points.
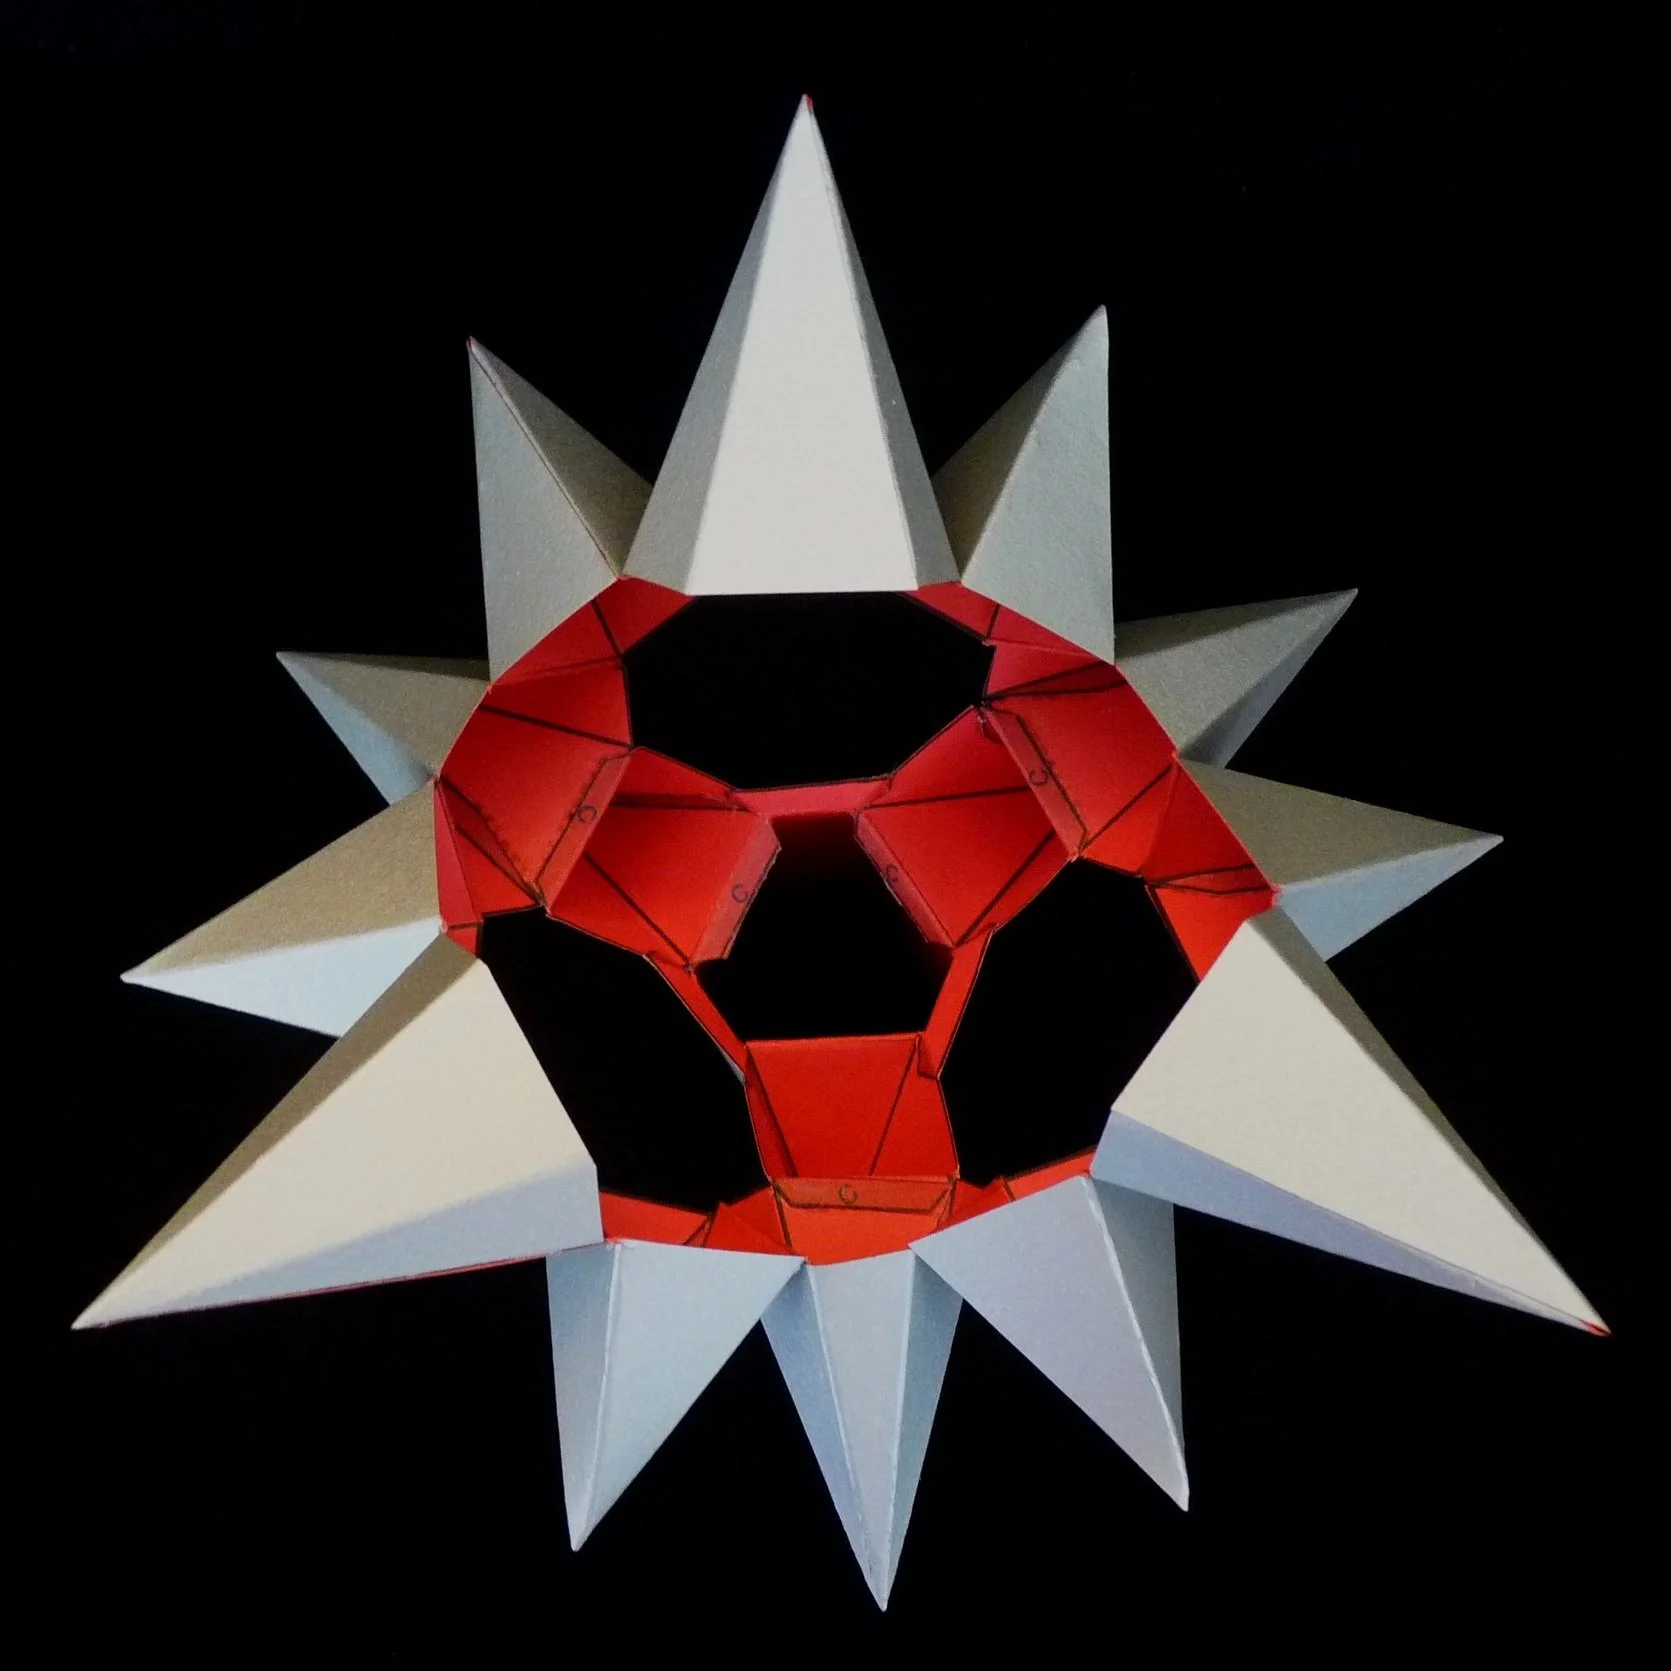
Photo 13. Project Top View after Step 8

Photo 14. Project Side View after Step 8
Step 9
Finish the project by attaching the module of four points at the top of the project. The module is attached by gluing the three Flap C’s on the module to the three checkered patch C’s on the project hexagonal points.

Photo 15. Completed Tree Topper Two - Side View 1

Photo 16. Completed Tree Topper Two - Top View
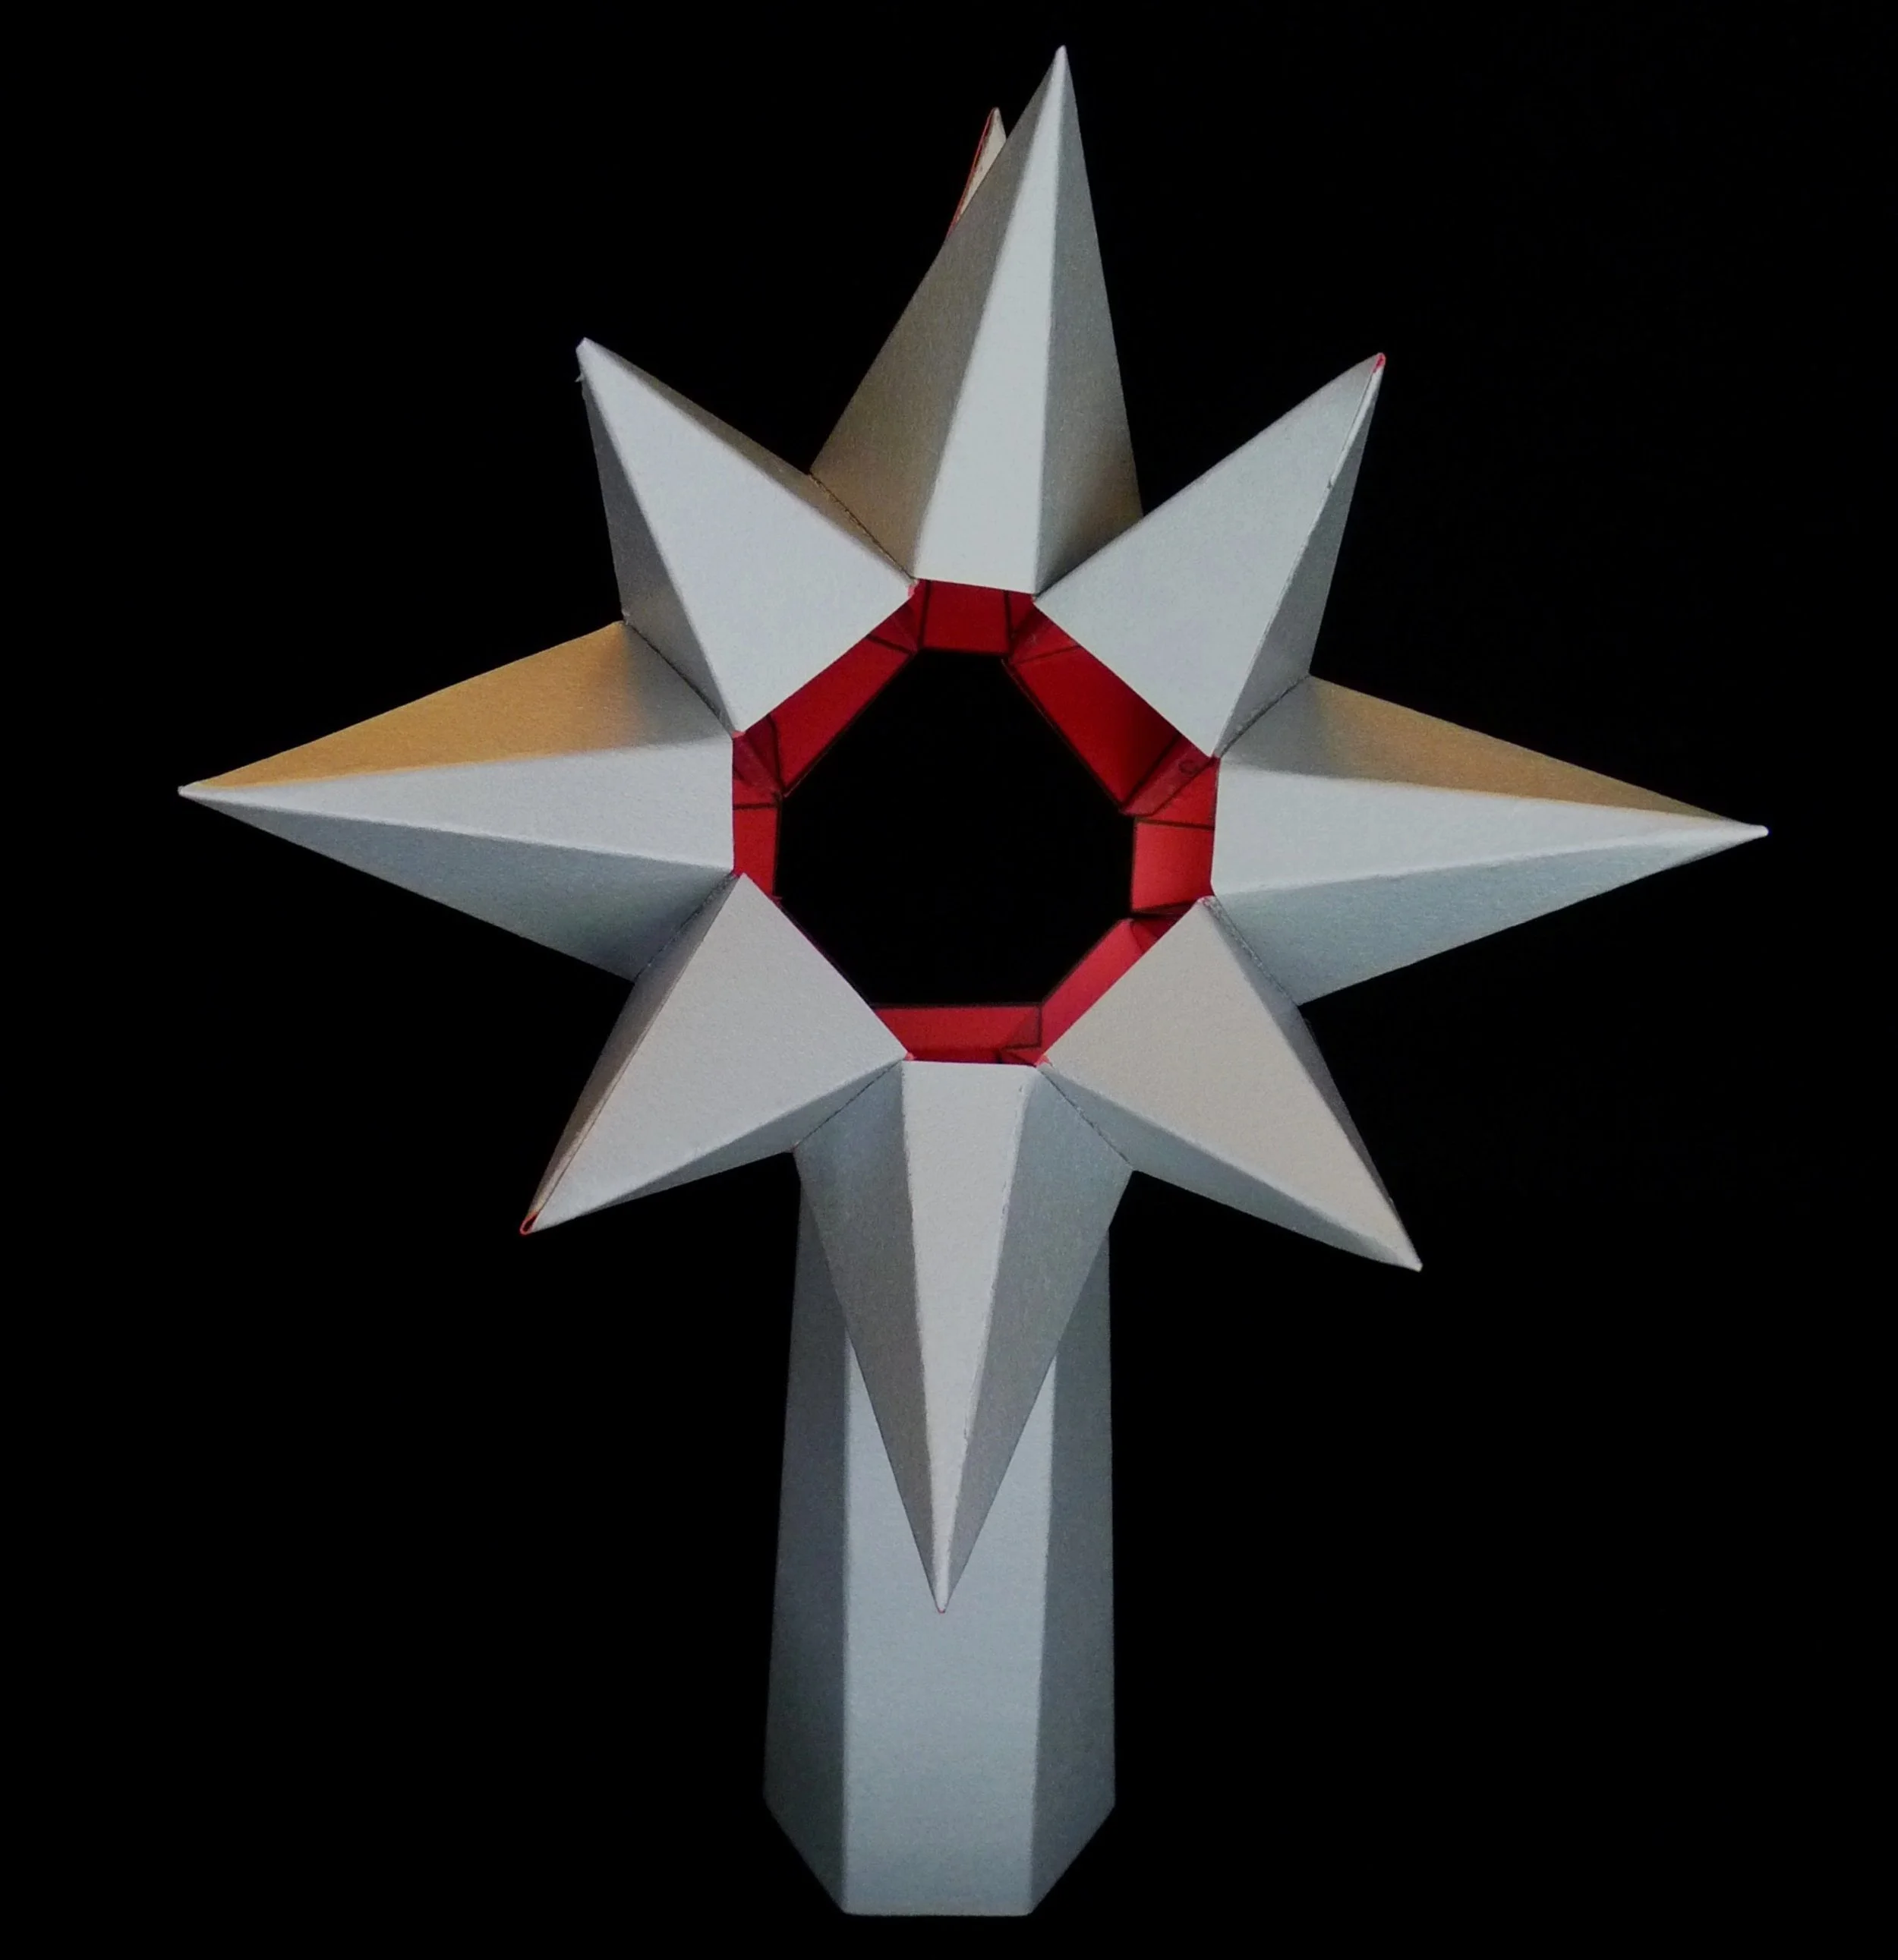
Photo 17. Completed Tree Topper Two - Side View 2
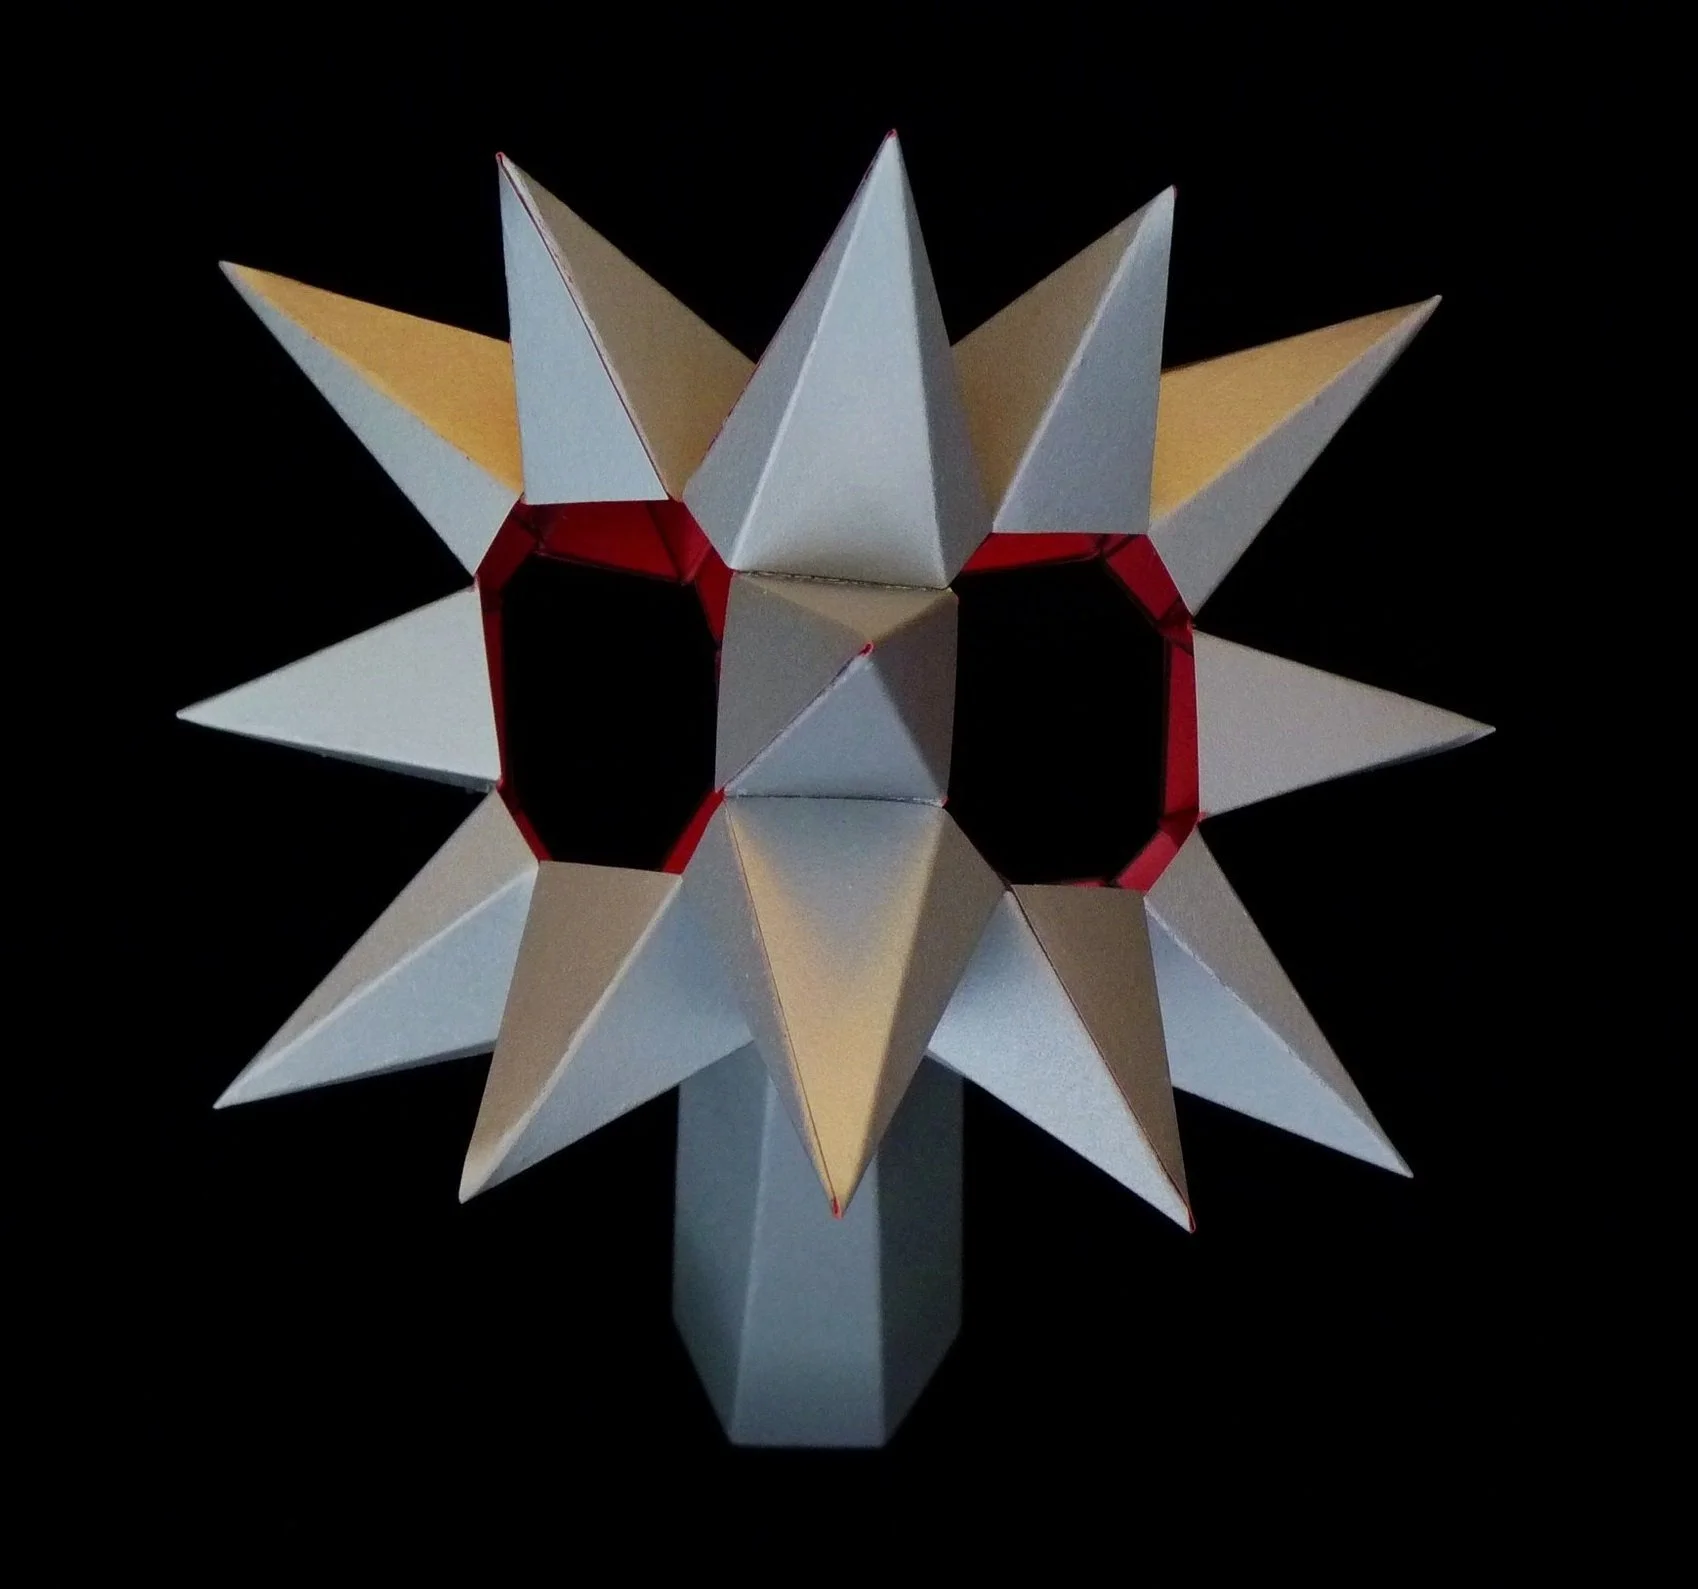
Photo 18. Completed Tree Topper Two - Side View 3

Photo 19. Completed Tree Topper Two - Side View 4

Photo 20. Completed Tree Topper Two on Top of the Tree !
This Tree Topper is in the form of a rhombicuboctahedron - which is certain to impress all your mathematical guests!