Swirling Sphere
Try the dynamic Swirling Sphere. With just eight simple identical pieces, you will be turning in circles in no time at all.

Project Info
Paper required: Two sheets 8.5 xx 11 inch (or A4)
Finished Project size: 3.25 inches (8 cm)
Difficulty Level: Beginner
Click button below to get your free printable pattern !
Click button below to get your free printable pattern !
INSTRUCTIONS
STEP 1
Print the Swirling Sphere pattern onto the two matching paper sheets of your choice. If you would like stripes or streaks to show the the direction of the spin, these should be vertical on the paper.
Read the pattern key included in the General Instructions.
Step 2
Cut out the 8 pattern pieces by cutting on all black lines including the black lines beside the Flap A’s and Flap B’s and also including the black lines between the two Flap C’s and two Flap D’s.

Photo 1. Inside of Part 1 and Part 2 after Step 2

Photo 2. Outside of Part 1 and Part 2 after Step 2
STEP 3
On all eight parts, fold the green lines as valley folds.

Photo 3. Inside of Part 1 and Part 2 after Step 3

Photo 4. Outside of Part 1 and Part 2 after Step 3
Step 4
On all eight parts, glue Flap A and Flap B to the back of the adjacent triangle. Glue Flap C to the other Flap C and Flap D to the other Flap D.

Photo 5. Inside of Part 1 and Part 2 after Step 4
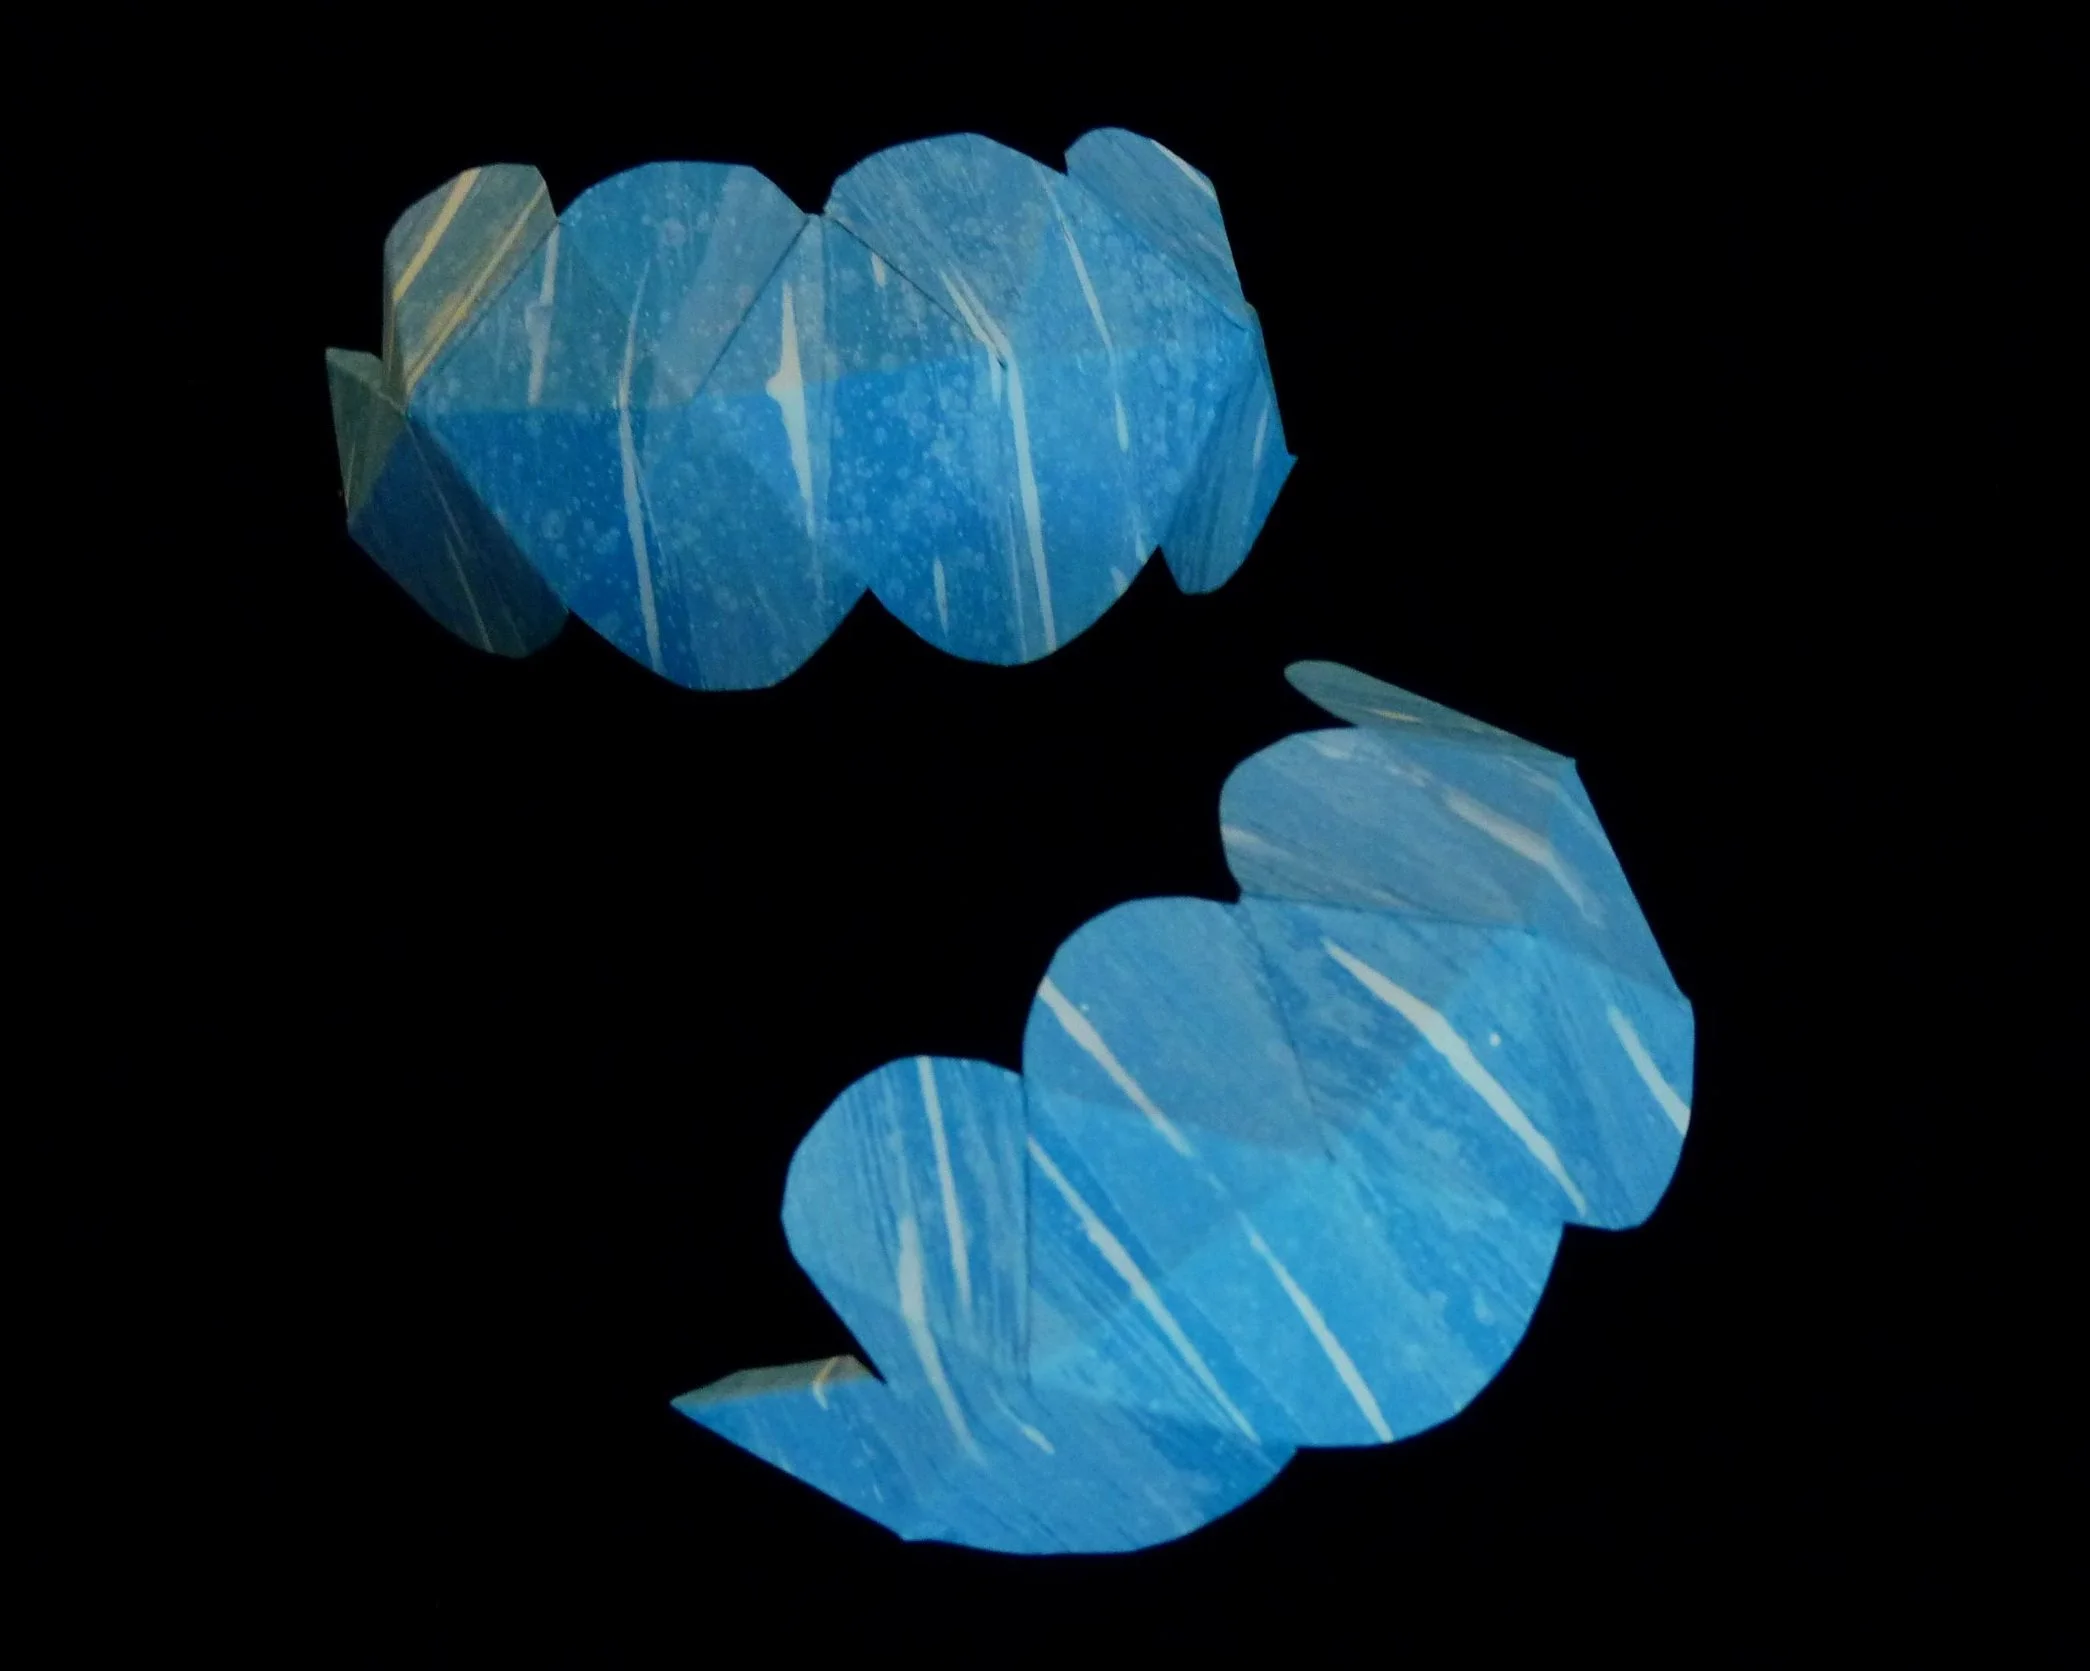
Photo 6. Outside of Part 1 and Part 2 after Step 4
Step 5
Connect Part 2 to Part 1. With Part 2 overlapping the outside of Part 1, glue Flap G on Part 2 to Flap H on Part 1, and glue Flap E on Part 2 to Flap F on Part 1.text
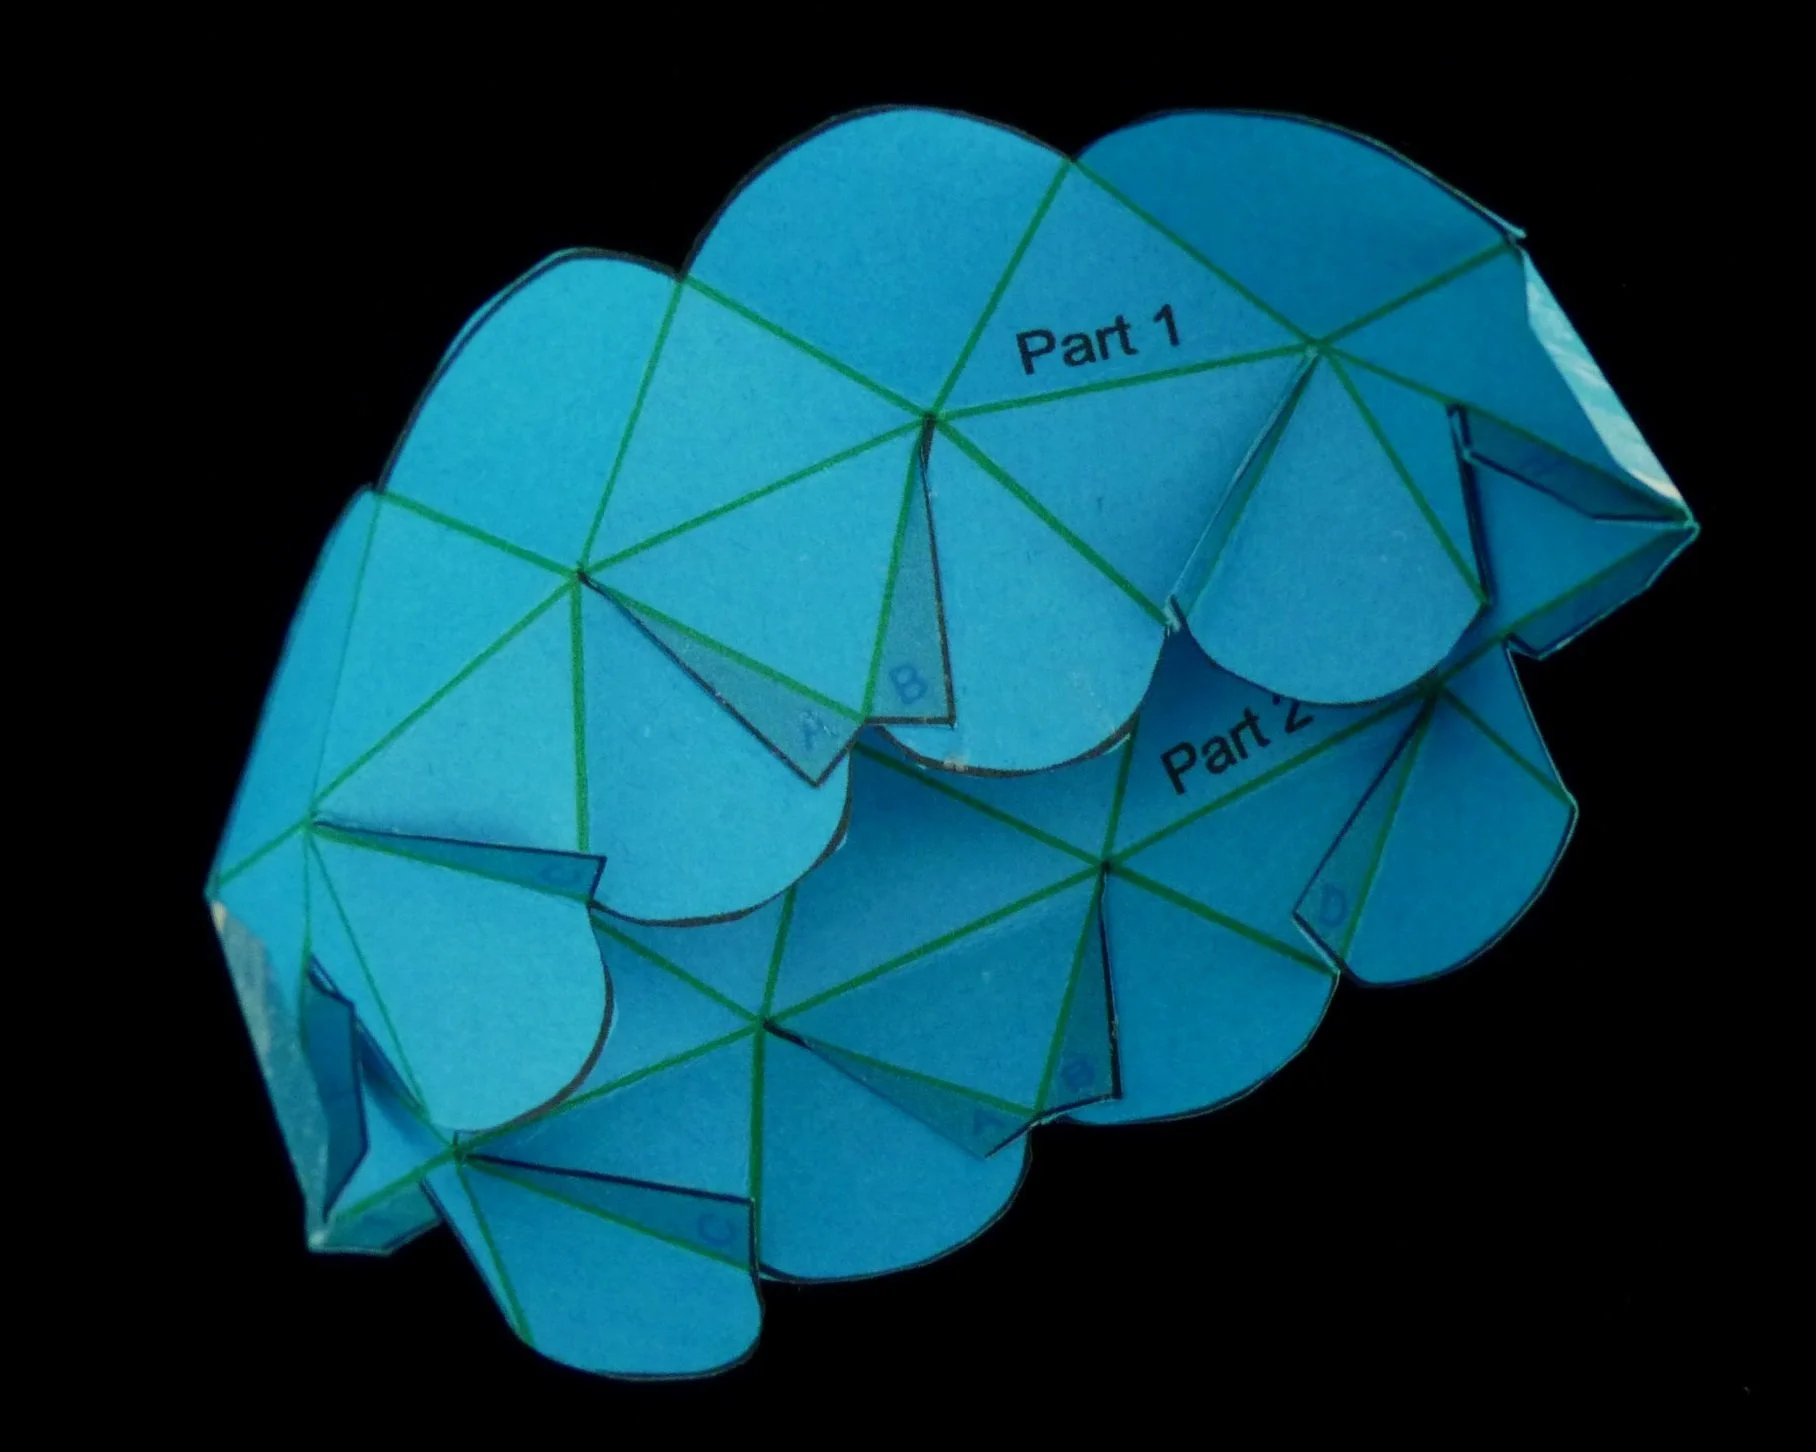
Photo 7. Inside of Project after Step 5

Photo 8. Outside of Project after Step 5
Step 6
Connect Part 3 and Part 4 to the project. Glue Flap G on Part 3 to Flap H on Part 2, and glue Flap E on Part 3 to Flap F on Part 2. Then glue Flap G on Part 4 to Flap H on Part 3, and glue Flap E on Part 4 to Flap F on Part 3.

Photo 9. Inside of Project after Step 6
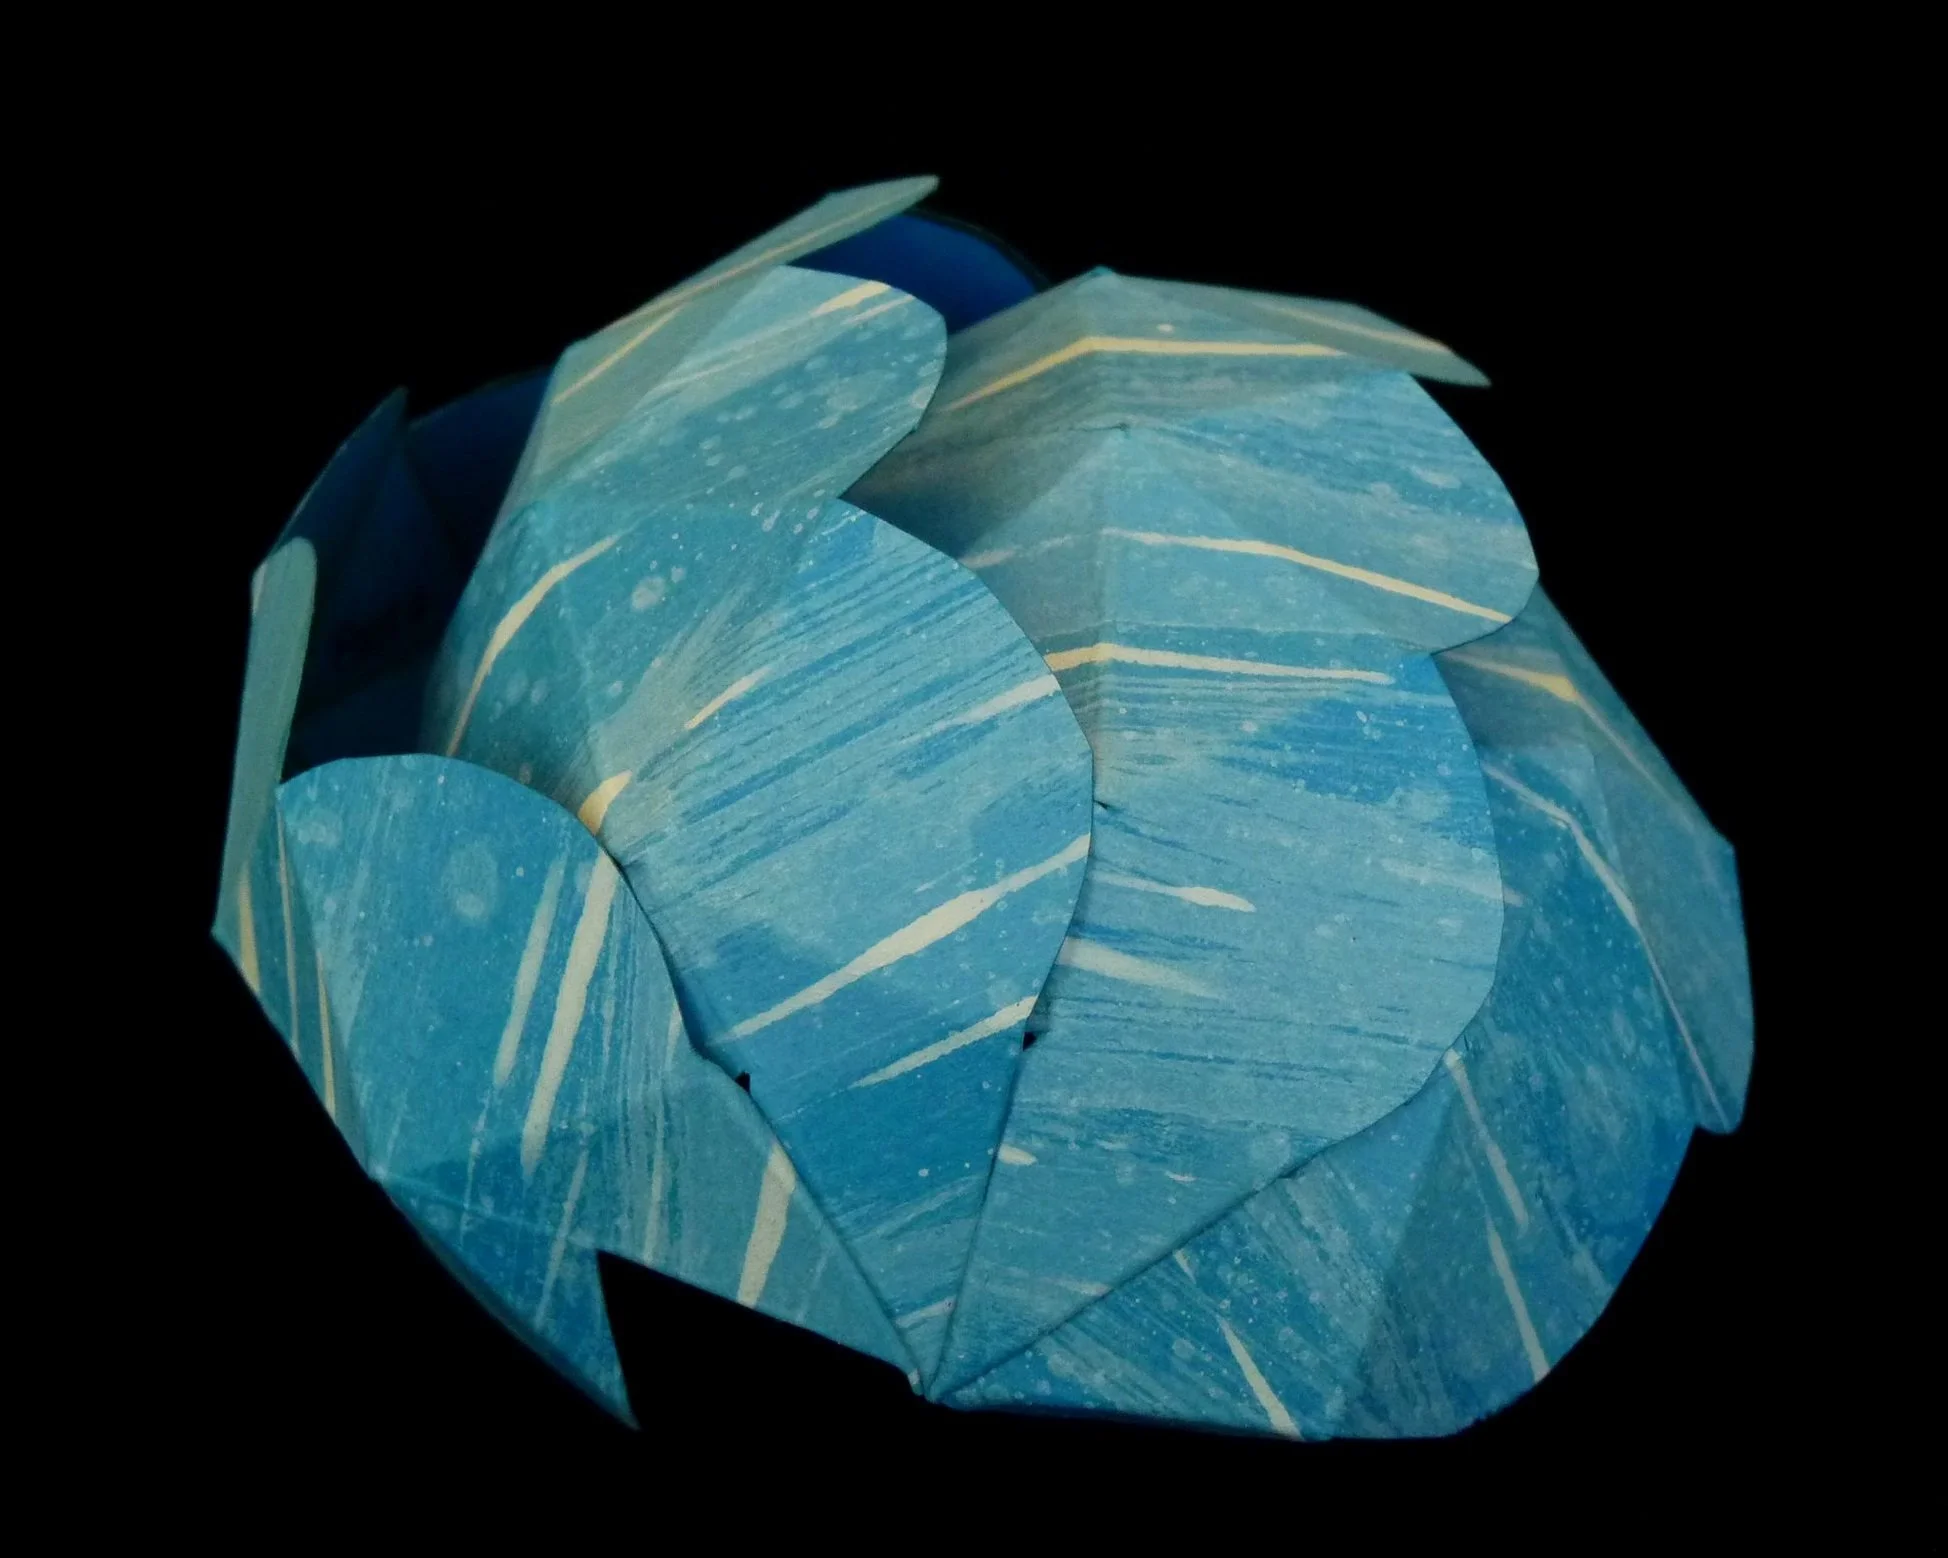
Photo 10. Outside of Project after Step 6
Step 7
Complete the project by connecting Parts 5, 6, 7, and 8 to the assembled project. Glue Flap G on Part 5 to Flap H on Part 4, and glue Flap E on Part 5 to Flap F on Part 4. Glue Flap G on Part 6 to Flap H on Part 5, and glue Flap E on Part 6 to Flap F on Part 5. Glue Flap G on Part 7 to Flap H on Part 6, and glue Flap E on Part 7 to Flap F on Part 6. Finally, glue Flap G on Part 8 to Flap H on Part 7, glue Flap E on Part 8 to Flap F on Part 7, glue Flap H on Part 8 to Flap G on Part 1, and glue Flap F on Part 8 to Flap E on Part 1.
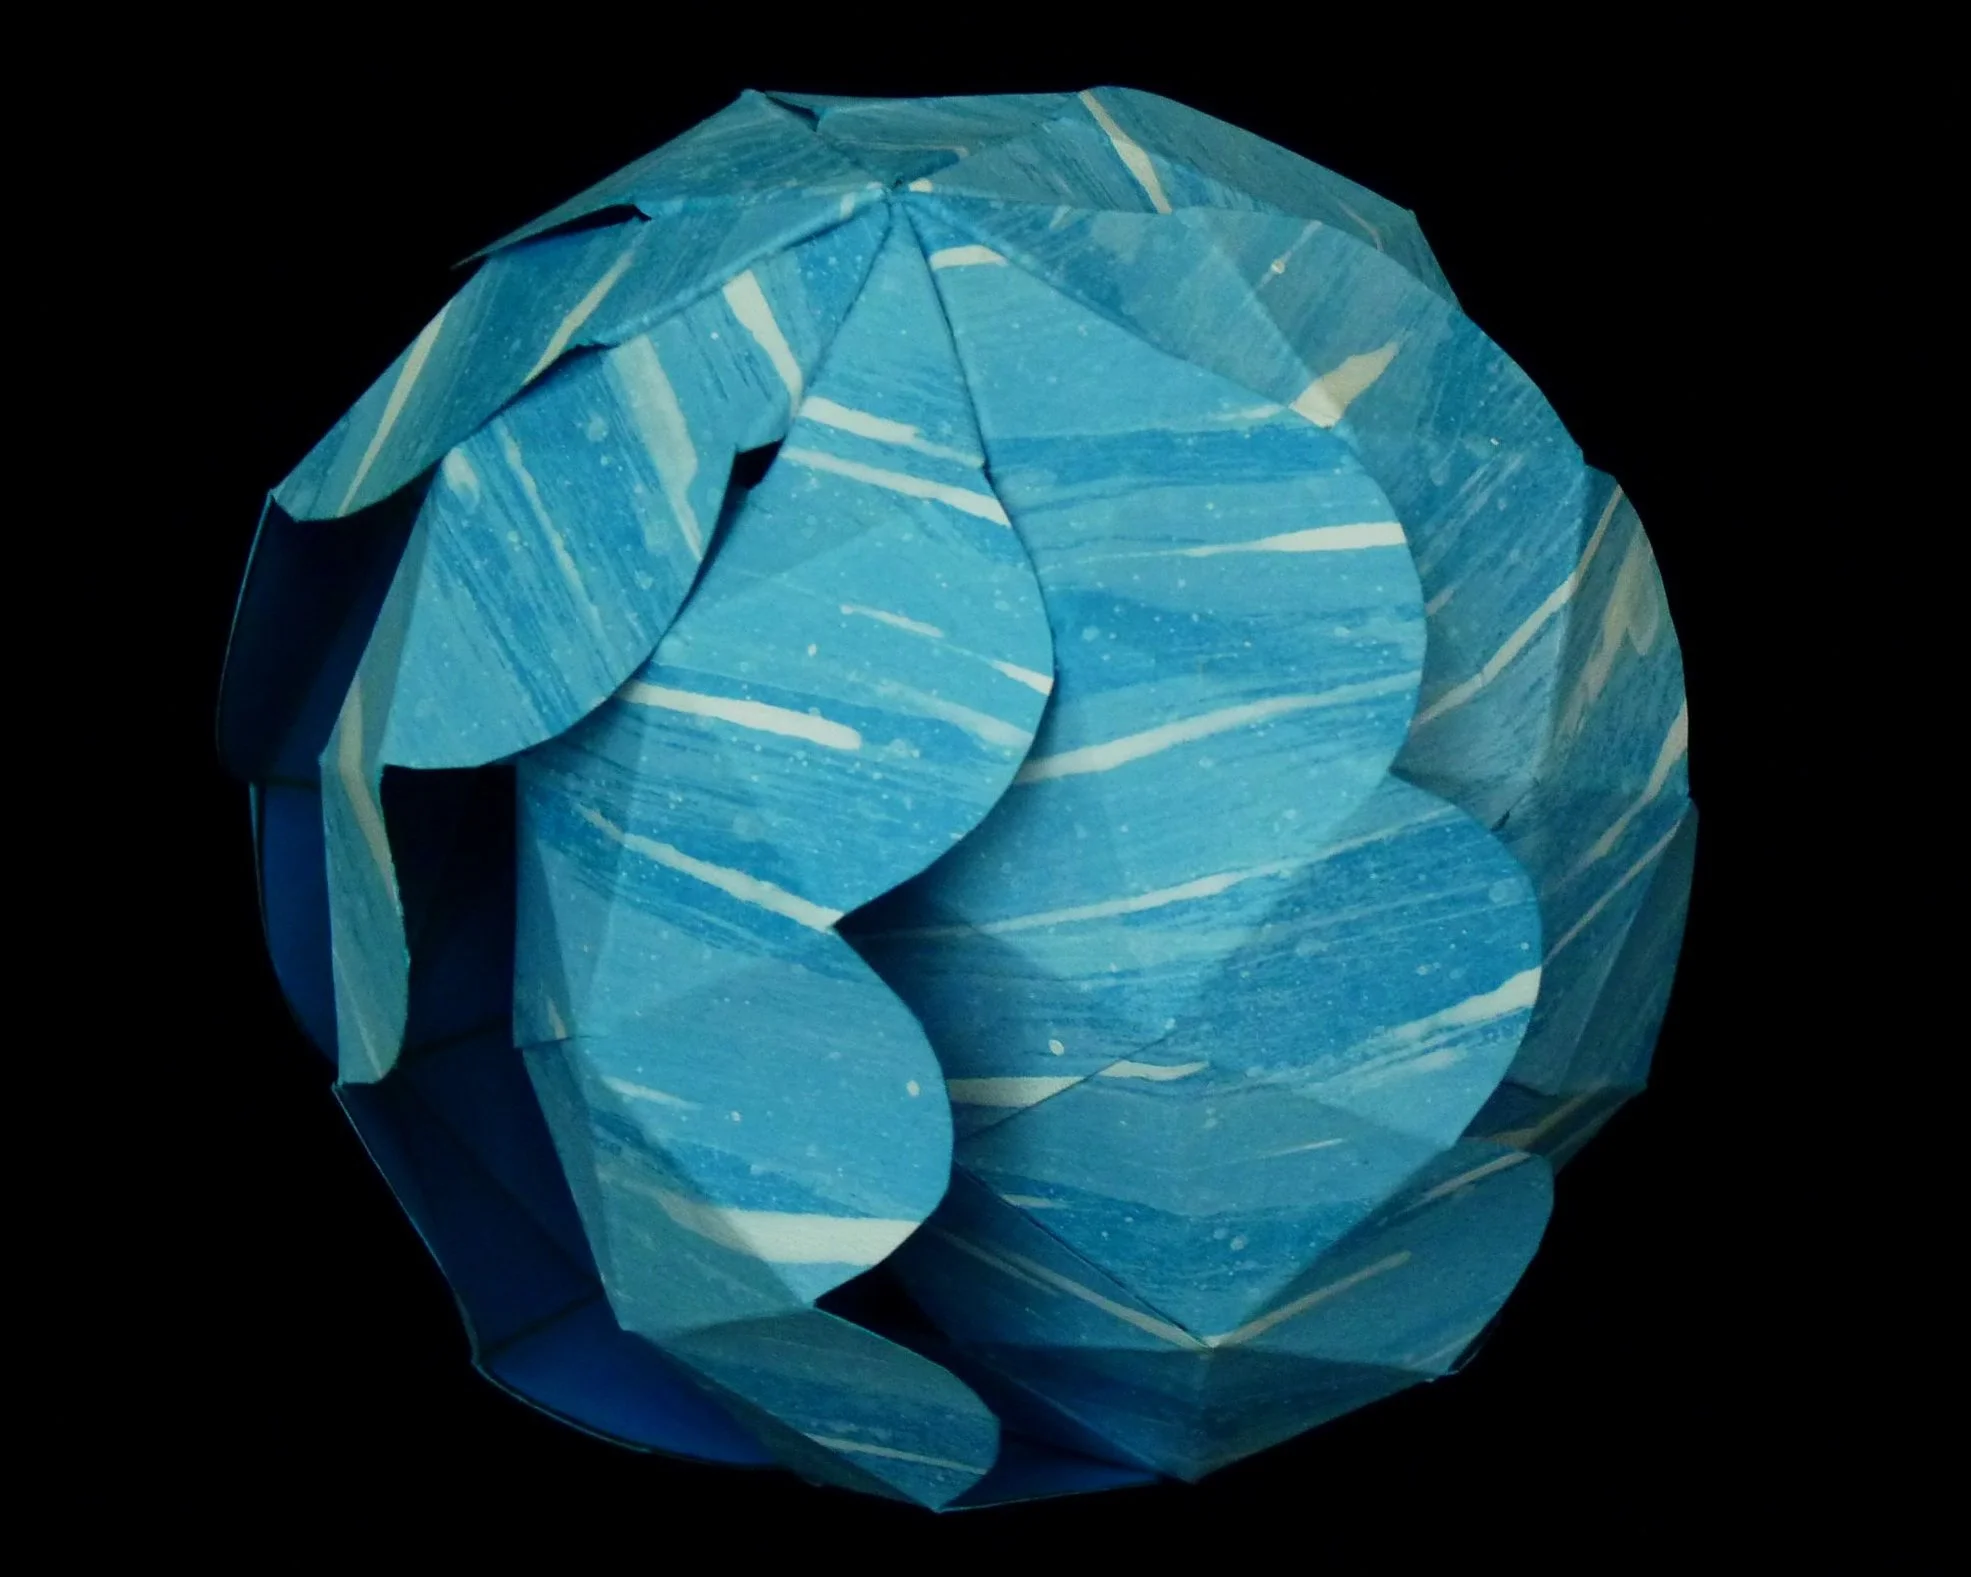
Photo 11. Completed Swirling Sphere - View 1
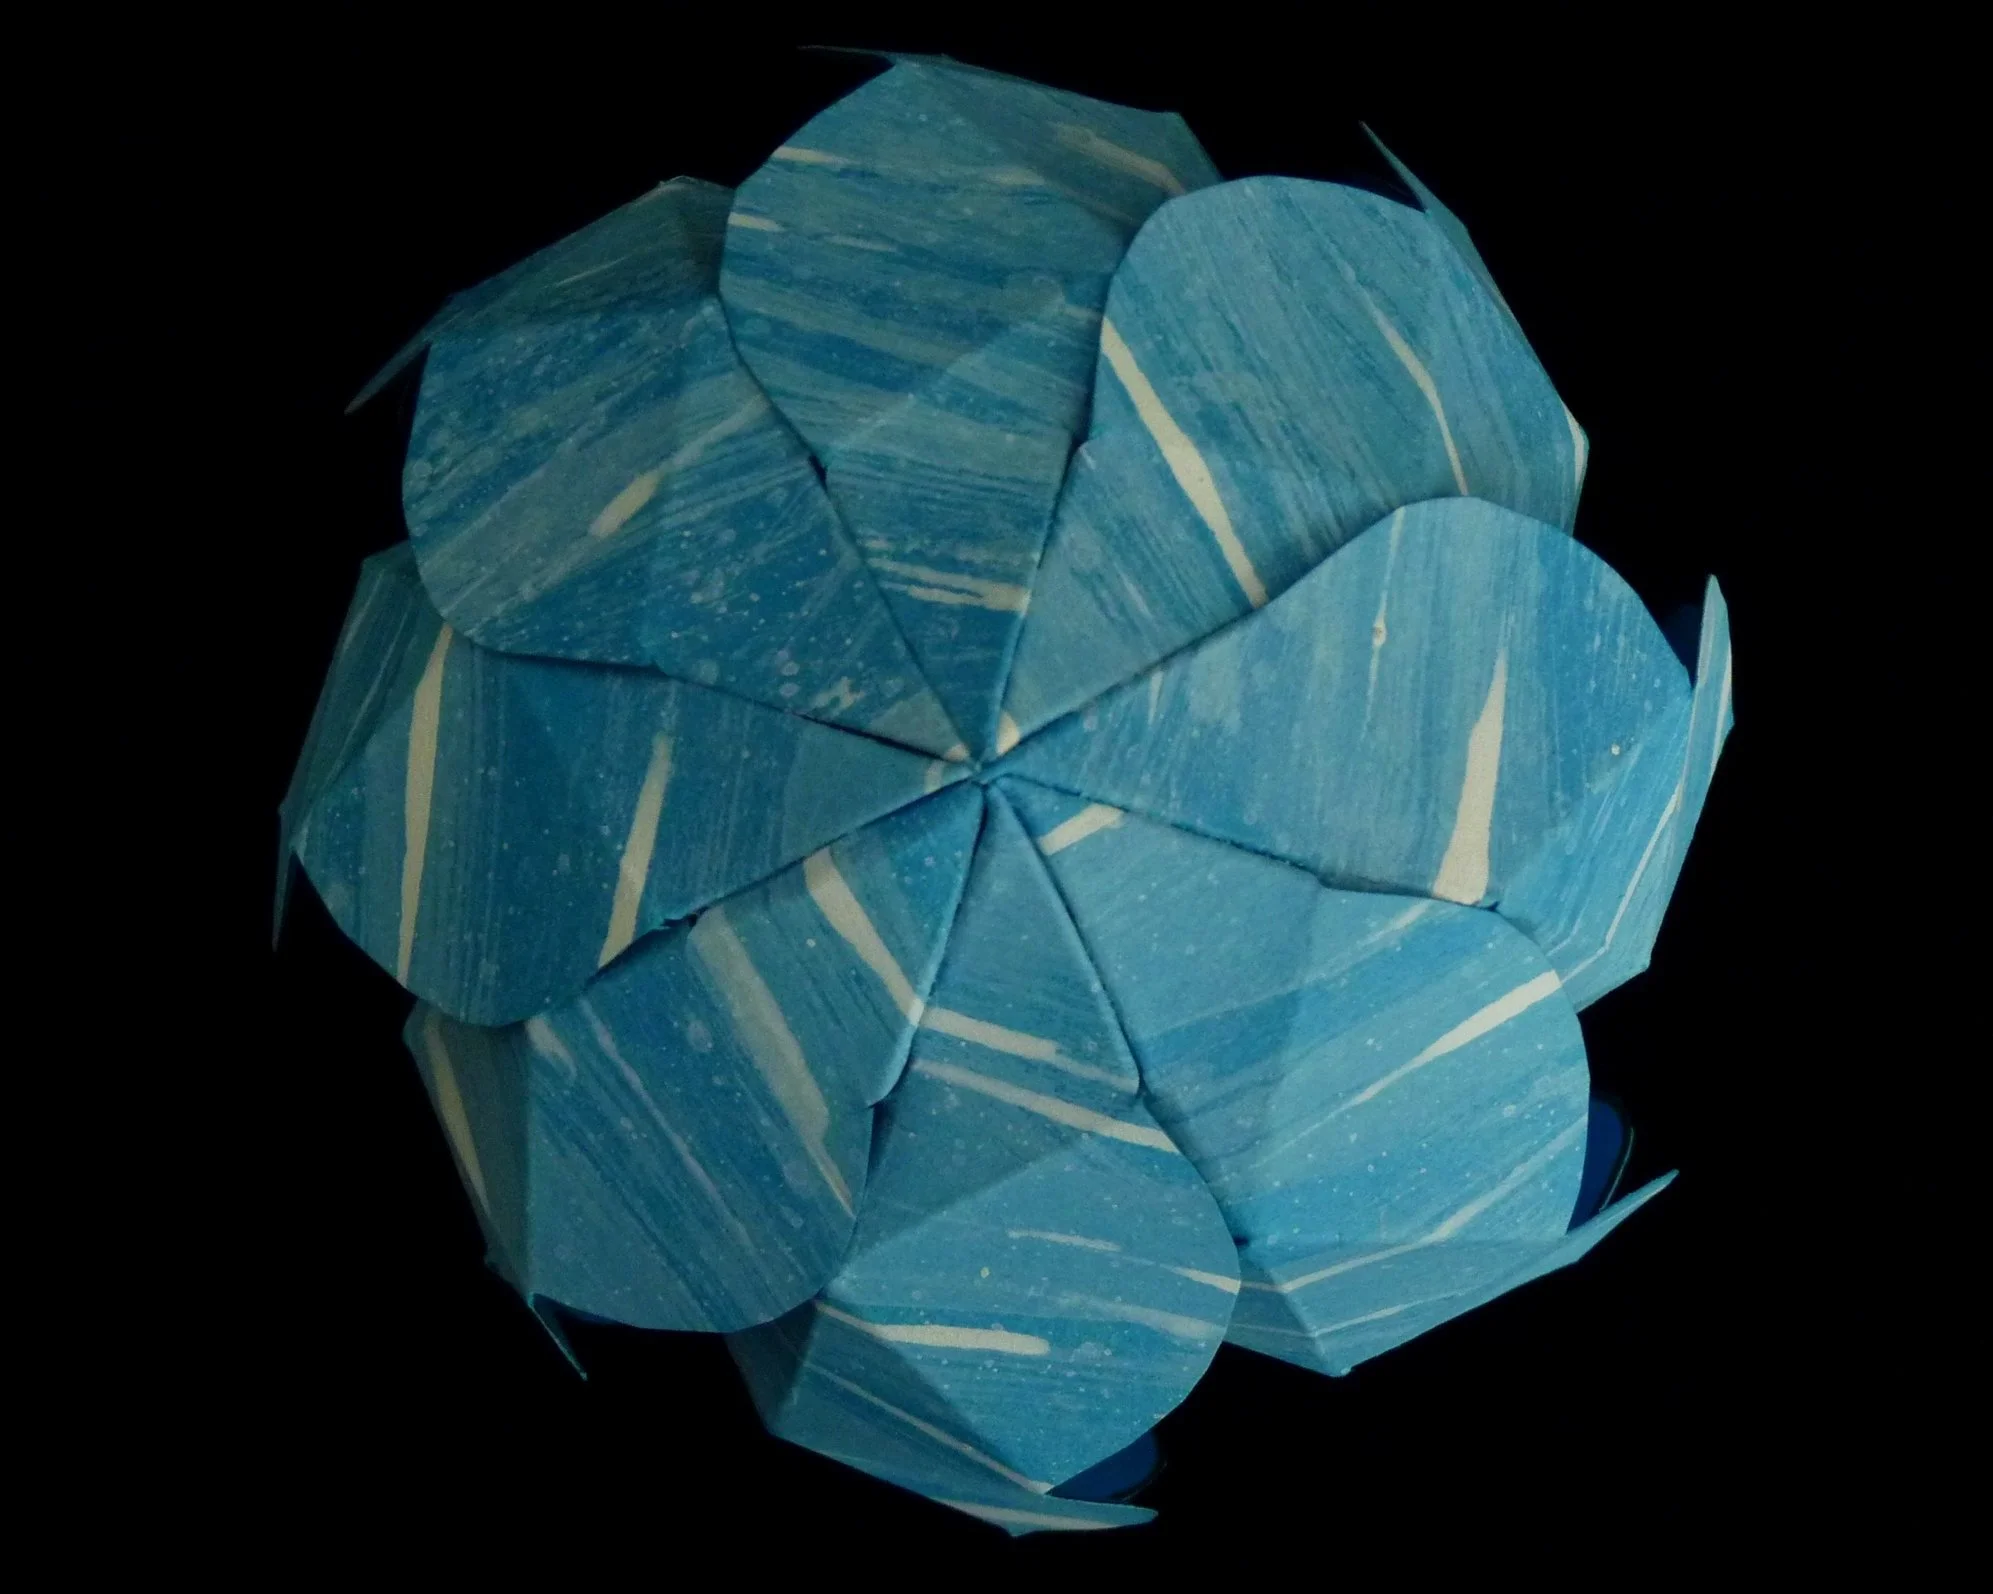
Photo 12. Completed Swirling Sphere - View 2
Another Example

Photo 13. Another Completed Swirling Sphere - View 1

Phot 14. Another Completed Swirling Sphere - View 2
Happy spinning !