Storm
Add some excitement to your neighborhood. Create a Storm.
Project Info
Paper required: 3 sheets 8.5 x 11 inch (or A4)
Finished Project size: 4 inches (10 cm)
Difficulty Level: intermediate
Click button below to get your free printable pattern !
Click button below to get your free printable pattern !
INSTRUCTIONS
STEP 1
Print the pattern onto the 3 matching paper sheets of your choice. Choose a paper that is thin enough so that you can cut through 10 layers at once with a scissors.
Read the pattern key included in the General Instructions.
Step 2
Cut out the 7 pattern pieces by cutting on the solid black line around each part.

Photo 1. Back of Typical Part after Step 2
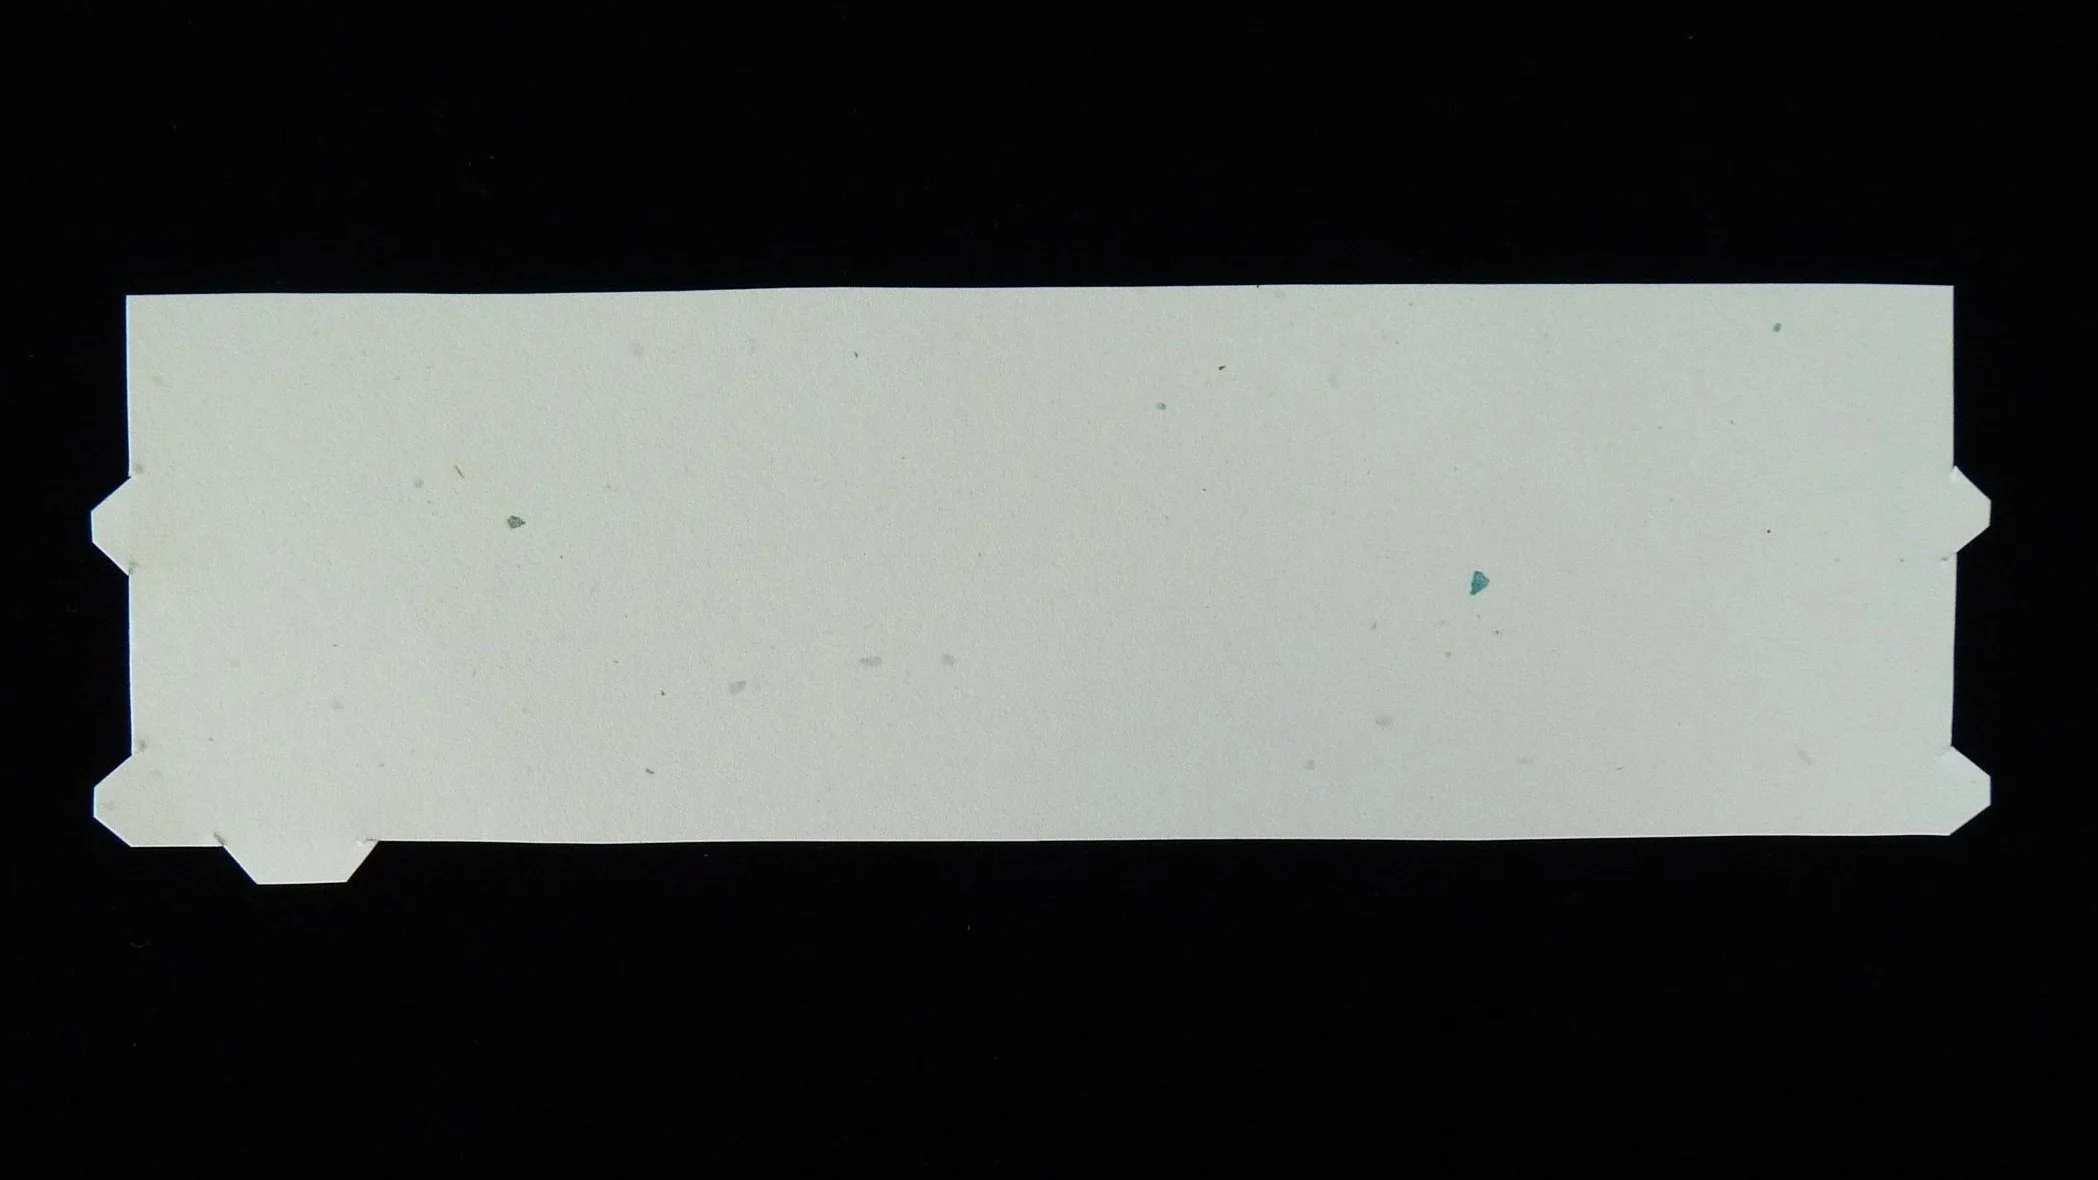
Photo 2. Front of Typical Part after Step 2
STEP 3
Fold all seven parts in accordion style, with the 5 red dashed lines as mountain folds and the 4 green dashed lines as valley folds.
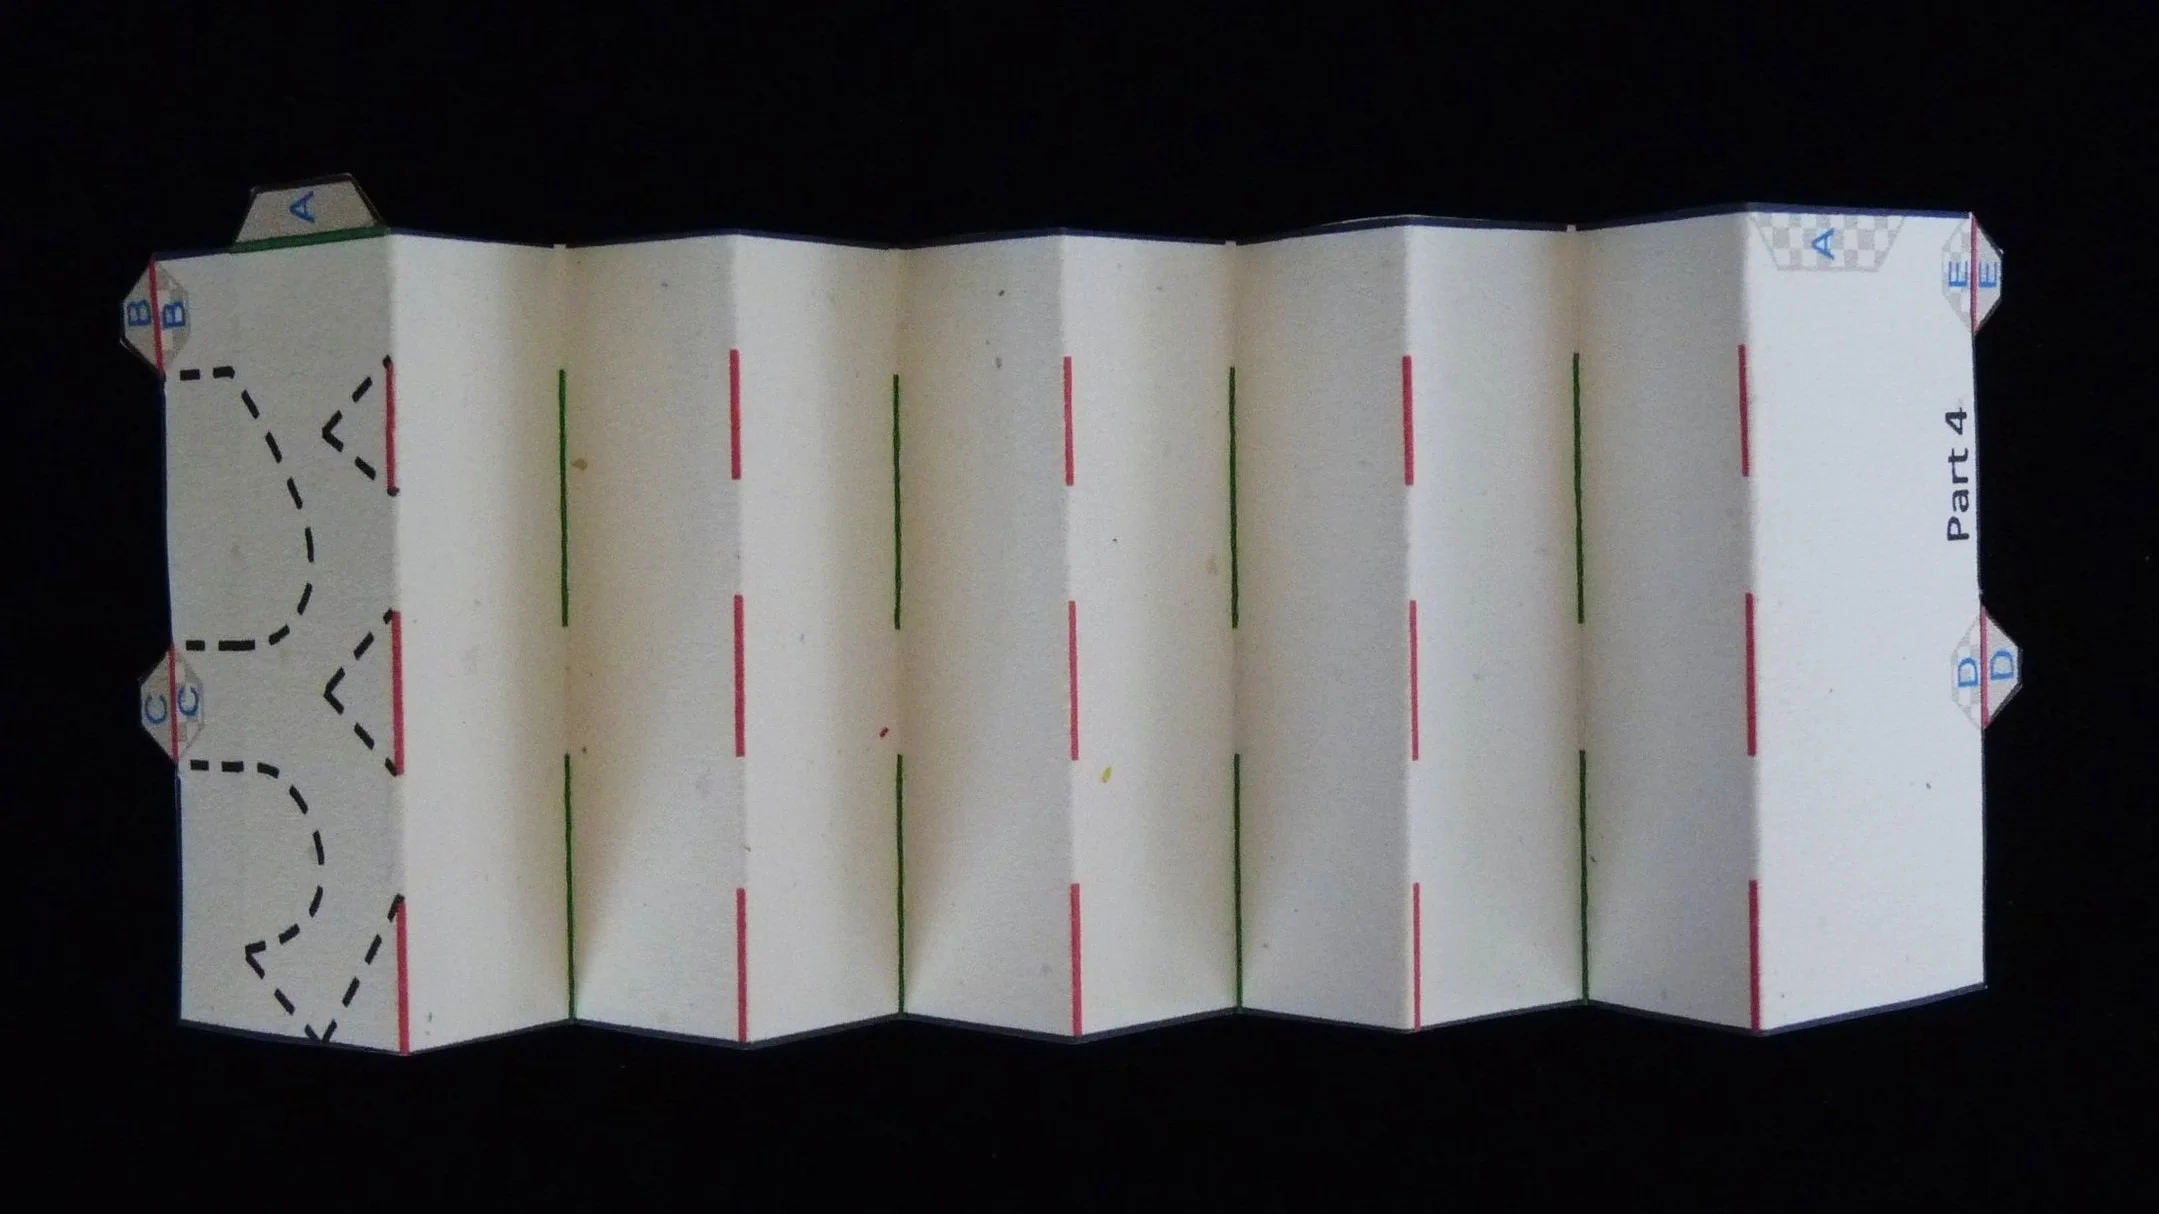
Photo 3. Back of Typical Part after Step 3
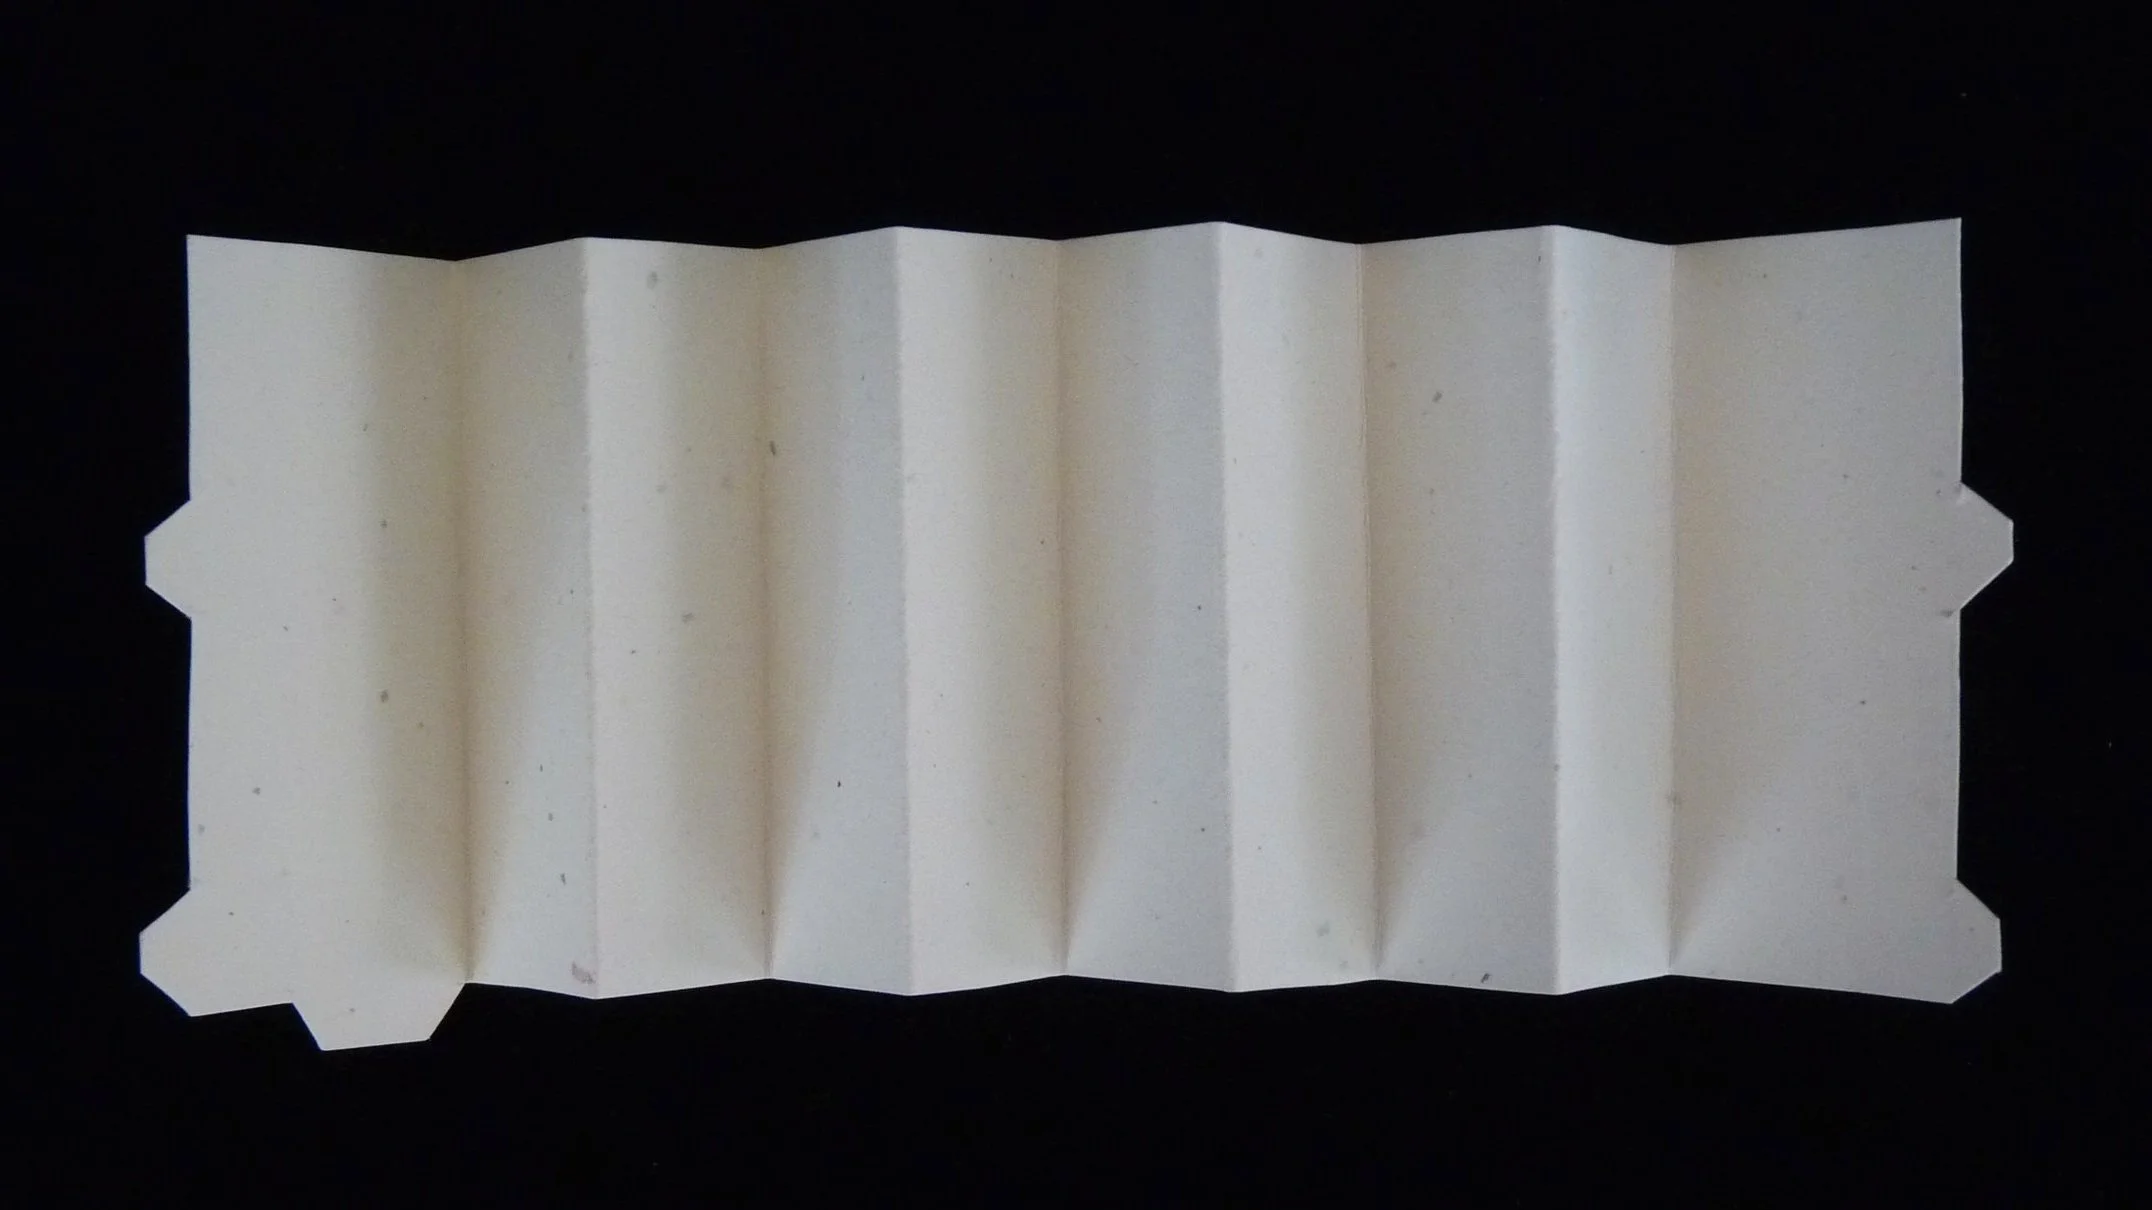
Photo 4. Front of Typical Part after Step 3
Step 4
With each part folded, cut on the dashed black lines. Cut through all layers of the accordion.
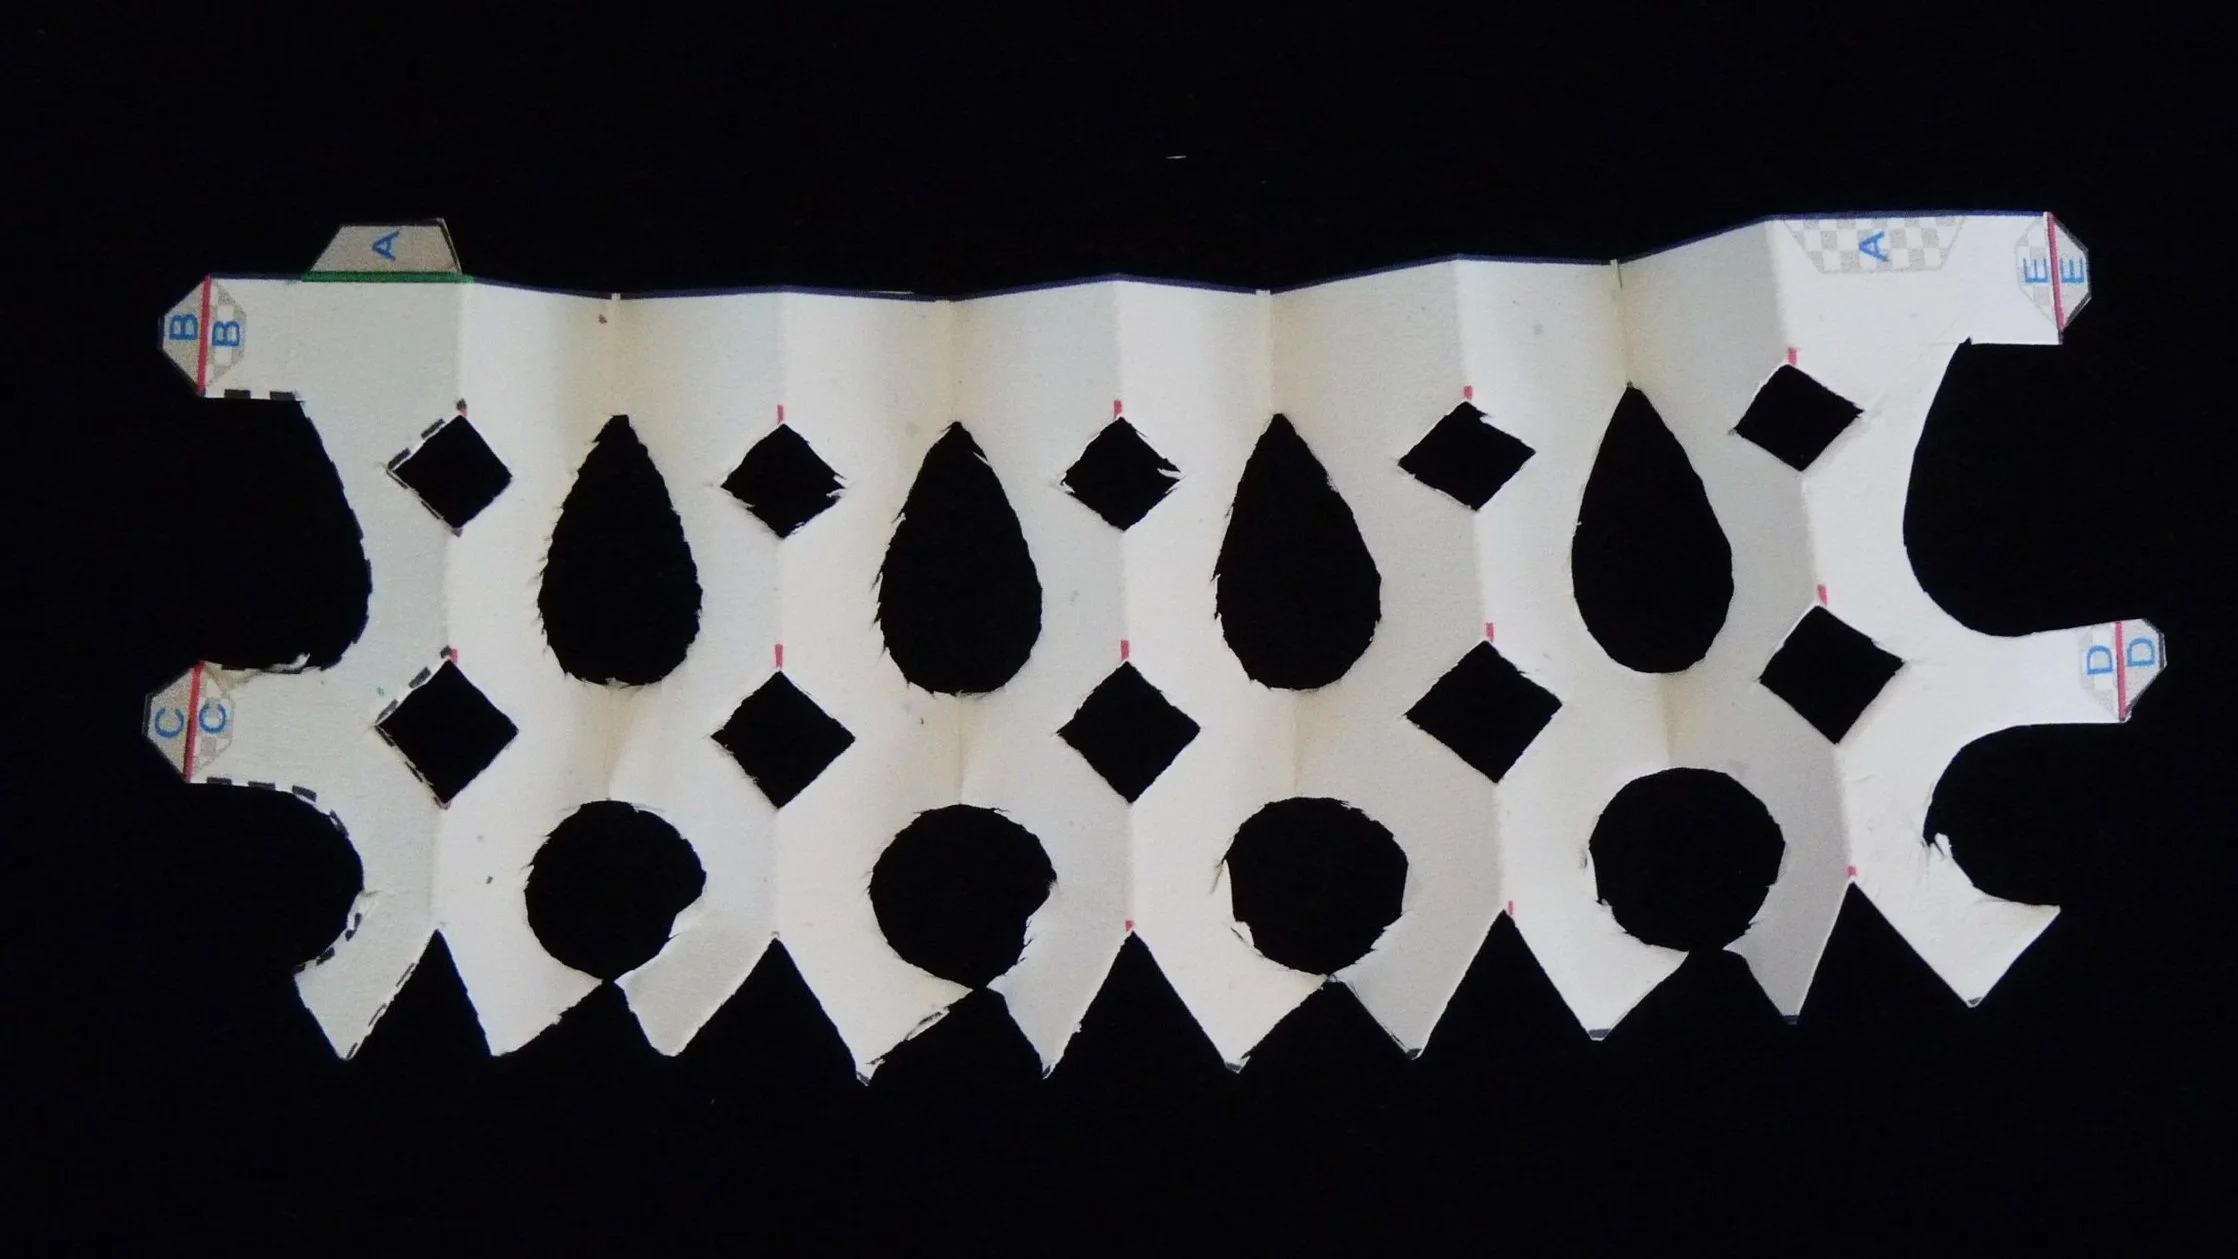
Photo 5. Back of a Part after Step 4

Photo 6. Front of a Part after Step 4
Step 5
Fold red and green lines at the five glue flaps on each part. Glue Flap A on each part to the gray checkered Patch A, to form a half circle fan shape of each part.
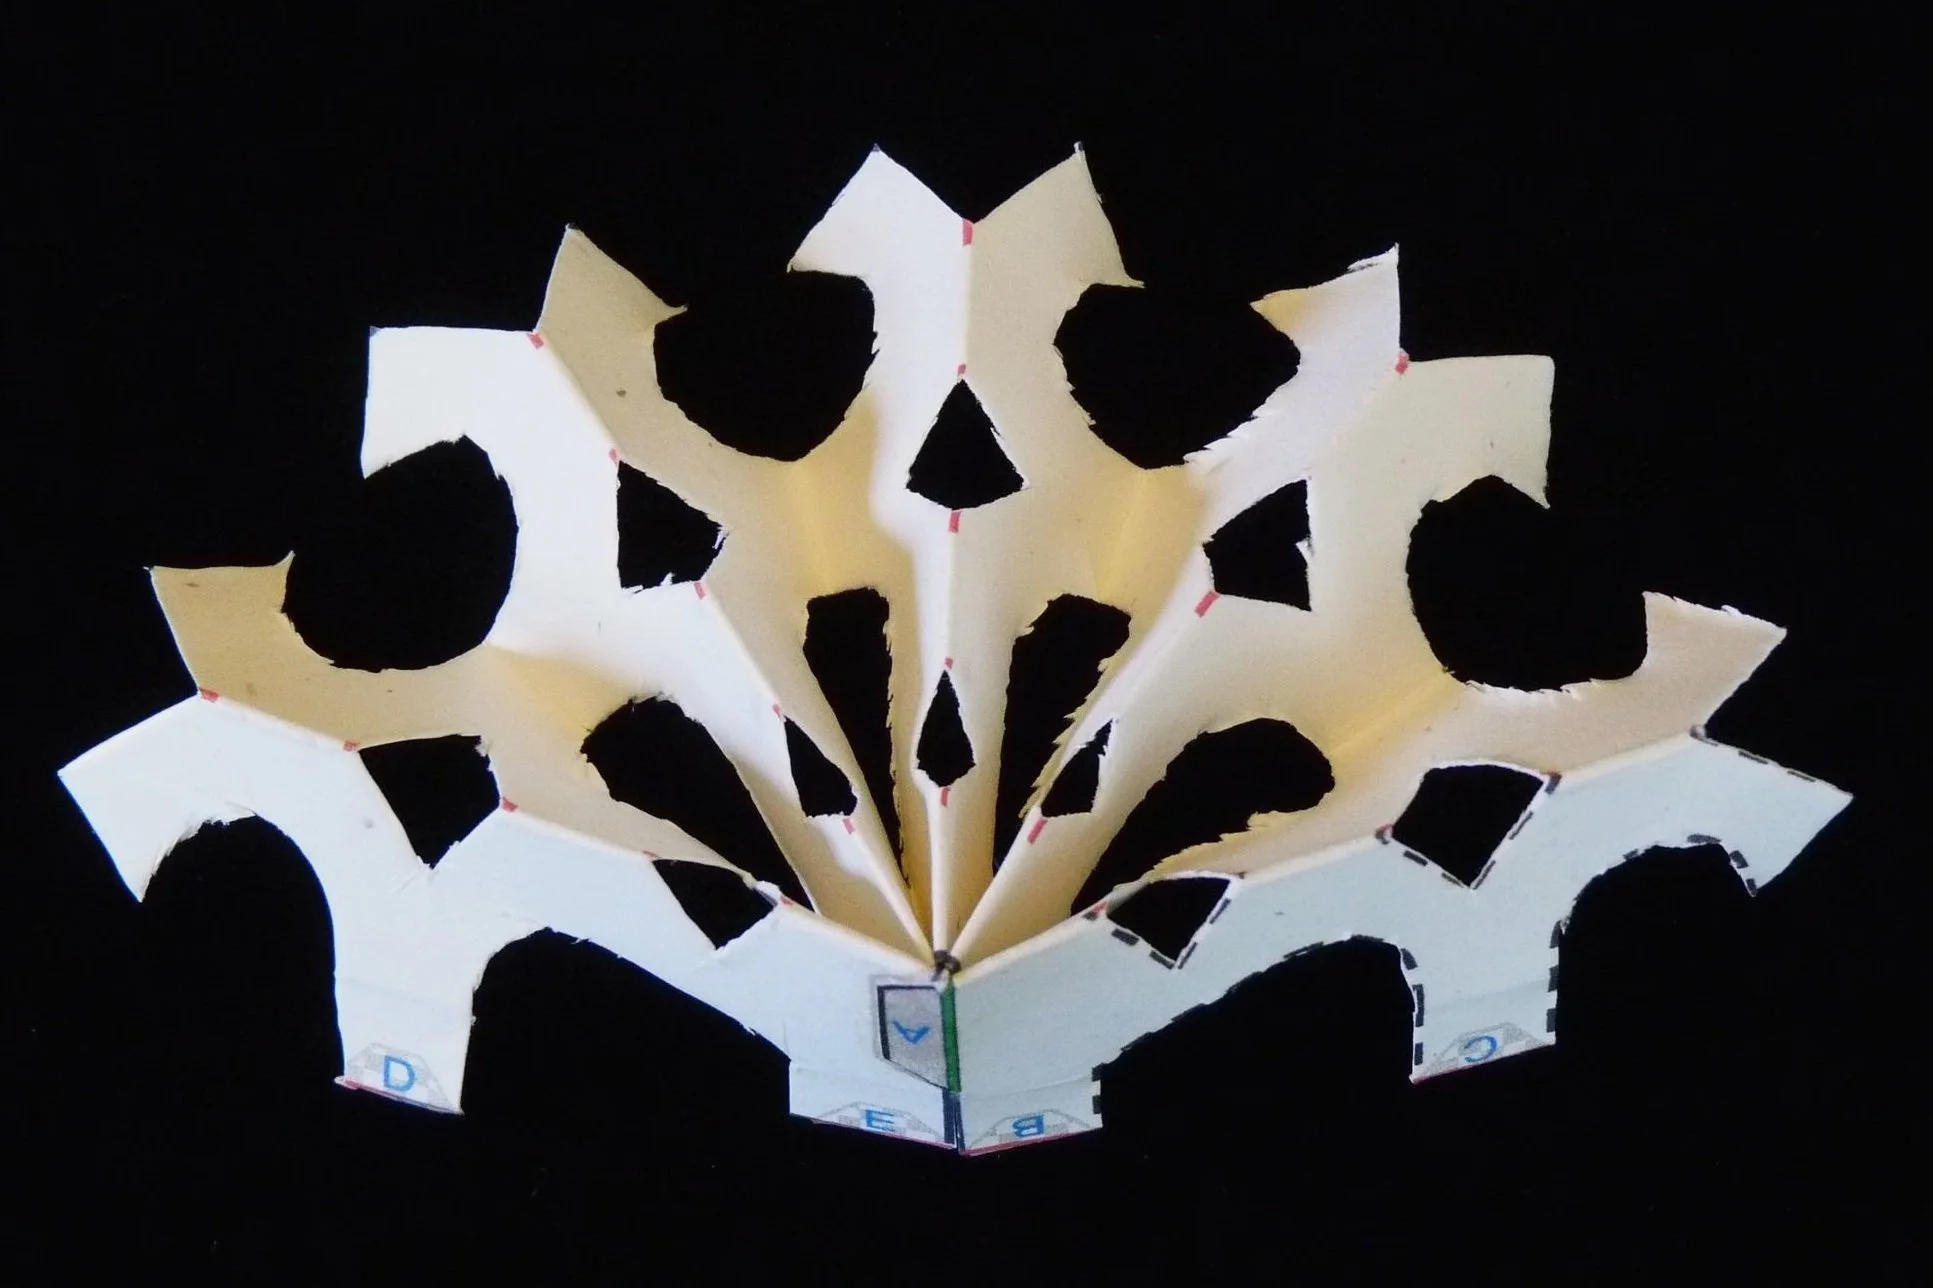
Photo 7. Back of a Part after Step 5

Photo 8. Front of a Part after Step 5
Step 6
Attach Part 2 to Part 1. Glue Flaps B, C, D, and E on Part 2 to the gray checkered Patches B, C, D, and E on Part 1.

Photo 9. Project after Step 6 - View 1
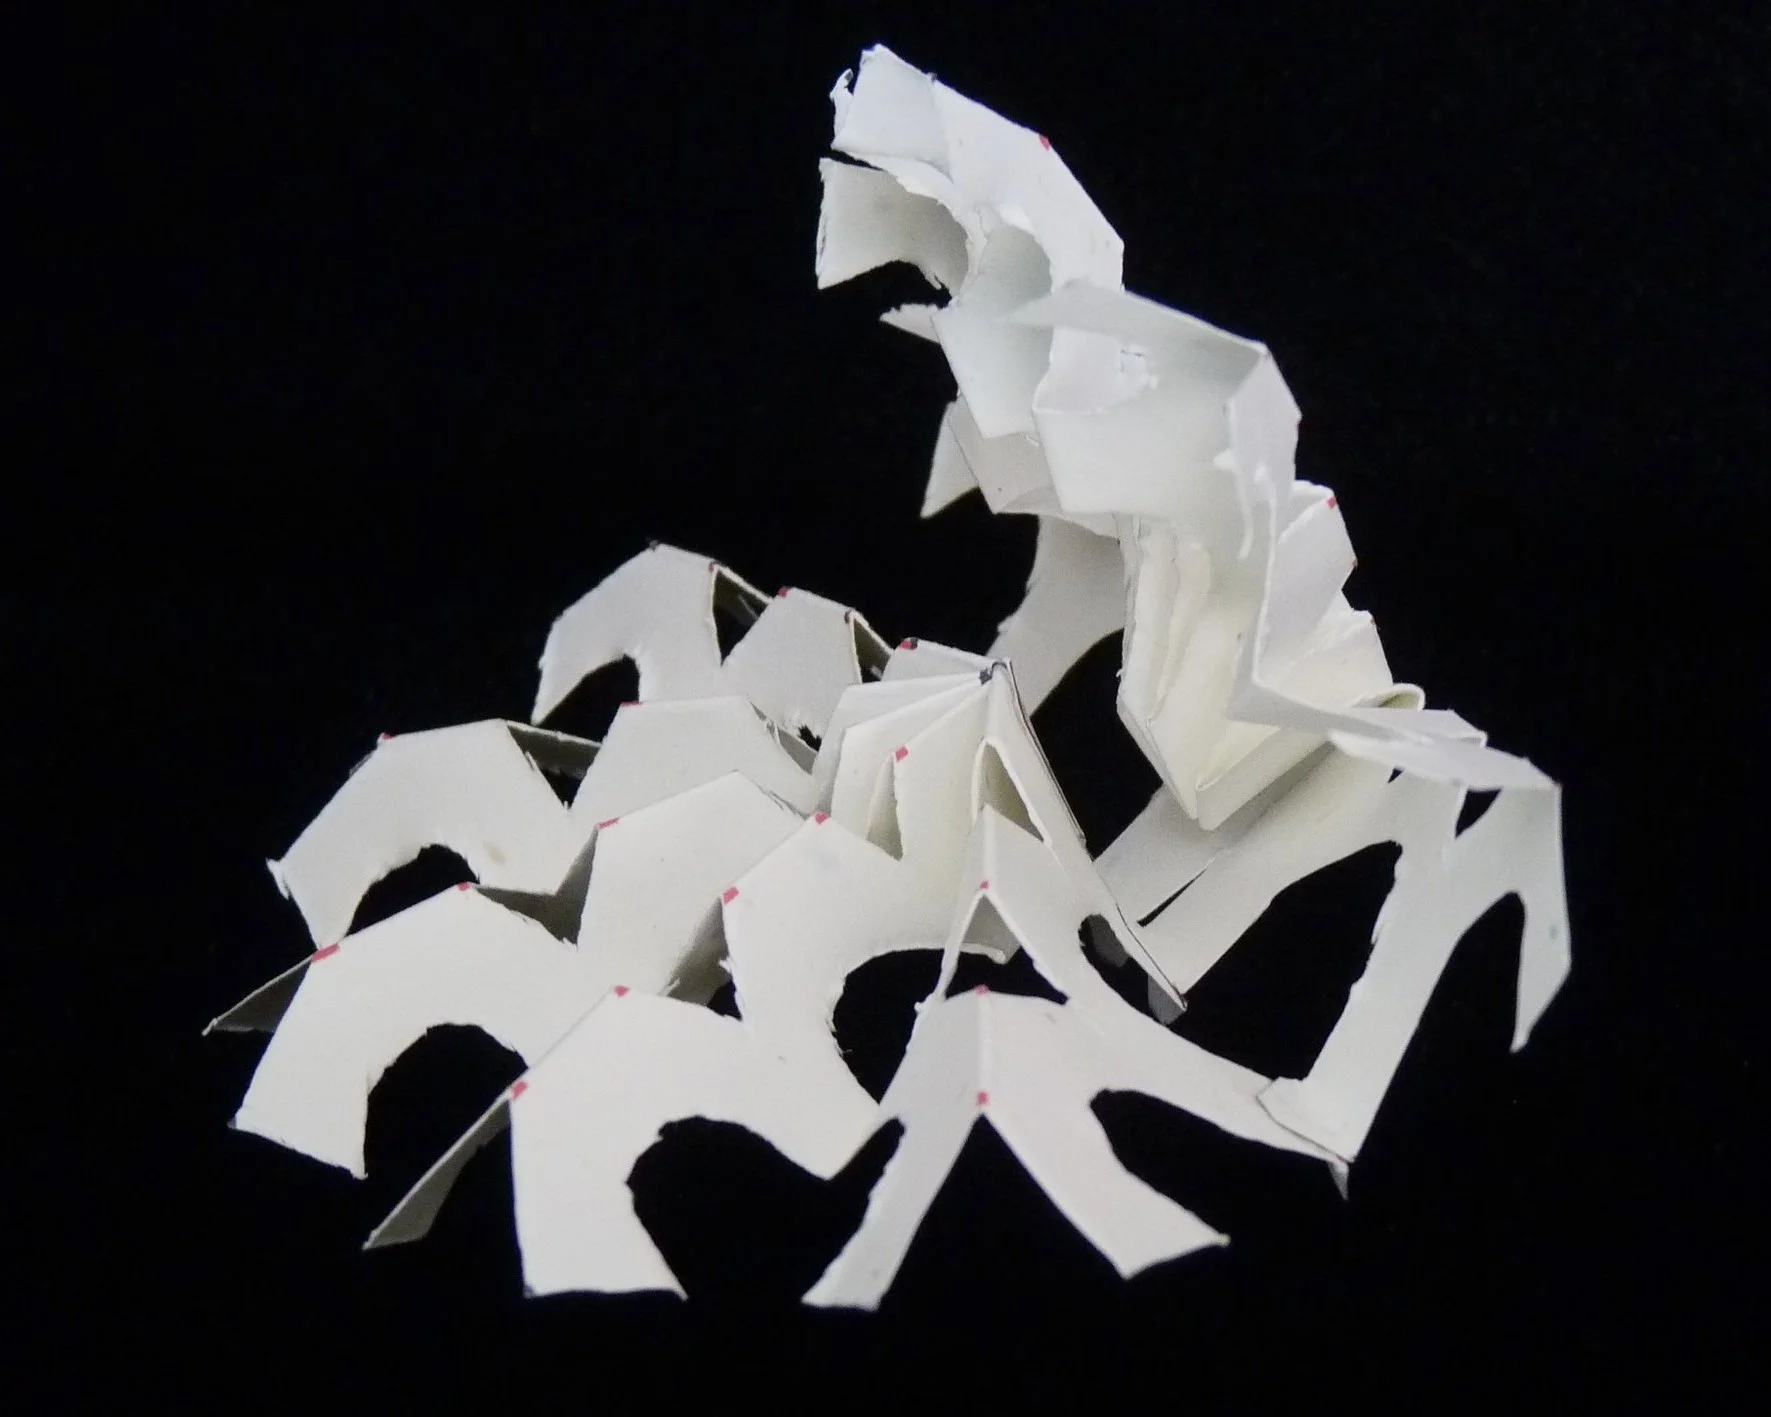
Photo 10. Project after Step 6 - View 2
Step 7
Attach Parts 3 and 4 to the project. Glue Flaps B, C, D, and E on Part 3 to the gray checkered Patches B, C, D, and E on Part 2. Glue Flaps B, C, D, and E on Part 4 to the gray checkered Patches B, C, D, and E on Part 3.

Photo 11. Project after Step 7 - View 1
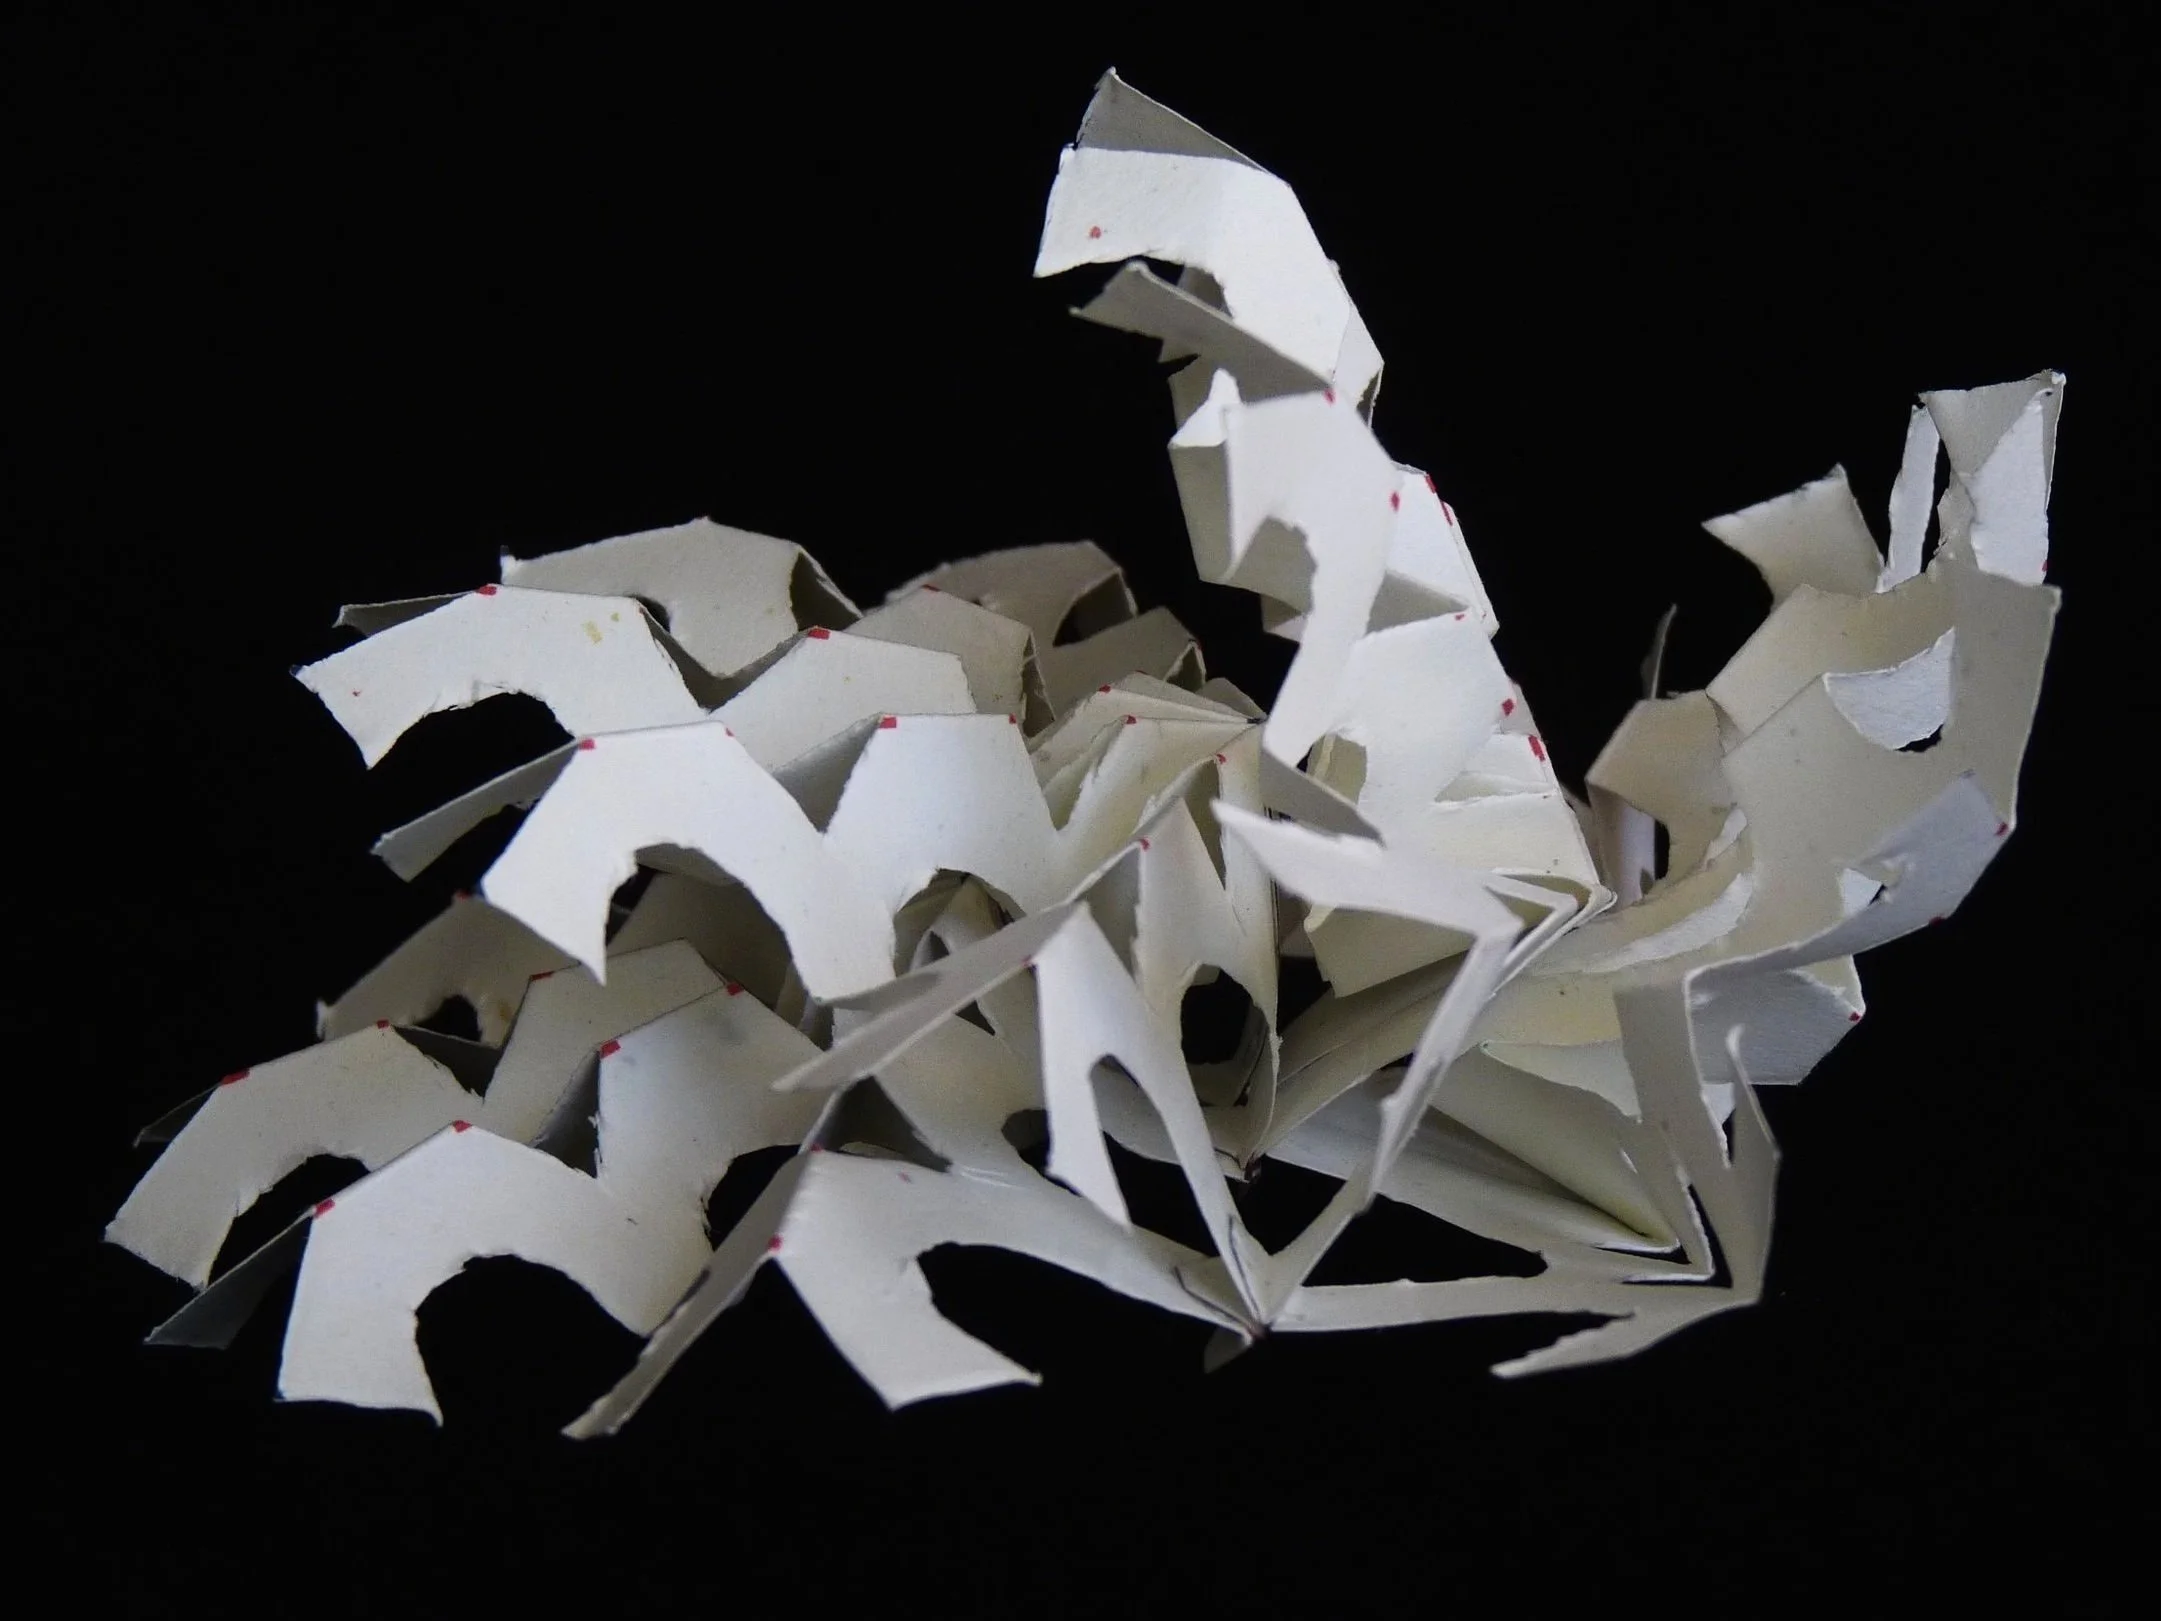
Photo 12. Project after Step 7 - View 2
Step 8
Attach Parts 5, 6, and 7 to the project. Glue Flaps B, C, D, and E on Part 5 to the gray checkered Patches B, C, D, and E on Part 4. Glue Flaps B, C, D, and E on Part 6 to the gray checkered Patches B, C, D, and E on Part 5. Glue Flaps B, C, D, and E on Part 7 to the gray checkered Patches B, C, D, and E on Part 6. Finally glue Flaps C and D on Part 1 to gray checkered Patches C and D on Part 7. It is fine to leave Flaps E and B on Part 1 unglued.
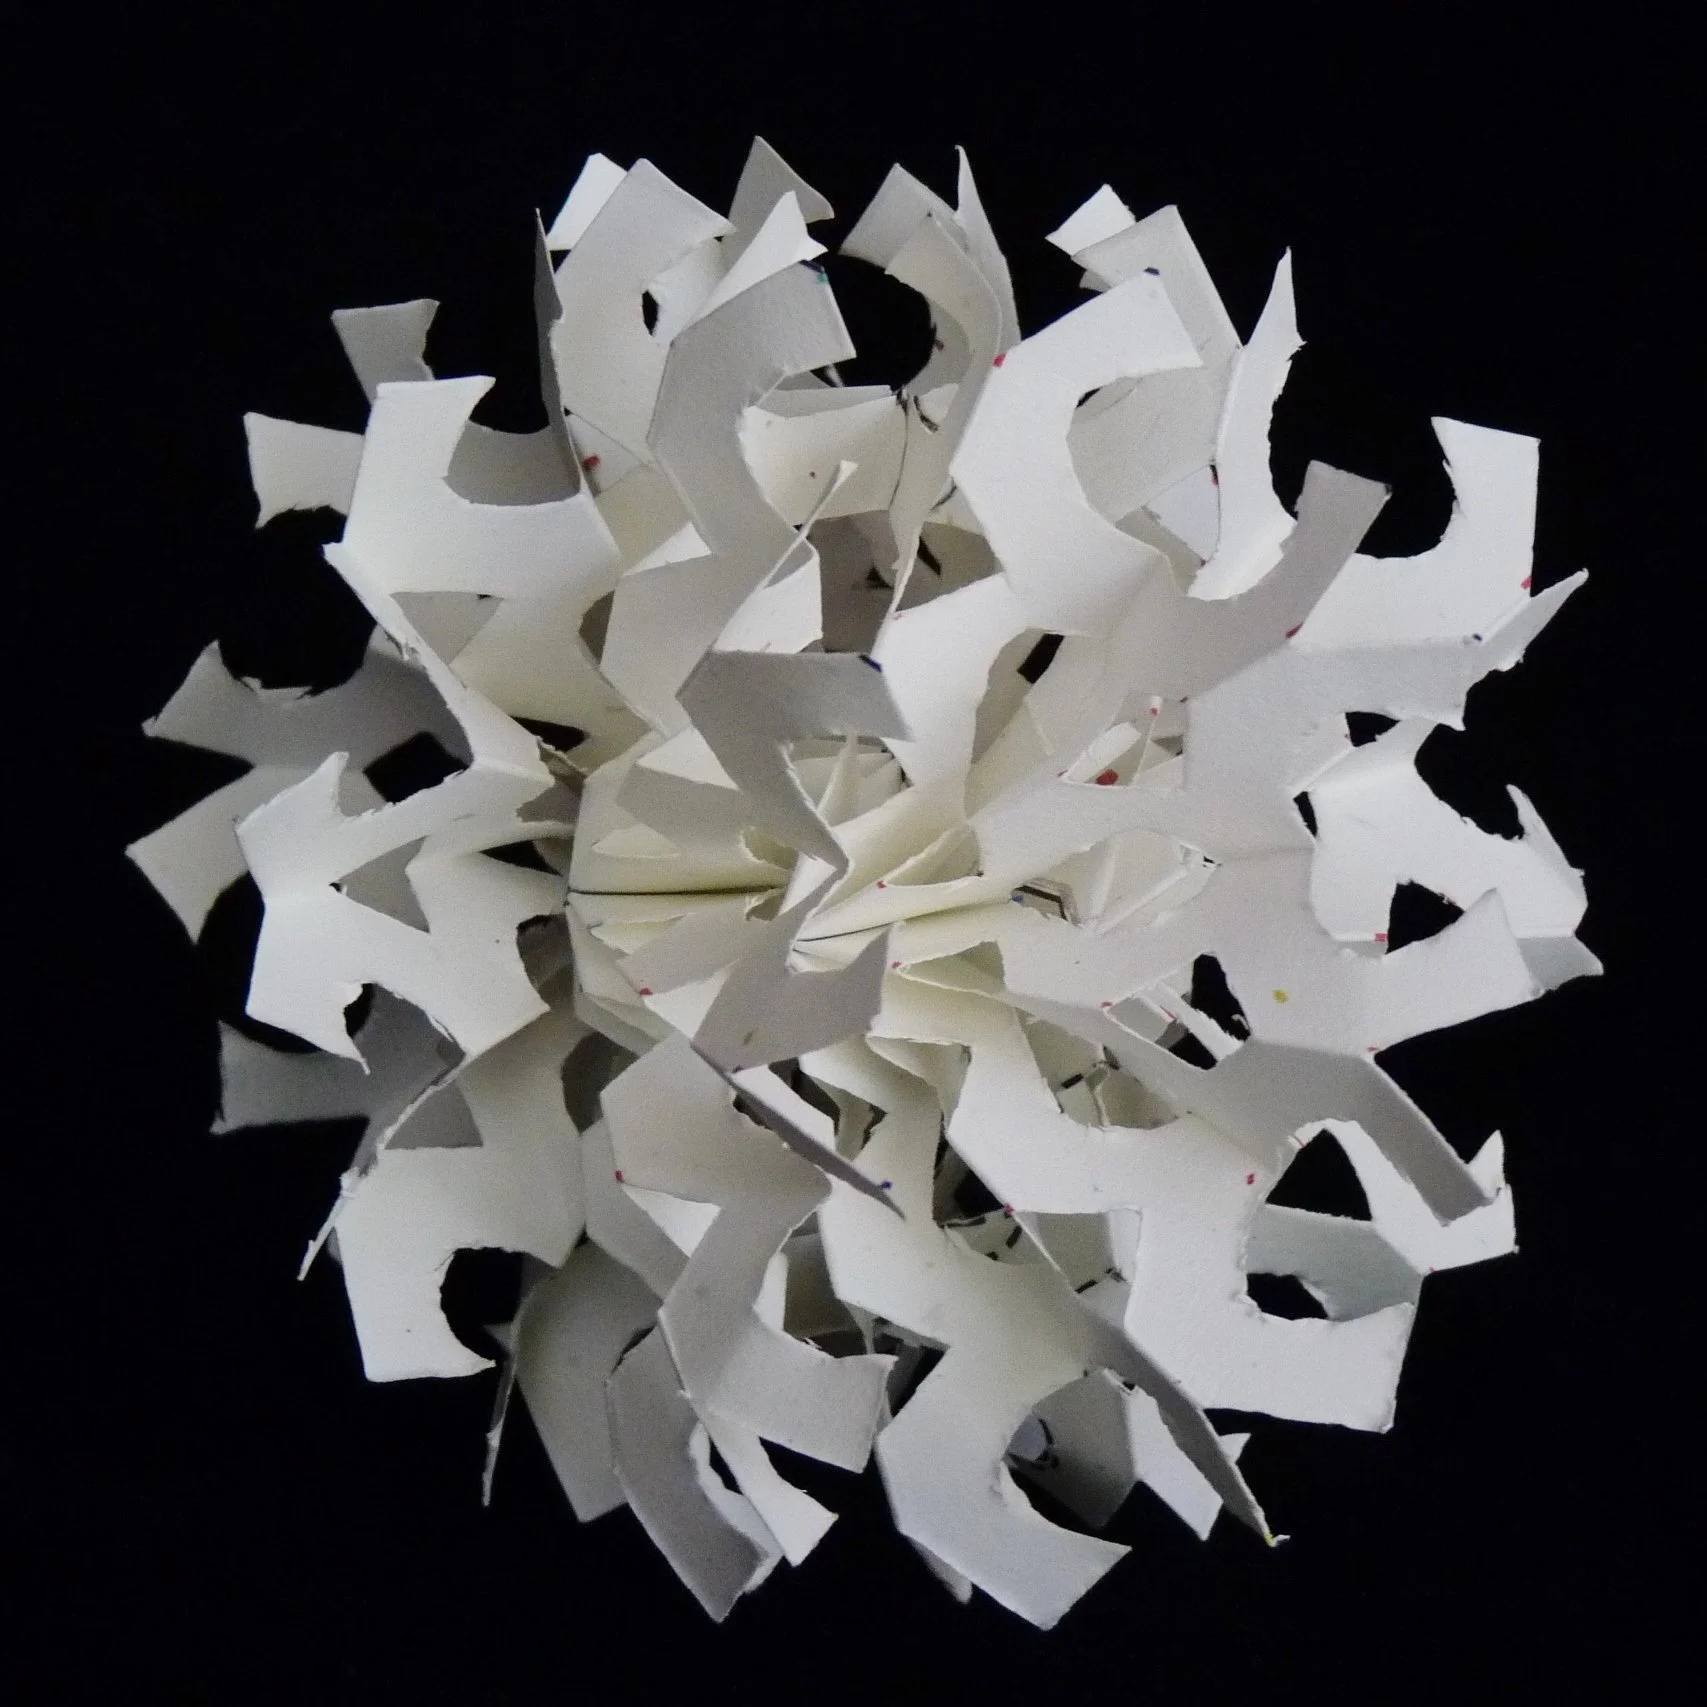
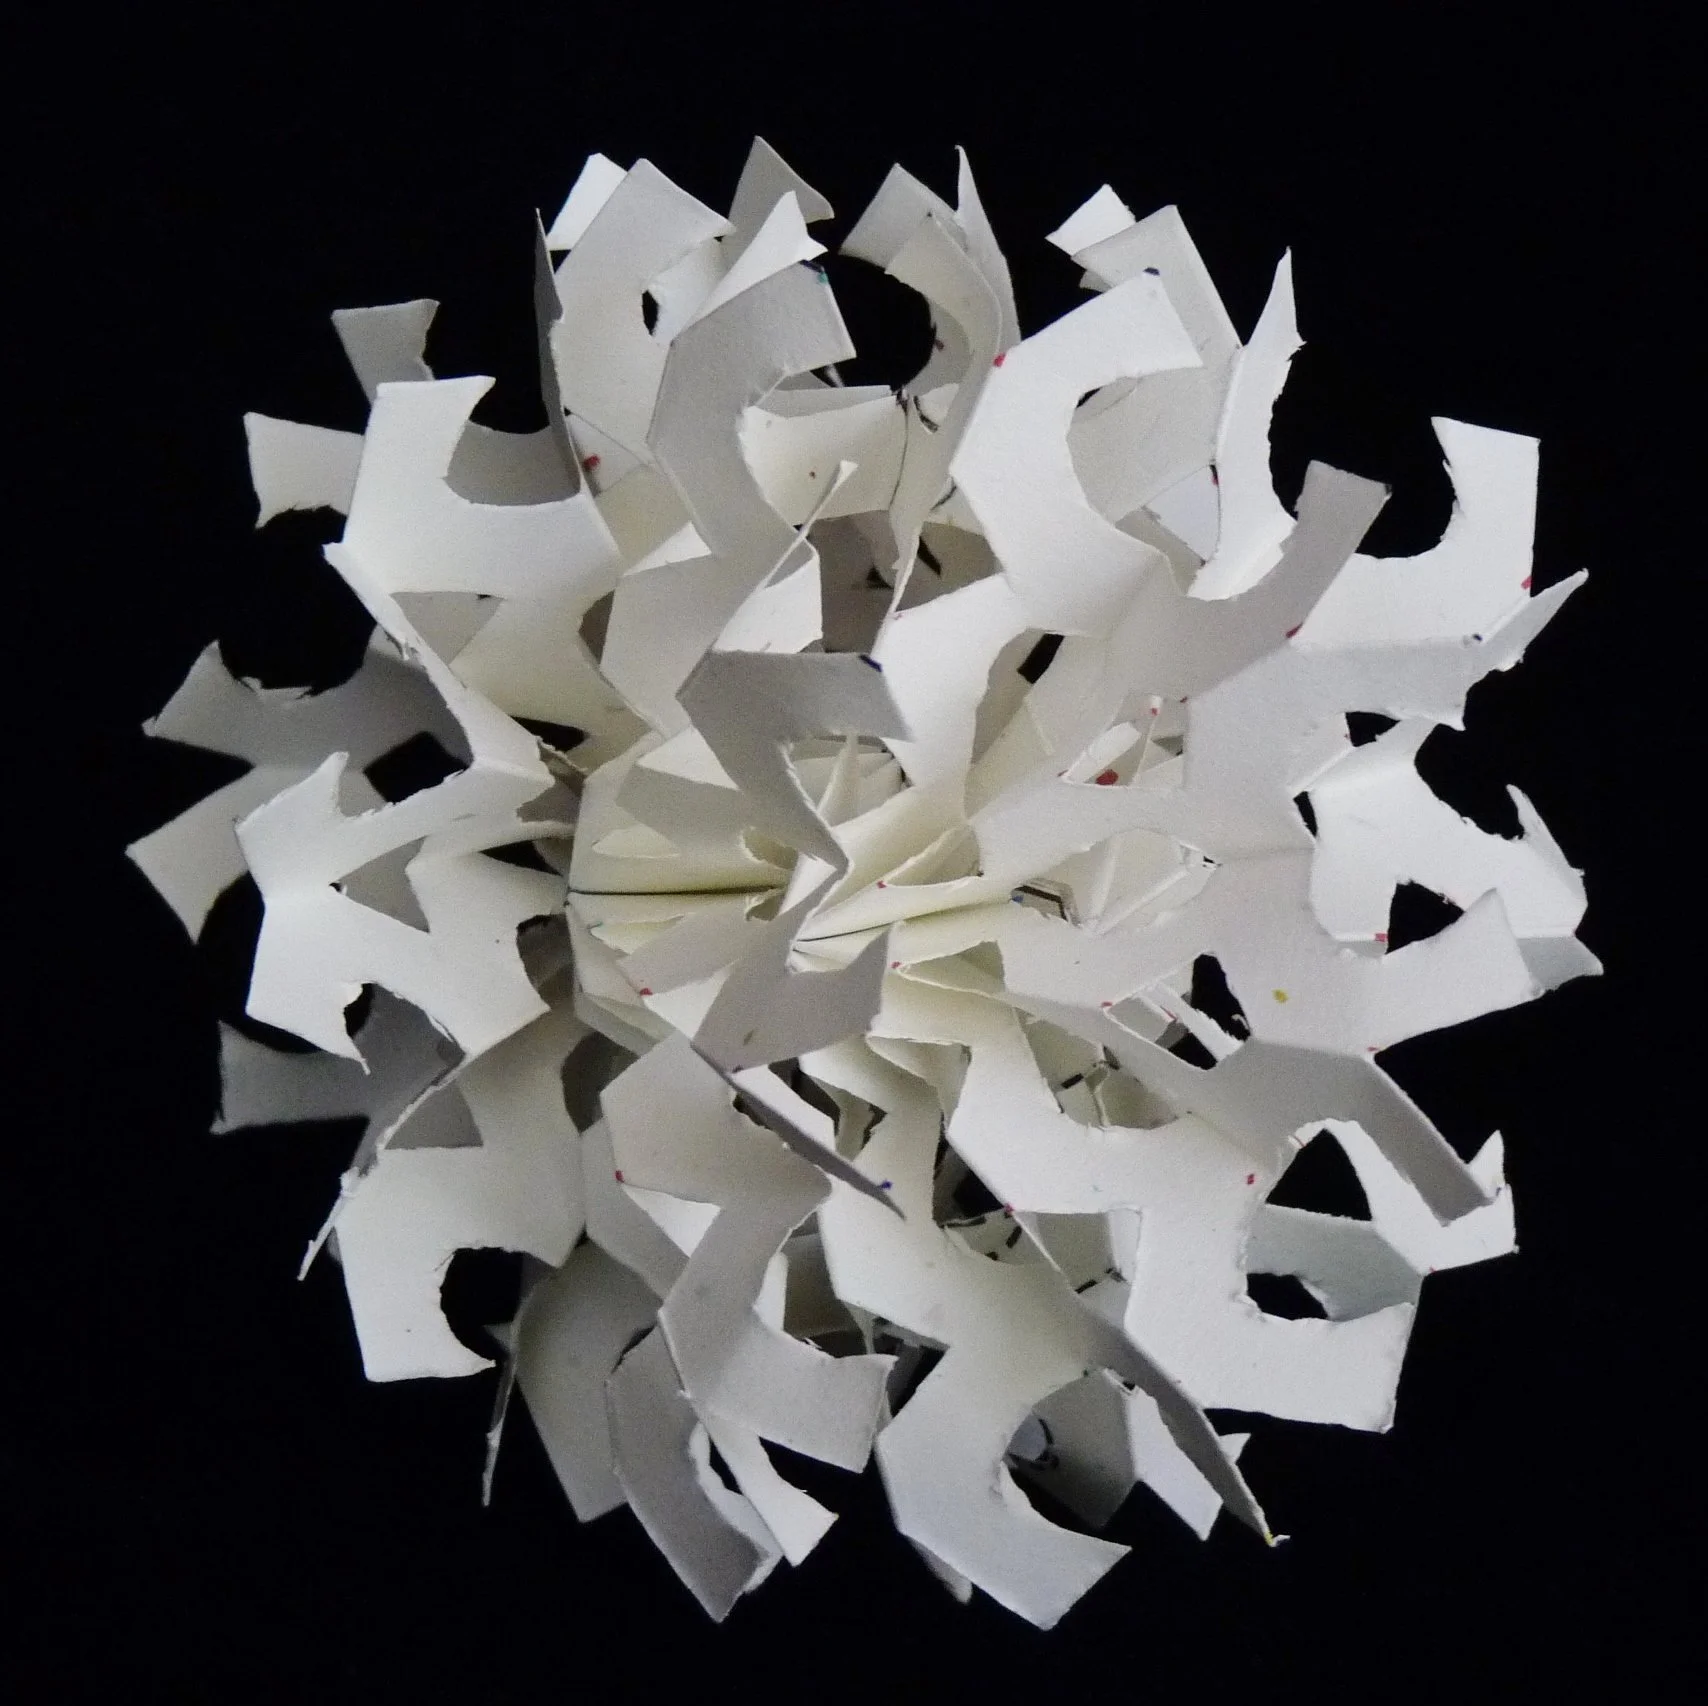
Photo 13. Completed Snow Storm - View 1

Photo 14. Completed Snow Storm - View 2
Another Example
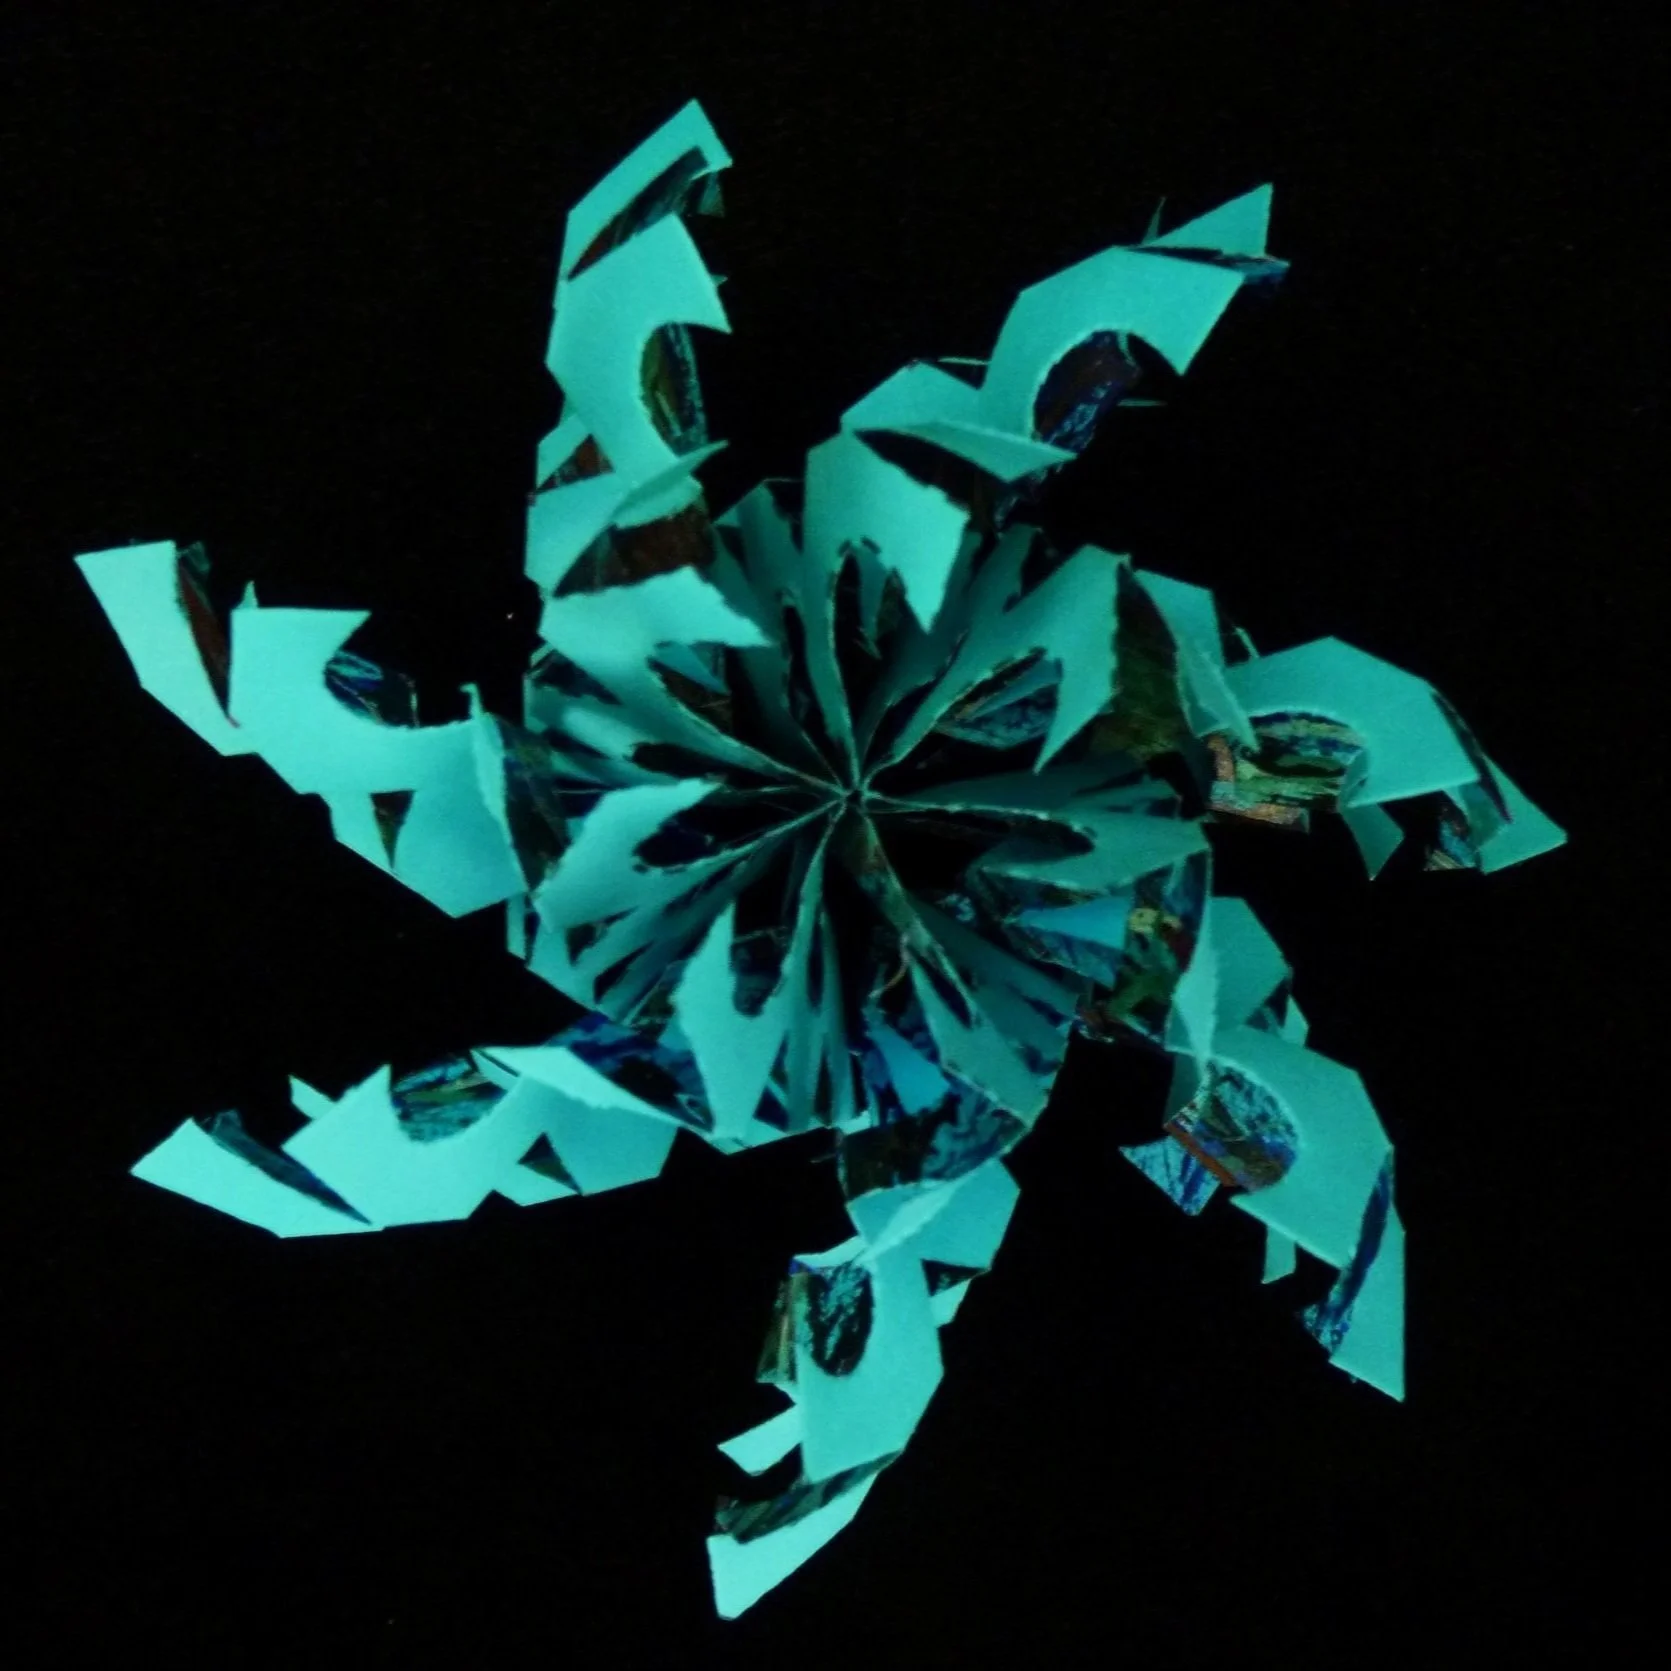
Photo 15. Completed Hurricane - View 1

Photo 16. Completed Hurricane - View 2
Choose other paper types to make your own rain storm, dust storm, and wind storm !