Starry Dodecasphere
Try this paper sphere! Simple to make with twelve identical pattern pieces, yet when complete the dodecasphere has sixty mostly solid triangles, twenty see-thru triangles, and twelve see-thru stars.

Project Info
Paper required: Two sheets 8.5 x 11 inch (or A4)
Finished Project size: 4 inches (10cm)
Difficulty Level: Beginner
INSTRUCTIONS
STEP 1
Print the Starry Dodecasphere pattern onto the two matching paper sheets of your choice.
Read the pattern key included in the General Instructions.
Step 2
Cut out the twelve pattern pieces by cutting on all black lines. All twelve pieces are identical.
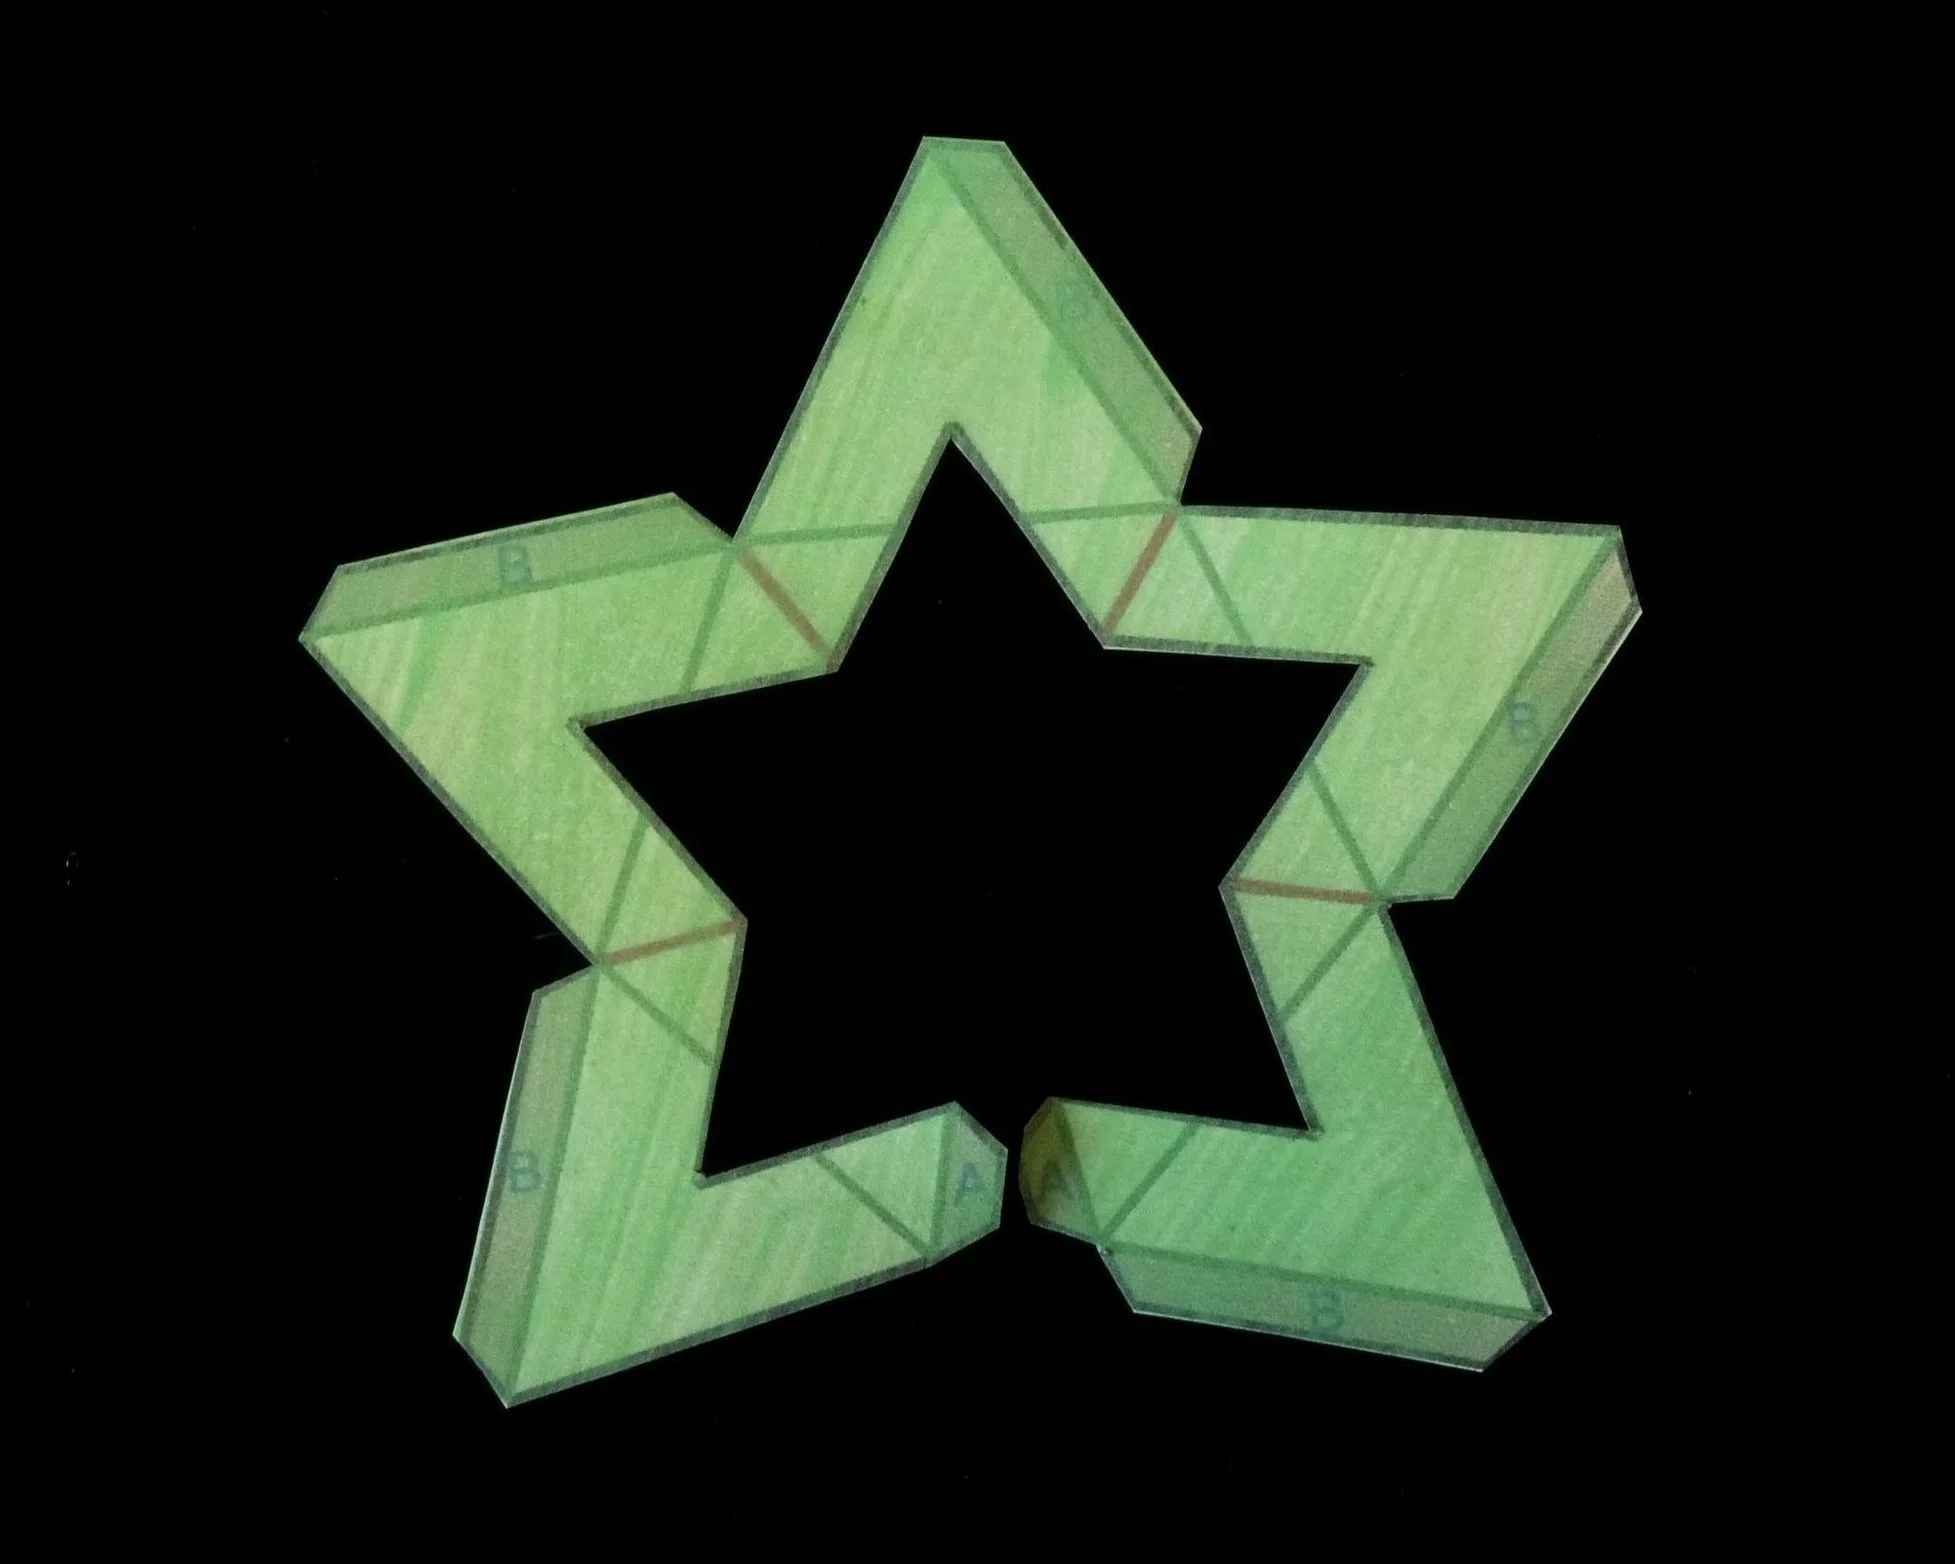
Photo 1. Inside of Pattern Piece after Step 2

Photo 2. Outside of Pattern Piece after Step 2
STEP 3
On each of the twelve pattern pieces, fold the red lines as mountain folds and the green lines as valley folds. Next glue Flap A to the other Flap A on each of the twelve pattern pieces.

Photo 3. Inside of Pattern Piece after Step 3

Photo 4. Outside of Pattern Piece after Step 3
Step 4
Connect two pattern pieces together by gluing a Flap B on on the first piece to a Flap B on the second piece.

Photo 5. Inside of Project after Step 4

Photo 6. Outside of Project after Step 4
Step 5
Connect the third piece to the project by gluing two Flap B’s on the third piece to two Flap B’s on the project, so that an open triangle is formed between the three connected pieces.

Photo 7. Inside of Project after Step 5
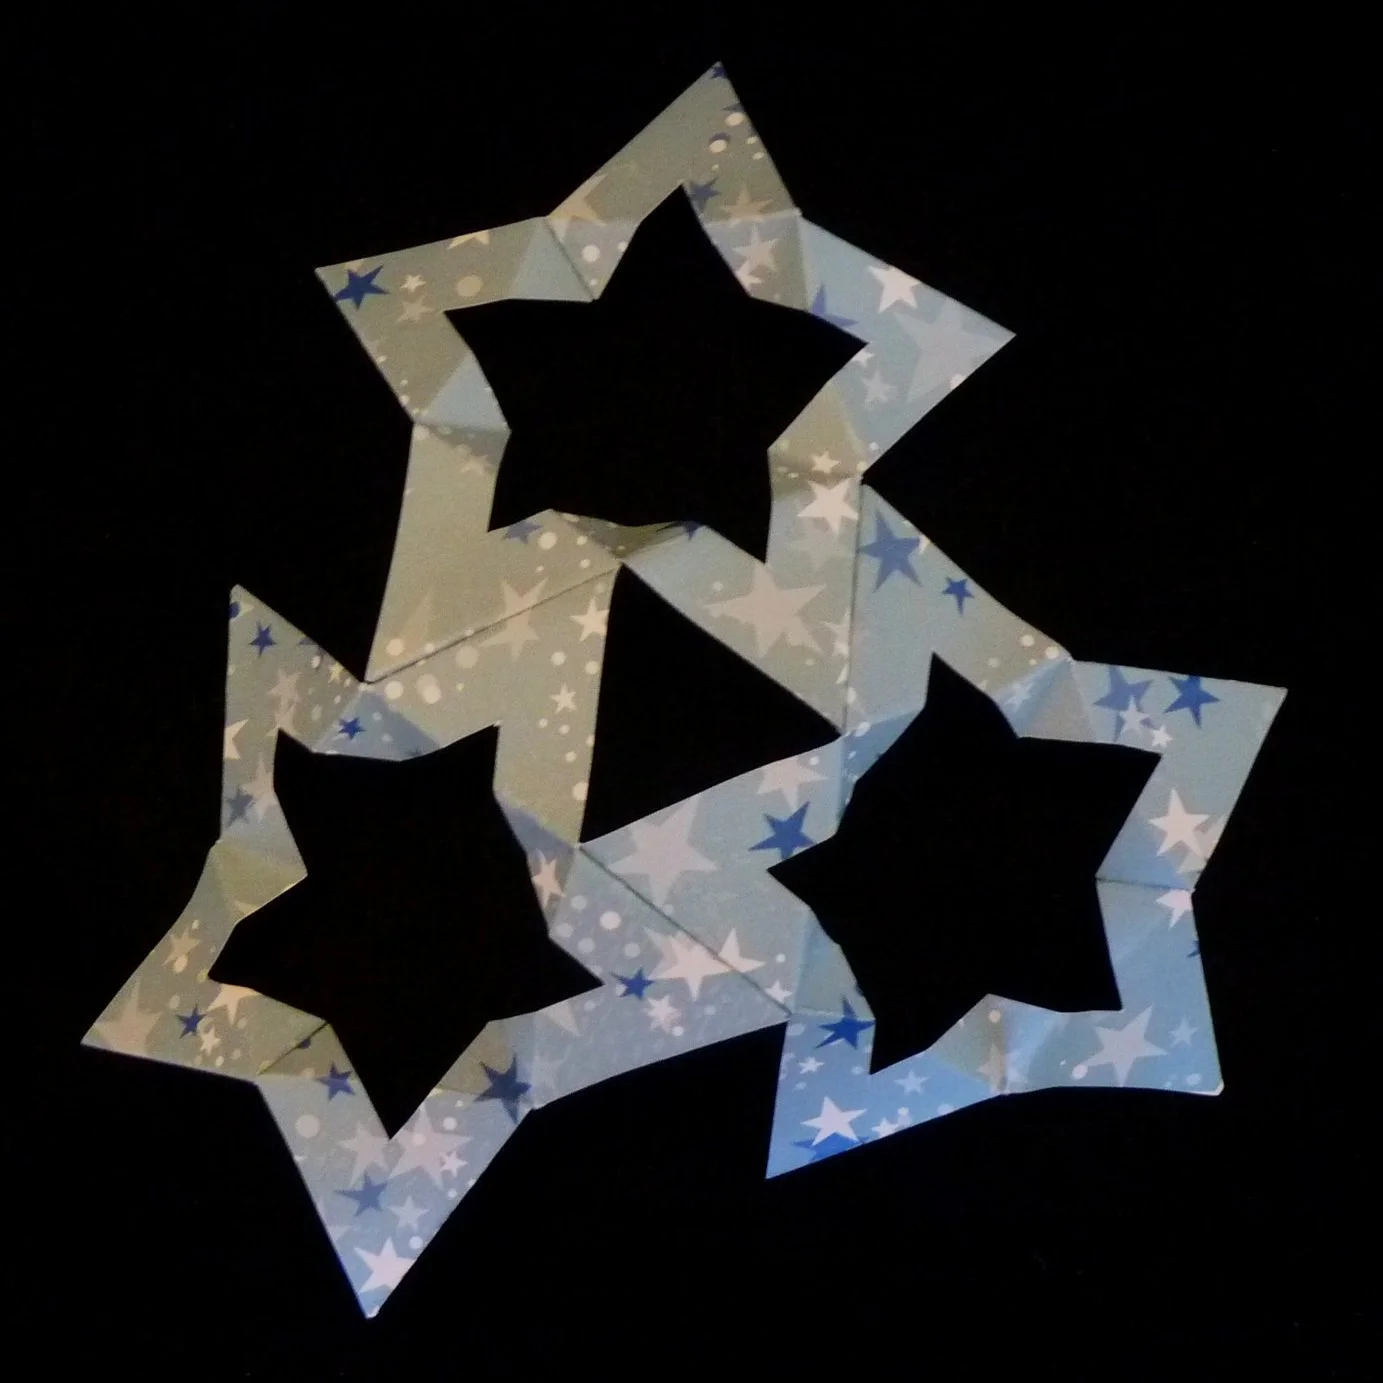
Photo 8. Outside of Project after Step 5
Step 6
Connect the fourth piece to the project by gluing two Flap B’s on the fourth piece to two Flap B’s on the project. Next connect the fifth piece by gluing two Flap B’s on the fifth piece to two Flap B’s on the project.

Photo 9. Four Pieces Connected

Photo 10. Five Pieces Connected
Step 7
Connect the sixth piece to the project by gluing three Flap B’s on the sixth piece to three Flap B’s on the project.
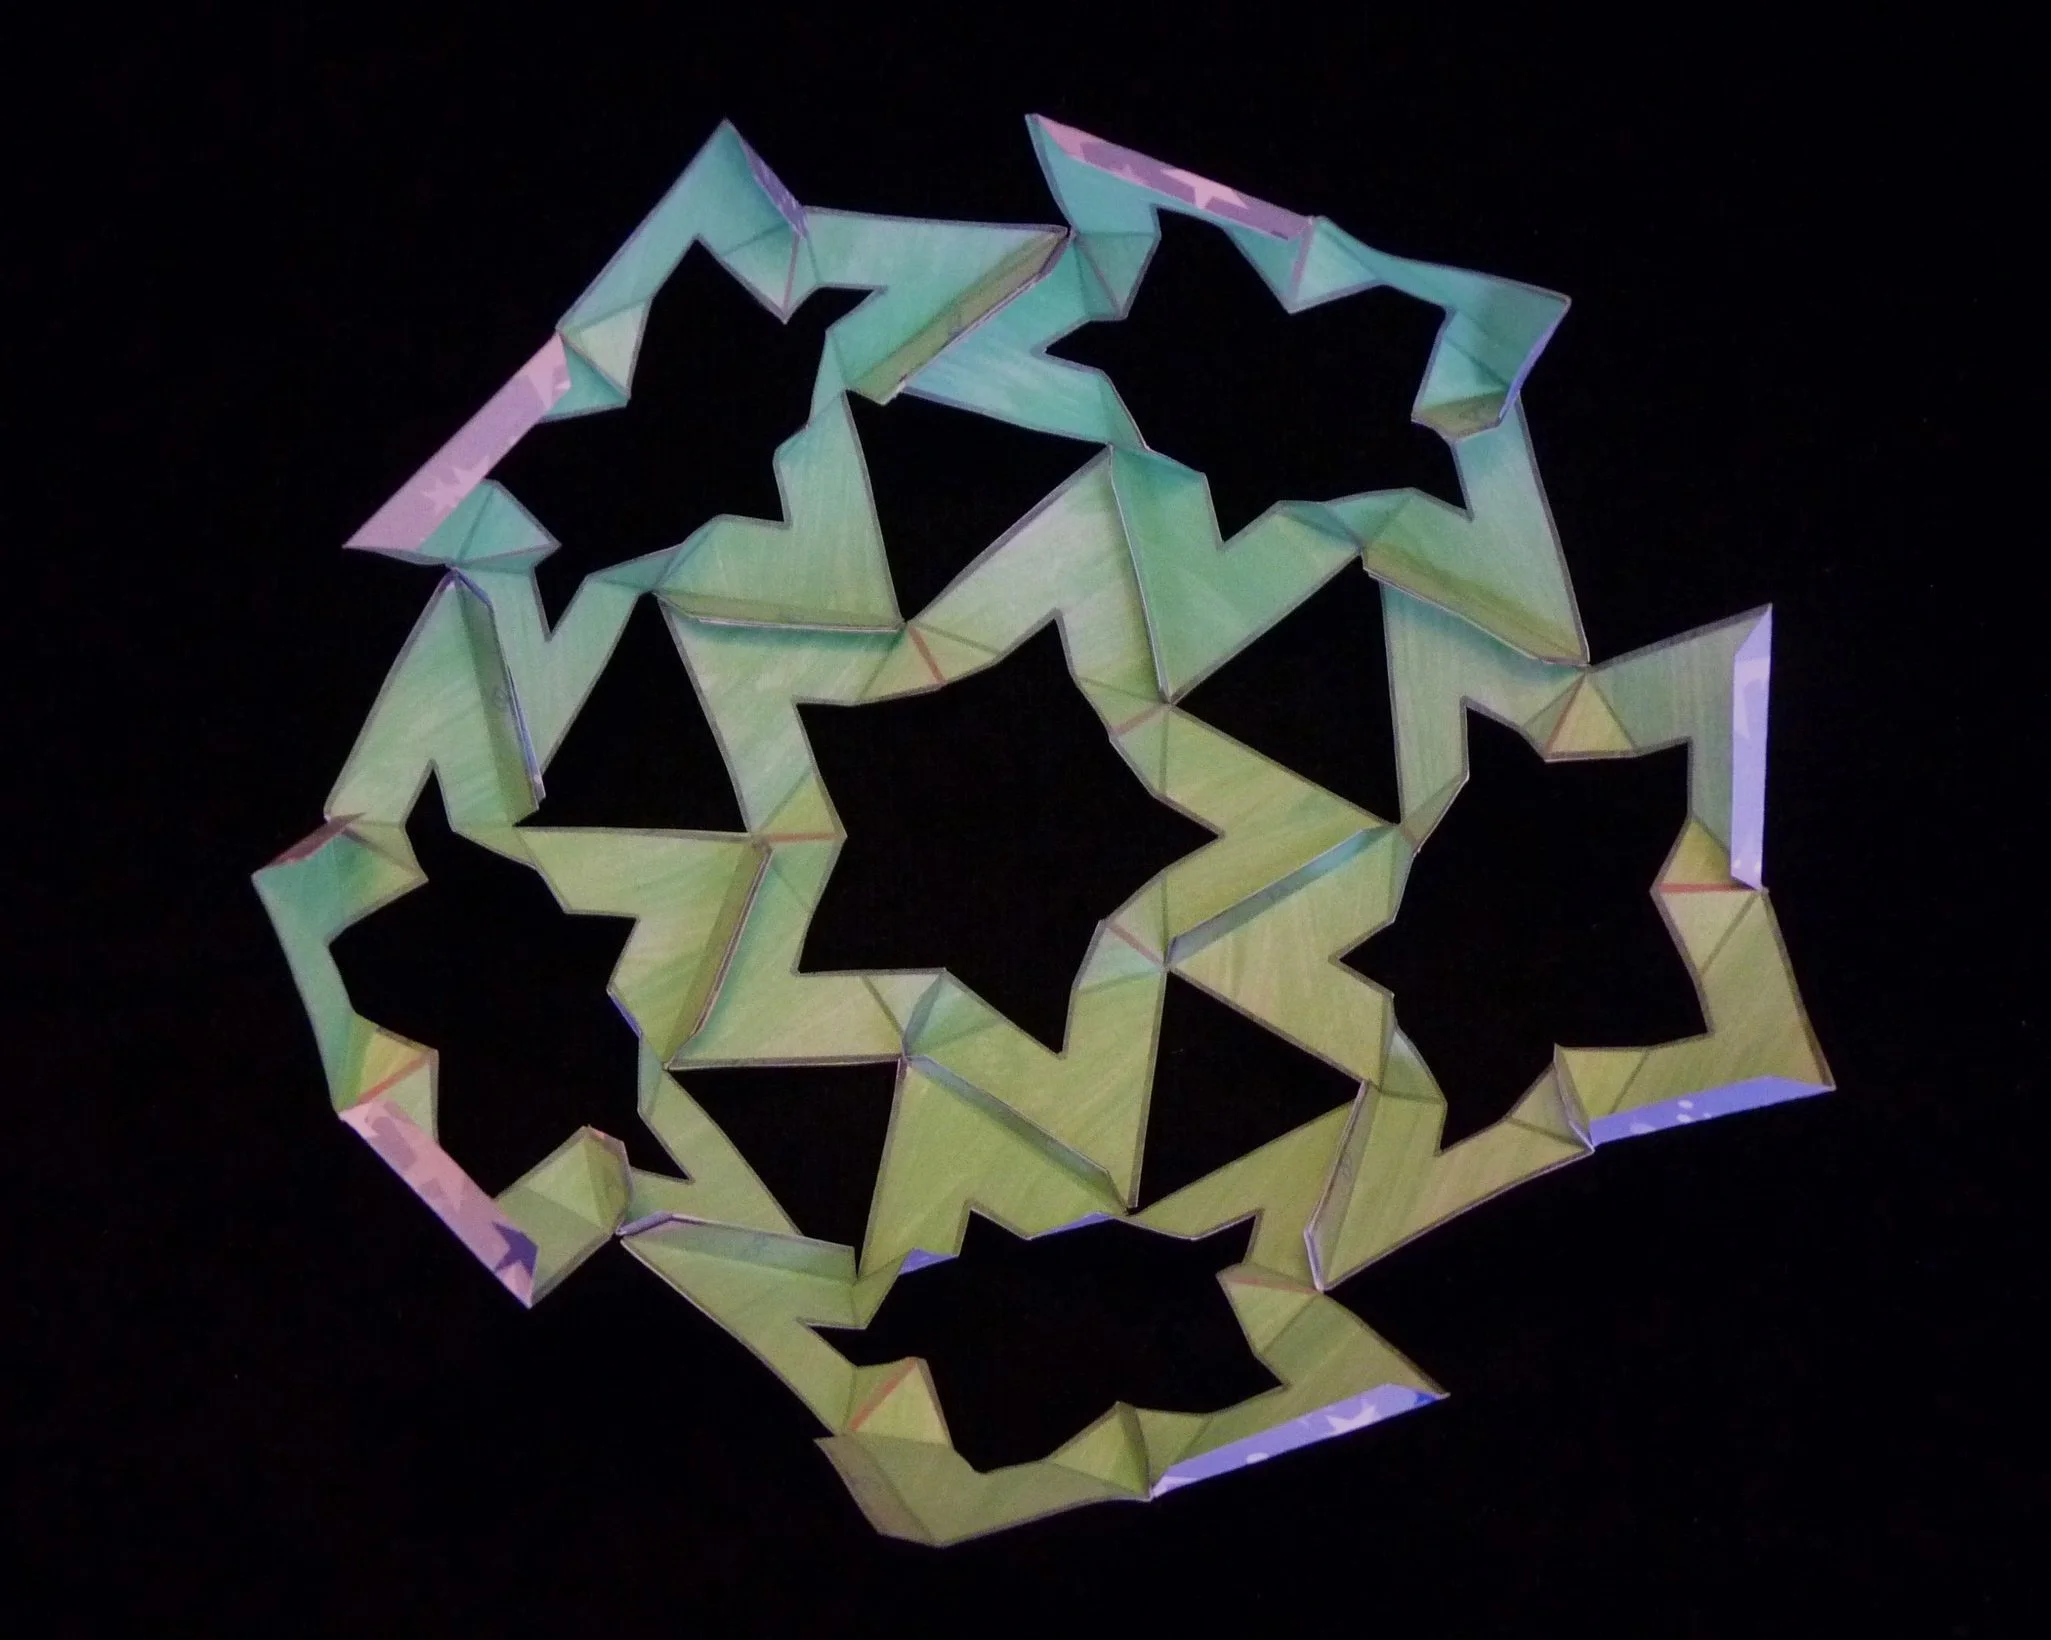
Photo 11. Inside of Project after Step 7
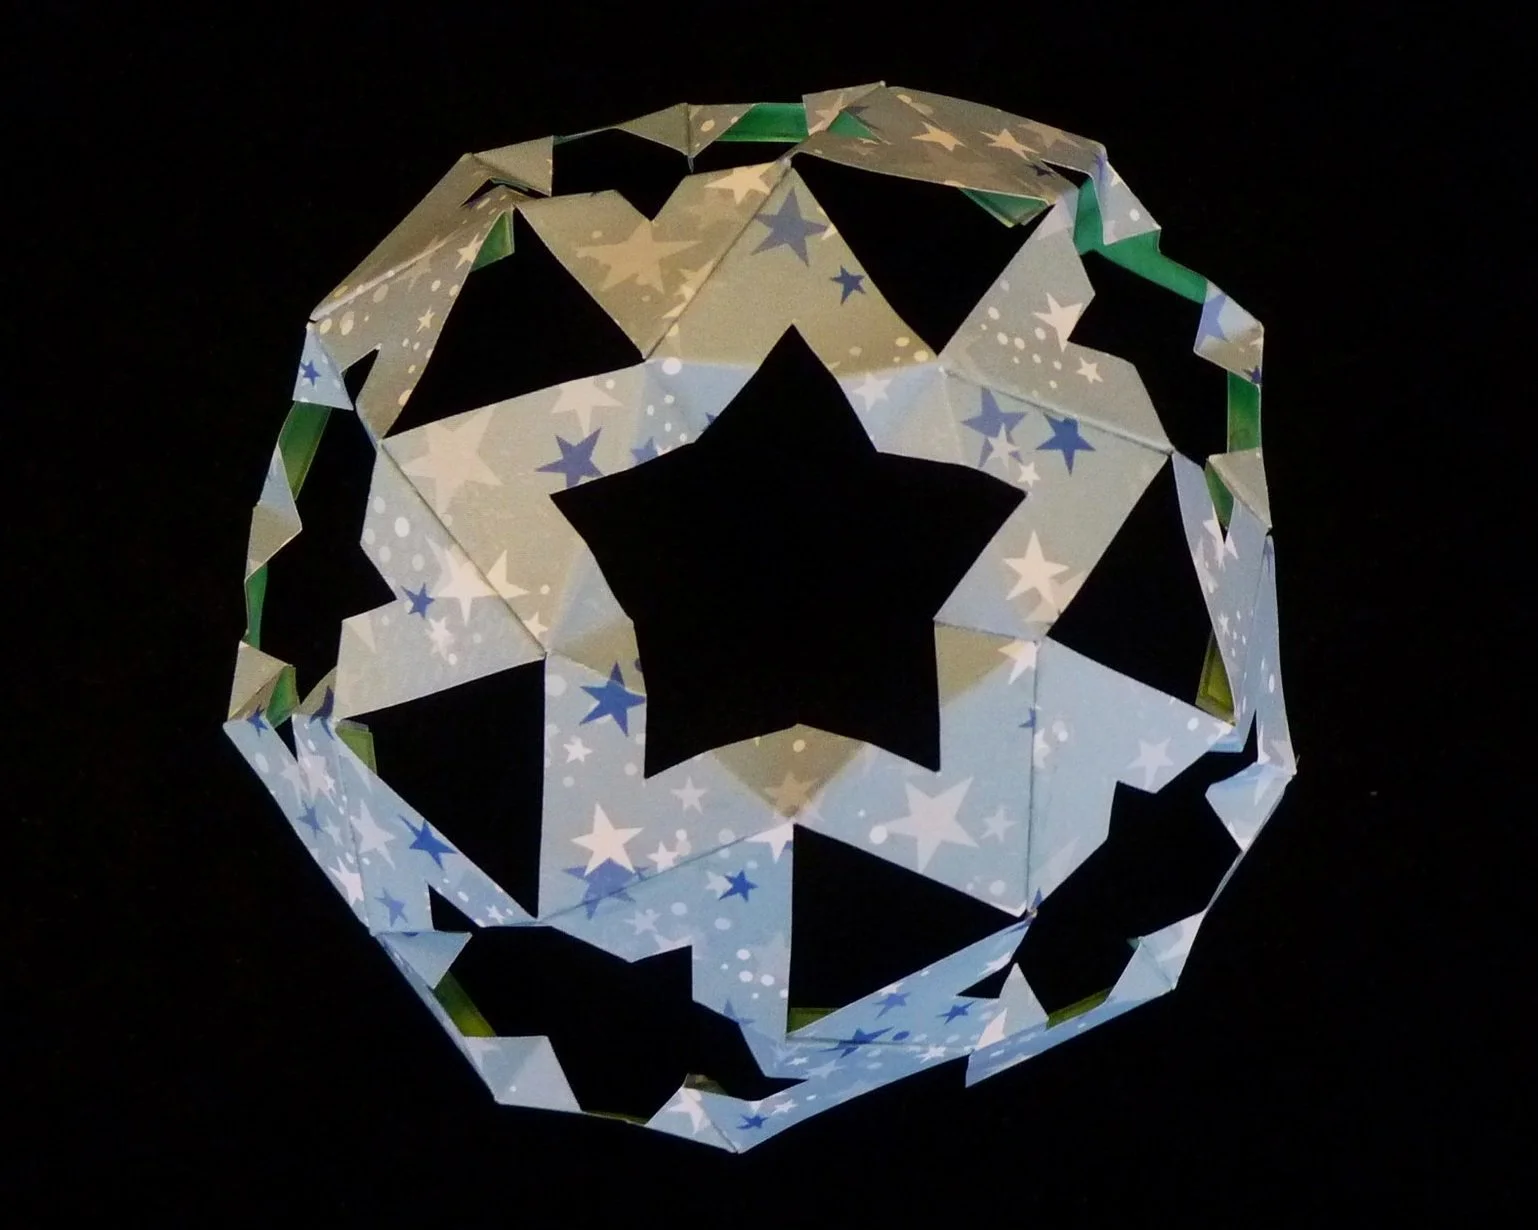
Photo 12. Outside of Project after Step 7
Step 8
Connect the seventh piece to the project by gluing two Flap B’s on the seventh piece to two Flap B’s on the project. Connect the eighth and ninth pieces by gluing three Flap B’s on each new piece to three Flap B’s on the project.
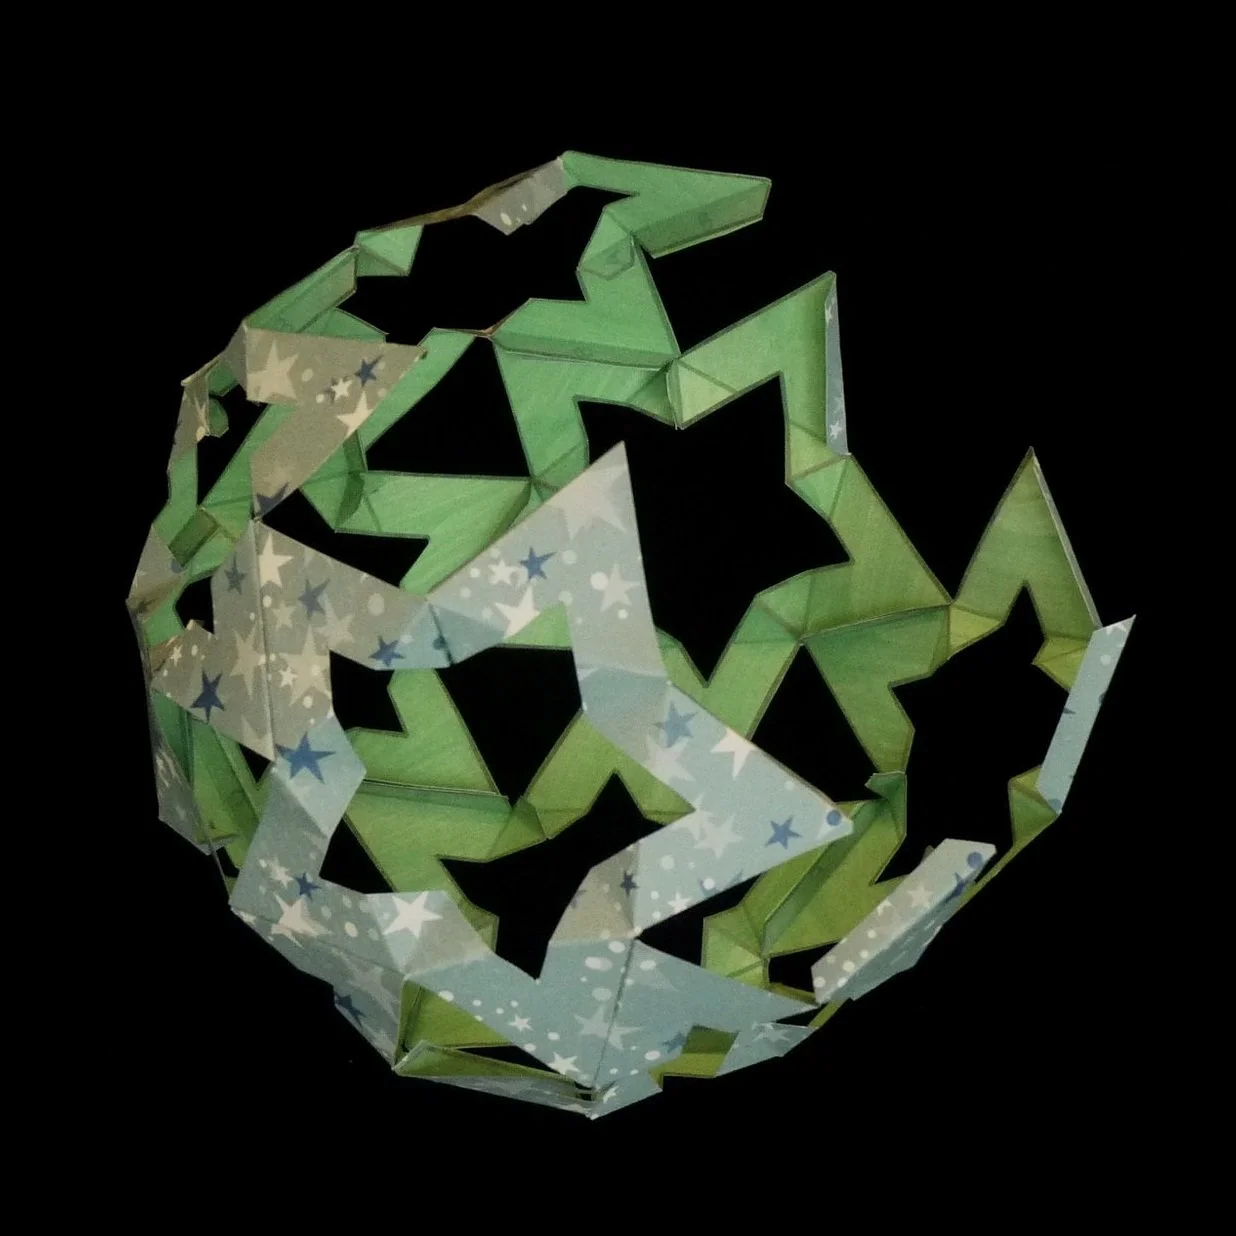
Photo 13. Project after Step 8
Step 9
Complete the Starry Dodecasphere by connecting the tenth, eleventh, and twelfth pieces to the project. Glue three Flap B’s on the tenth piece to three Flap B’s on the project. Then glue four Flap B’s on the eleventh piece to four Flap B’s on the project. Finally glue five Flap B’s on the twelfth piece to five Flap B’s on the project.
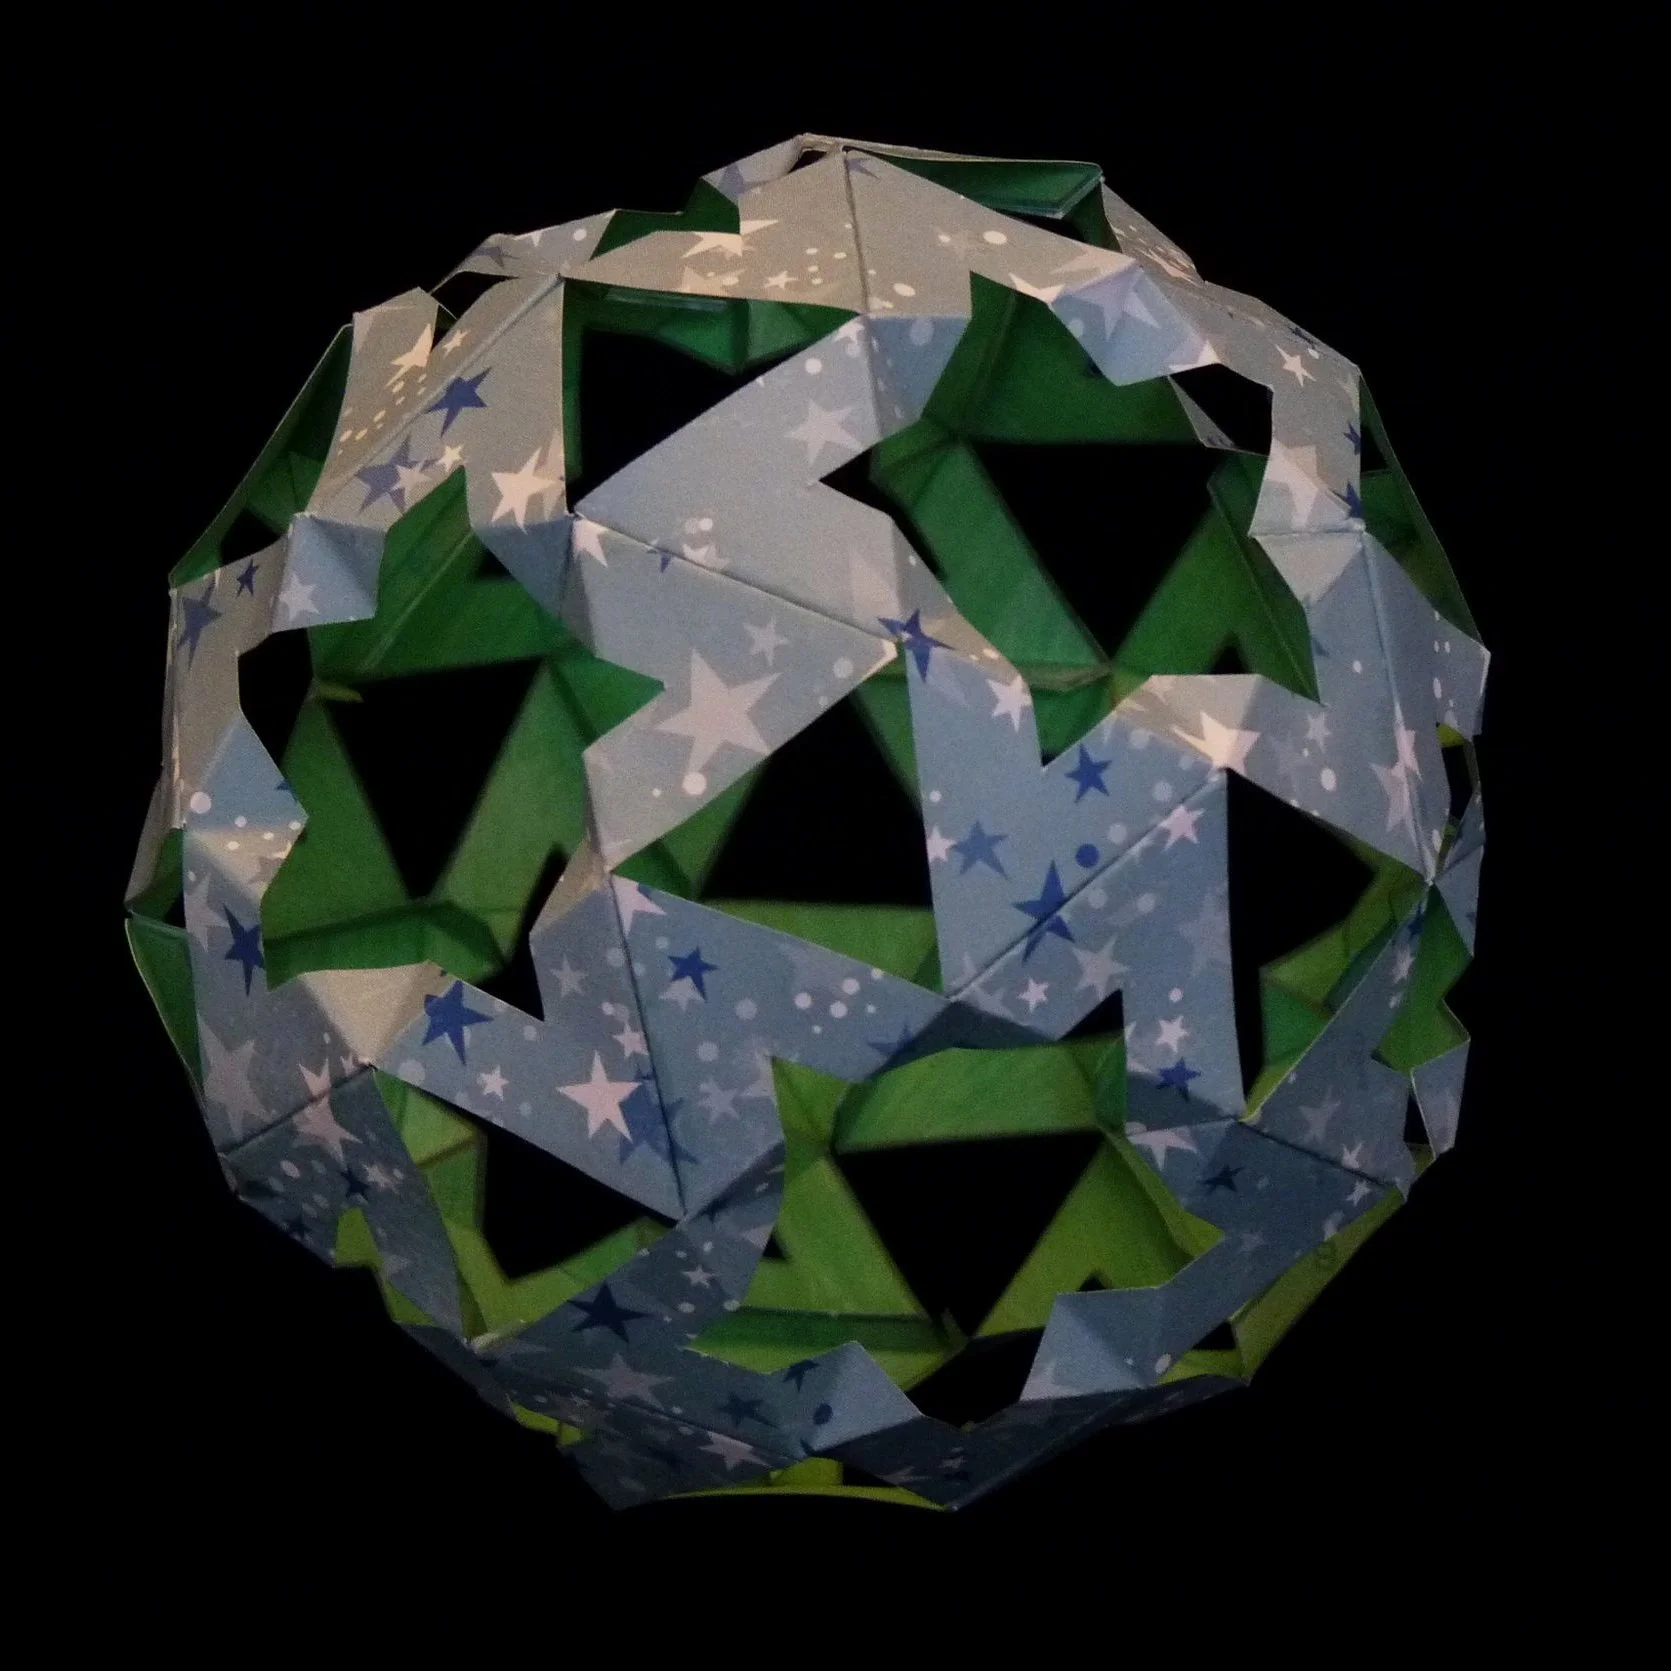
Photo 14. Completed Starry Dodecasphere, View 1
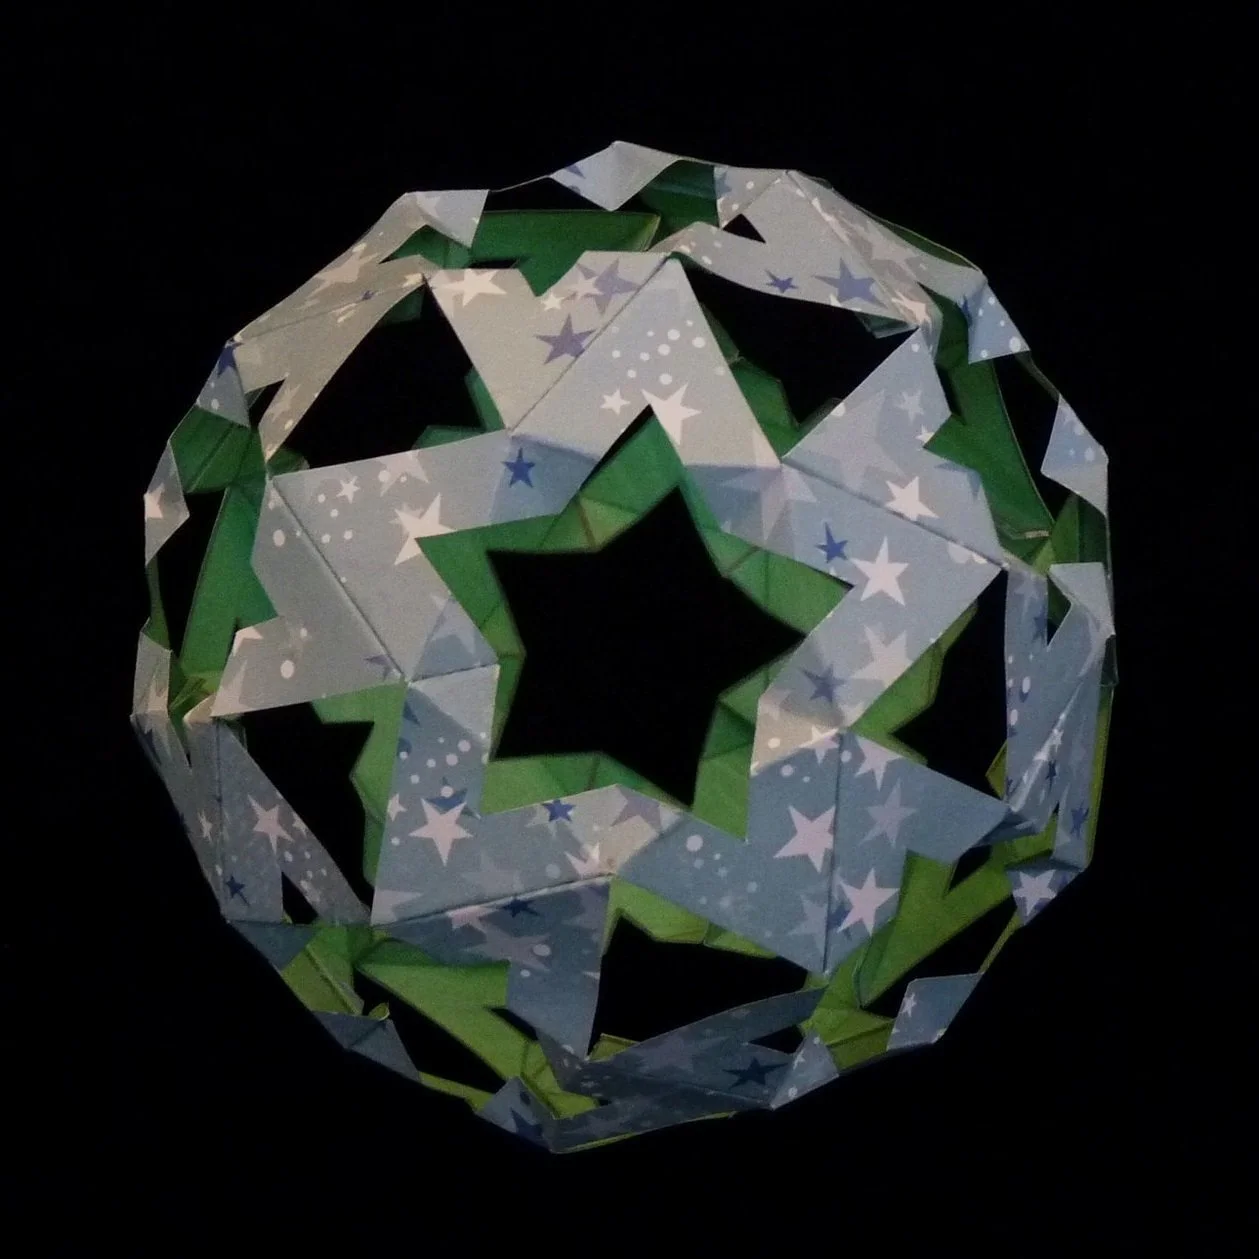
Photo 15. Completed Starry Dodecasphere, View 2
Another Example
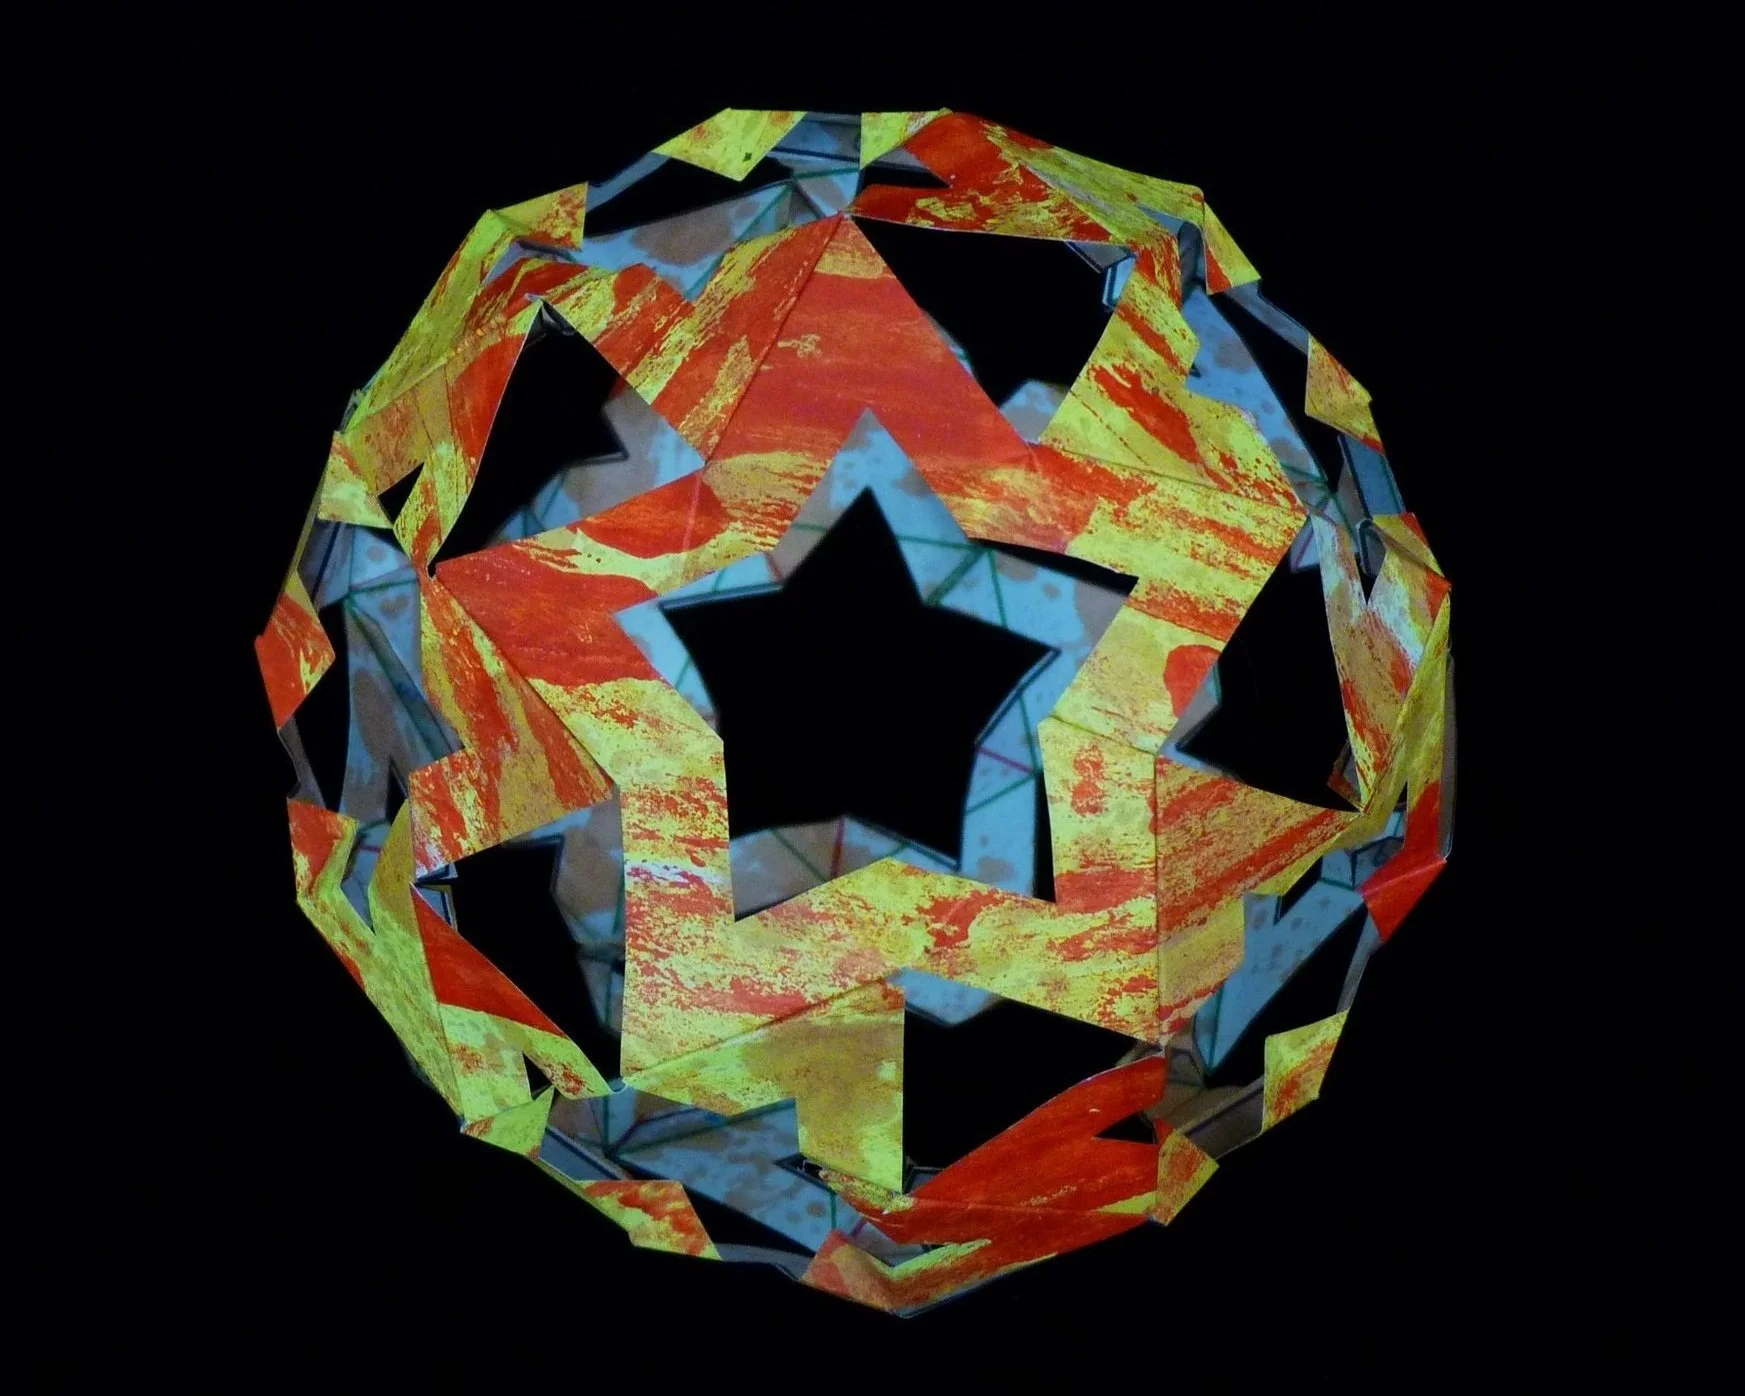
Photo 16. Another Completed Starry Dodecasphere, View 1
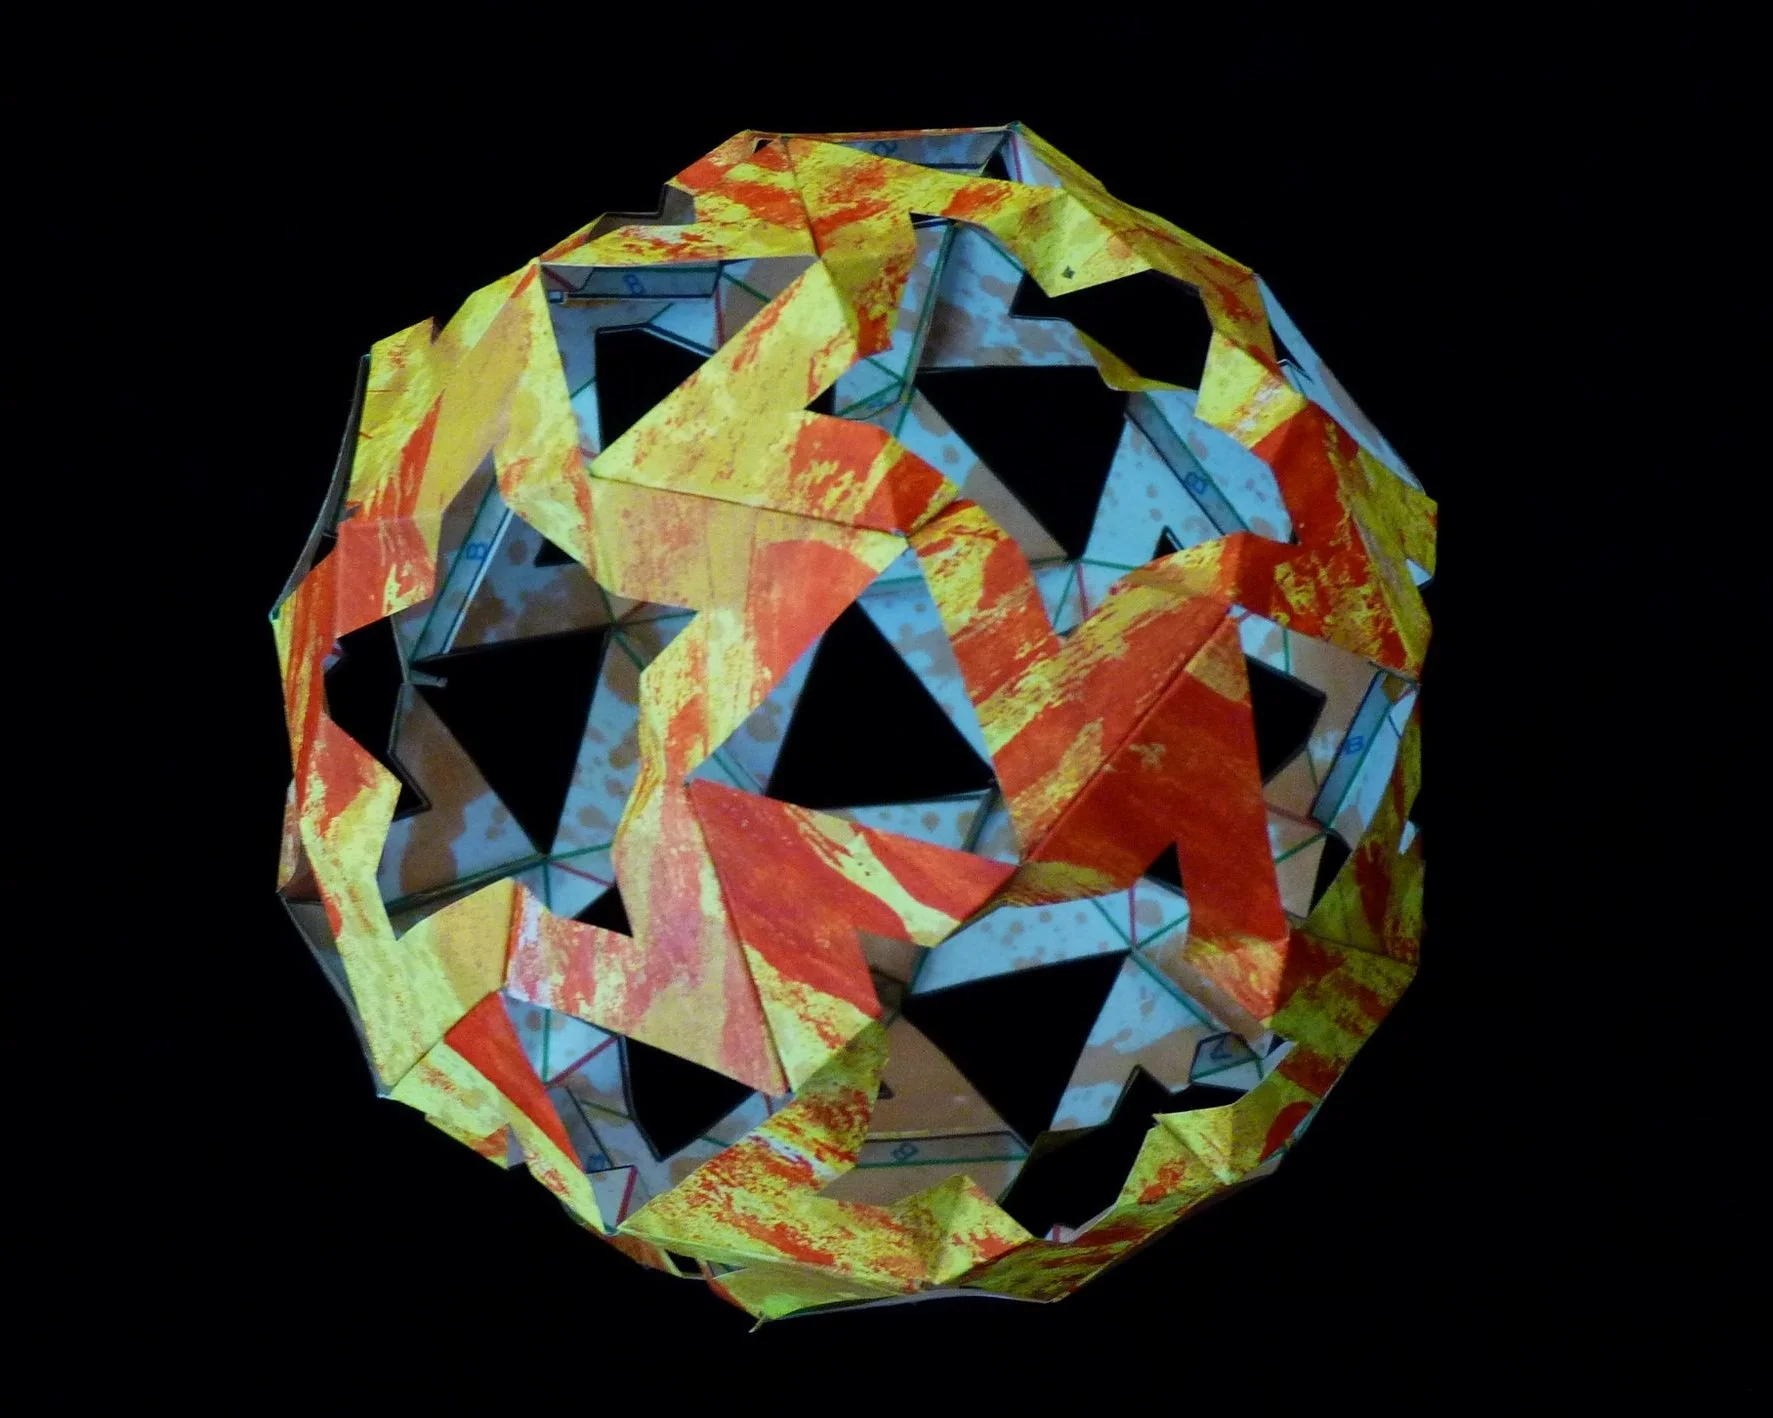
Photo 17. Another Completed Starry Dodecasphere, View 2

Photo 18. Another Completed Starry Dodecasphere, View 3
For you 3D geometry stars, this Starry Dodecasphere is in the form of a snub dodecahedron.