Stair Space
Try these magical stairs to any dimension. Looks unique from every direction.

Project Info
Paper required: Two sheets 8 1/2 x 11 inches (or A4)
Finished Project size: 4 1/2 inches (11 cm)
Difficulty Level: Intermediate
INSTRUCTIONS
STEP 1
Print the Stair Space pattern onto the two matching papers of your choice, that is print the pattern twice. Both sides of the paper will show in this project.
Read the pattern key included in the General Instructions.
Step 2
Cut out the four pattern pieces by cutting on all black lines, including the edges of all squares and rectangles shown with black lines. The eight interior lines between rectangles may be easiest to cut with a paper cutting knife.

Photo 1. After Step 2, Inside and Outside of Pattern
STEP 3
For each of the four pattern pieces, fold all green lines as valley folds and all red line as mountain folds.

Photo 2. After Step 3, Inside of Pattern.

Photo 3. After Step 3, Outside of Pattern.
Step 4
Attach the first pattern piece to the second as follows. Glue Flap F on the first piece to Flap F on the second piece. Glue Flap E on the first piece to Flap G on the second piece. Glue Flap D on the first piece to Flap H on the second piece. Glue Flap C on the first piece to Flap I on the second piece. Glue Flap B on the first piece to Flap J on the second piece. Glue Flap A on the first piece to Flap K on the second piece. Glue Flap G on the first piece to Flap E on the second piece. Glue Flap H on the first piece to Flap D on the second piece. Glue Flap I on the first piece to Flap C on the second piece. Glue Flap J on the first piece to Flap B on the second piece. Glue Flap K on the first piece to Flap A on the second piece. Attach the third pattern piece to the fourth pattern piece in the same way.

Photo 4. After Step 4, Inside of Pattern.

Photo 5. After Step 5, Outside of Pattern.
Step 5
Complete the project by connecting the two halves together as follows. Glue Flap N on the first piece to Flap N on the third piece. Glue Flap O on the first piece to Flap M on the third piece. Glue Flap M on the first piece to Flap O on the third piece. Glue Flap P on the first piece to Flap L on the third piece. Glue Flap L on the first piece to Flap P on the third piece. Continue by gluing Flap L on the second piece to Flap P on the fourth piece; and Flap P on the second piece to Flap L on the fourth piece. Glue Flap O on the second piece to Flap M on the fourth piece. Glue Flap M on the second piece to Flap O on the fourth piece. Finish by gluing Flap N on the second piece to Flap N on the fourth.

Photo 6. Completed Stair Space, View 1.

Photo 7. Completed Stair Space, View 2.

Photo 8. Completed Stair Space, View 3.

Photo 9. Completed Stair Space, View 4.
ANOTHER Example
Two more examples of completed Stair Space.
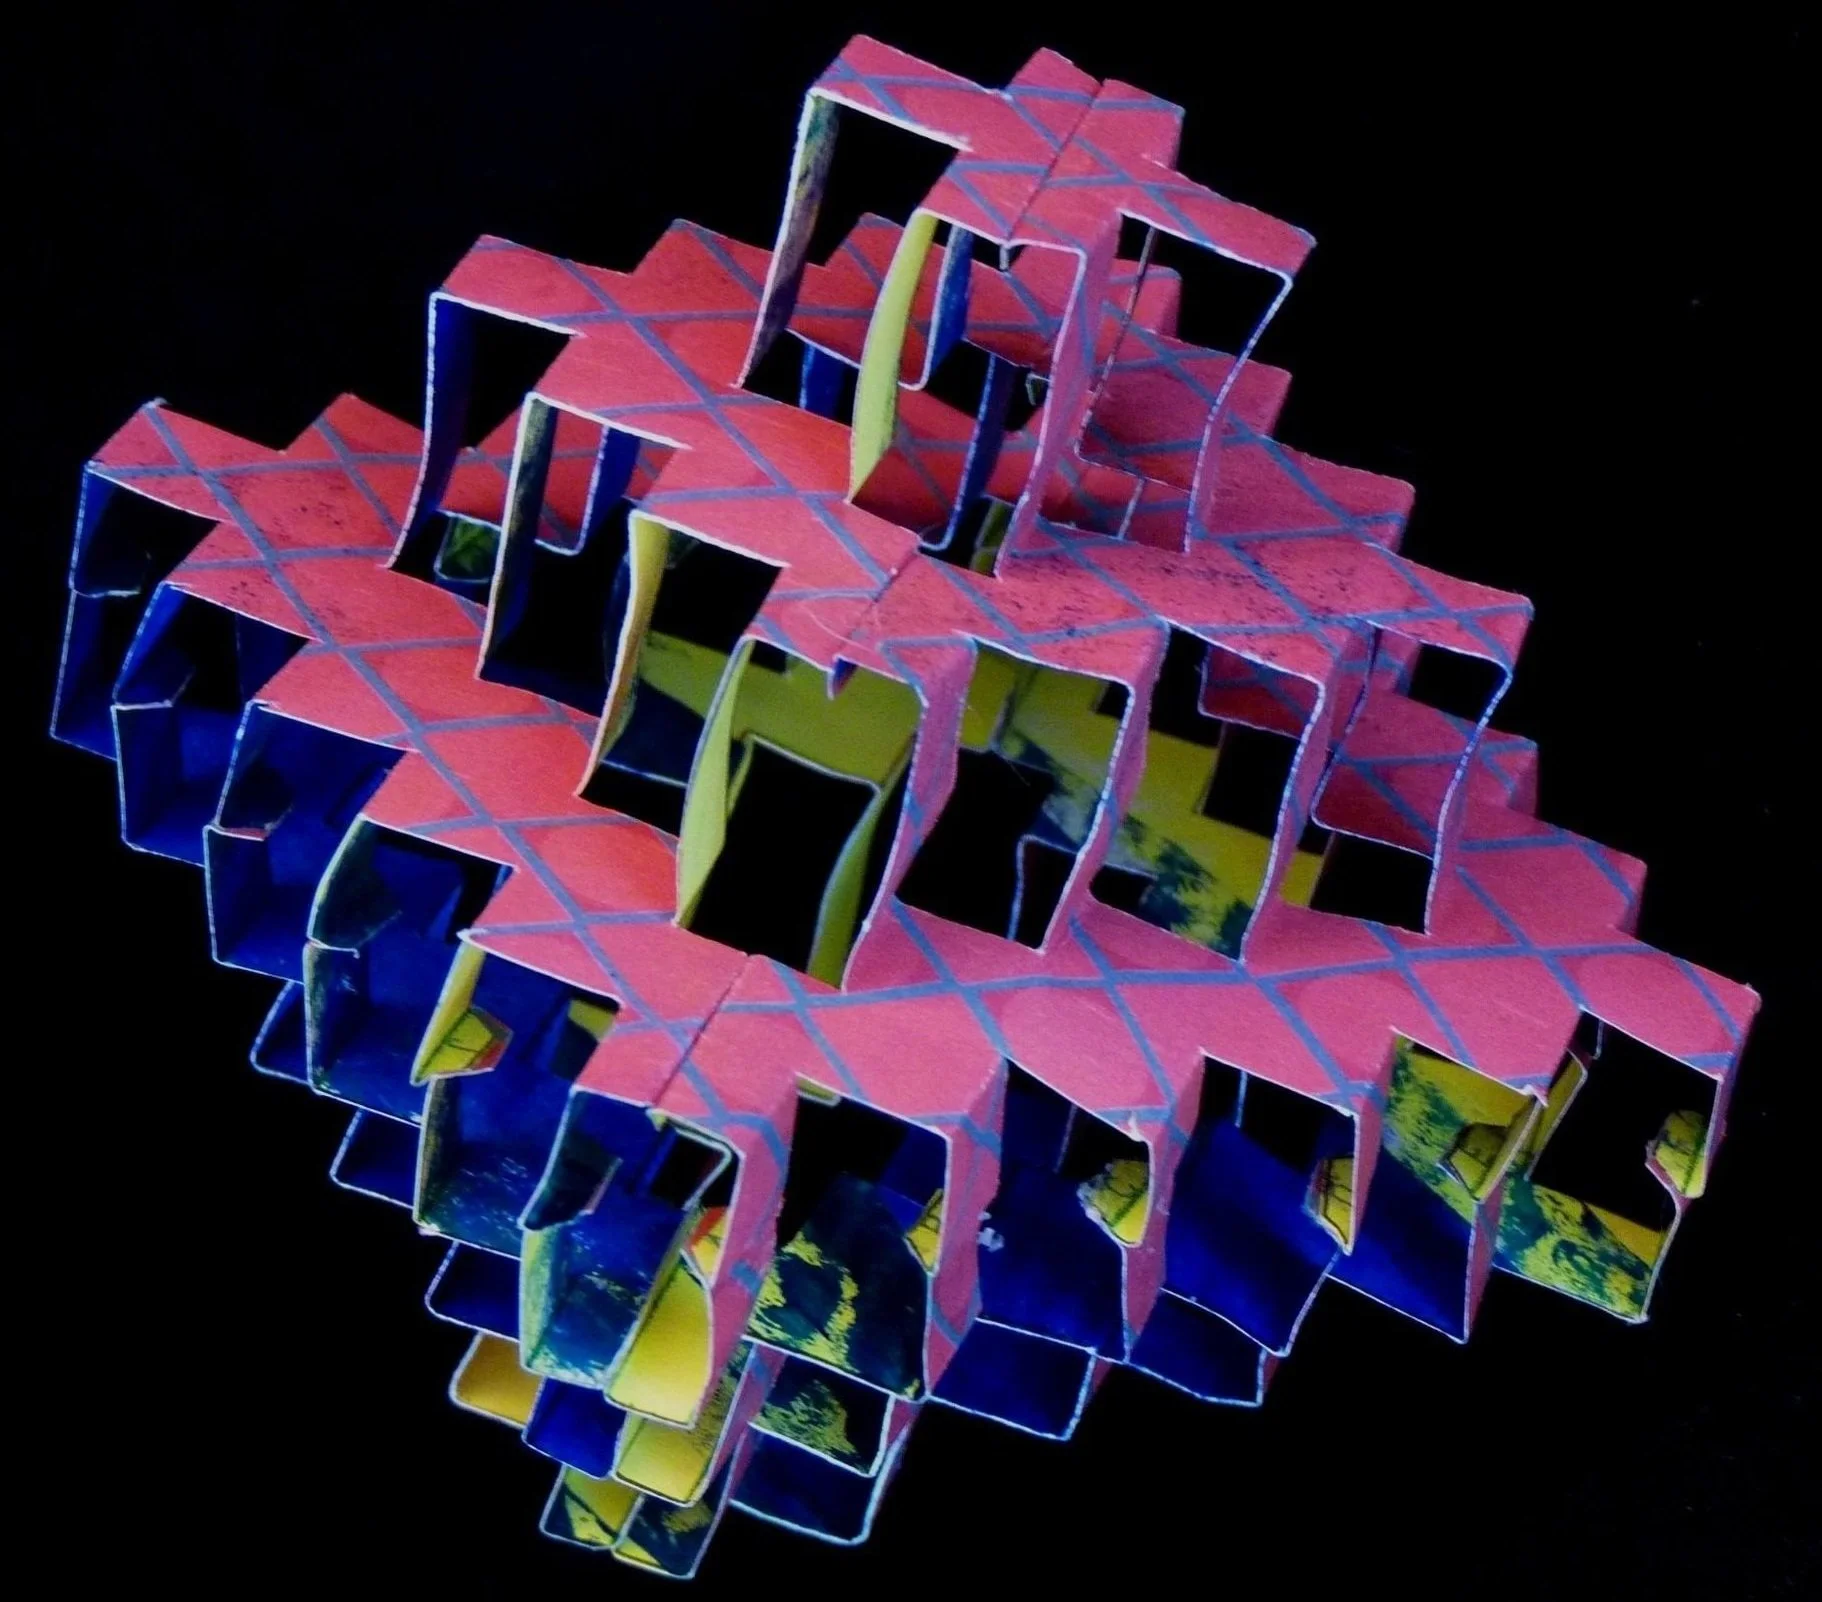
Photo 10. Second Example Stair Space, View 1.

Photo 11. Second Example Stair Space, View 2.

Photo 12. Third Example Stair Space, View 1.

Photo 13. Third Example Stair Space, View 2.