Mass Confusion
Mass confusion? Look closer and you will see the symmetry of a perfect Platonic solid, an underlying 20-sided icosahedron.

Project Info
Paper required: Three sheets 8 1/2 inch x 11 inch (or A4)
Finished Project size: 5 inches (12 cm)
Difficulty Level: Advanced
INSTRUCTIONS
STEP 1
Print the Mass Confusion pattern onto the paper of your choice. Print the pattern onto each of the three sheets. You will need one of Part 1 and twenty of Part 2. You will have two extra of Part 1 and one extra of Part 2 after printing.
Read the pattern key included in the General Instructions.
Step 2
Cut out one of Part 1 and twenty of Part 2 by cutting on all pattern exterior black lines.

Photo 1. Inside of Pattern Parts 1 and 2 after Step 2.

Photo 2. Outside of Pattern Parts 1 and 2 after Step 2.
STEP 3
For each Part 2, temporarily fold the diamond in the long direction as shown in Photo 3. While folded, cut on the interior black lines of the pattern. Then unfold.

Photo 3. Step 3, Part 2 after Folding and after Cutting and Unfolding
Folding Instructions for Pattern Part 1
Step 4
For Part 1, fold all green lines as valley folds.

Photo 4. Inside of Pattern after Step 4

Photo 5. Outside of Pattern after Step 4
Step 5
Glue each of the plain gray glue flaps to the neighboring gray glue flap. Complete and close the figure by gluing the glue flap with three orange dots to the other glue flap with three orange dots, the glue flap with two orange dots to the other glue flap with two orange dots, and the glue flap with one orange dot to the other glue flap with one orange dot. This is the icosahedron base for the project.
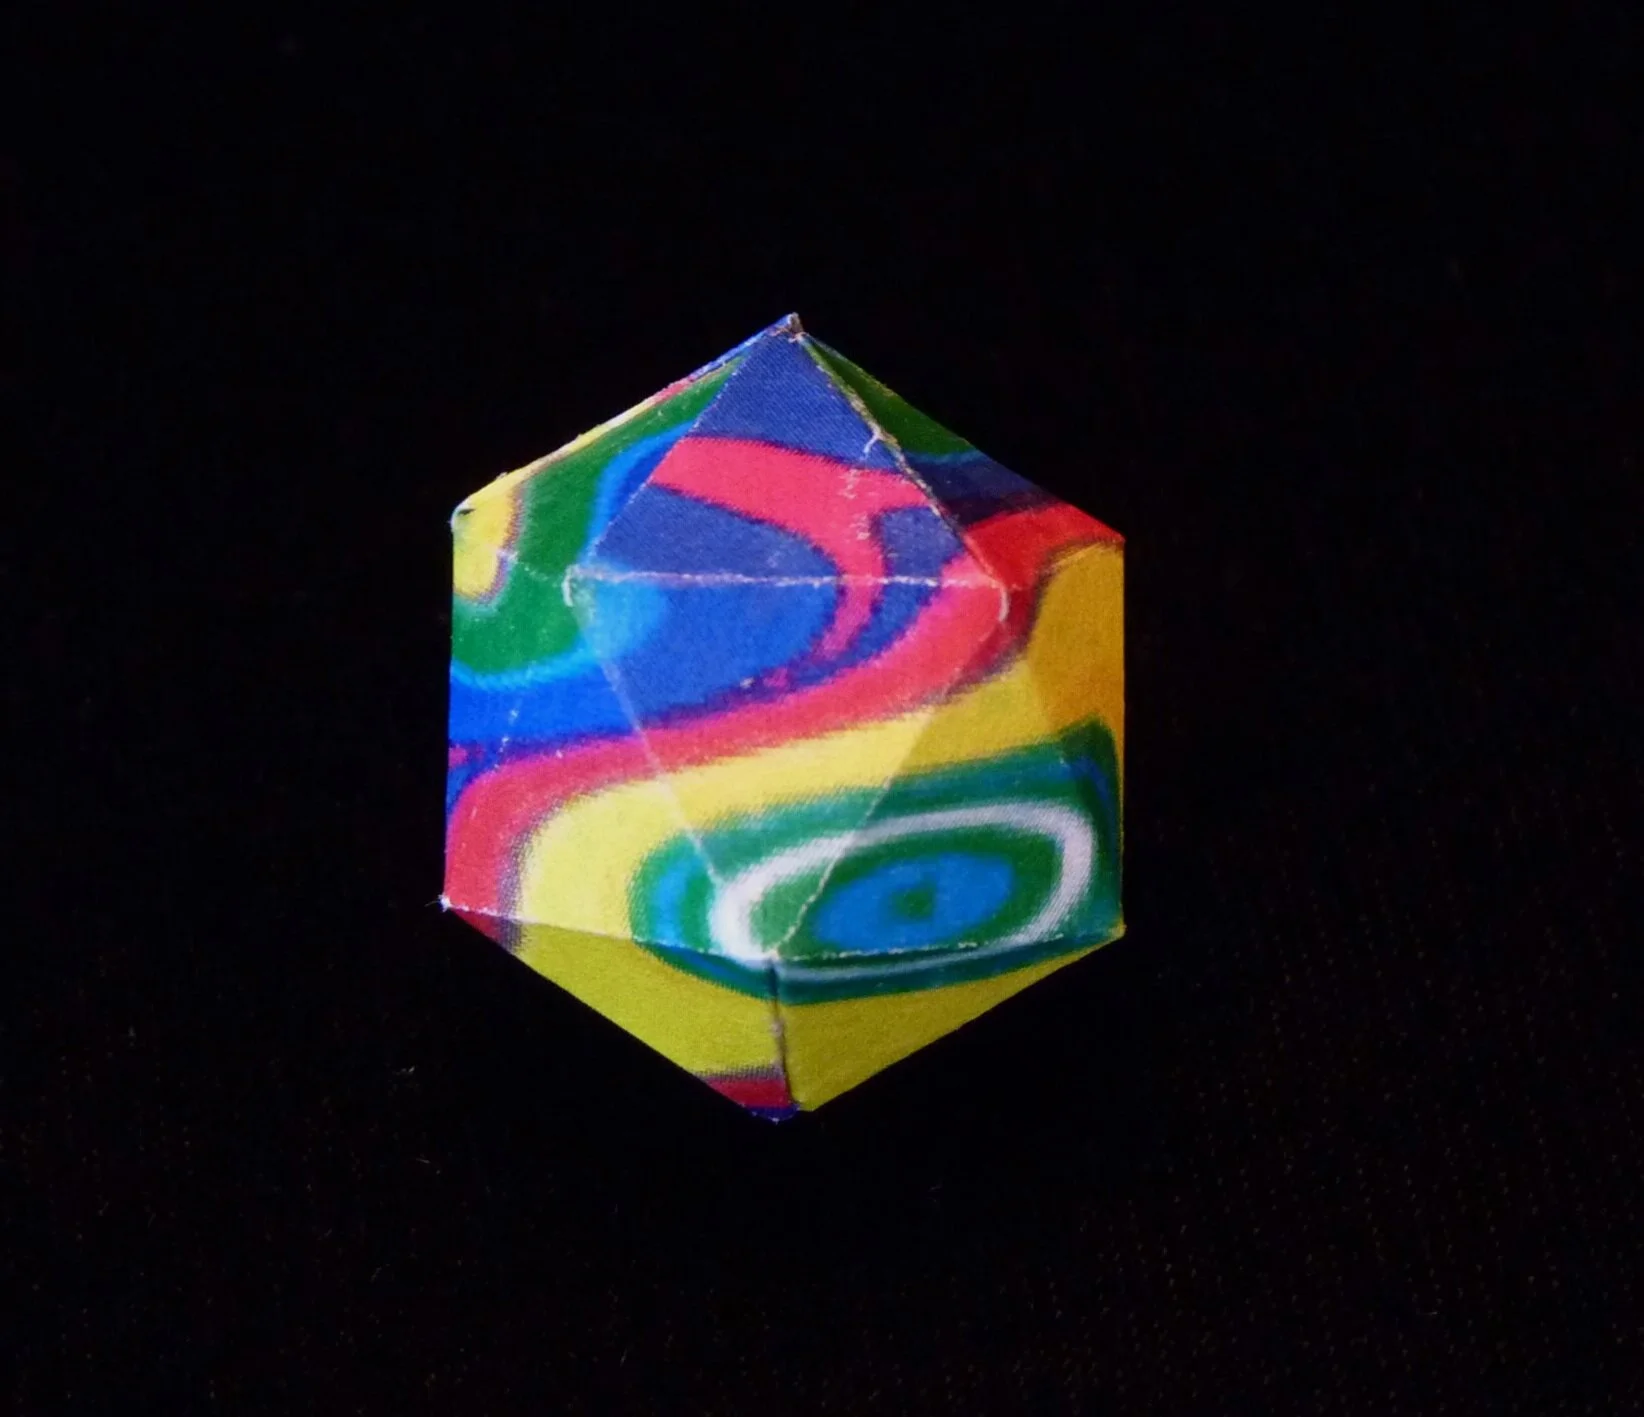
Photo 6. After Step 5, Completed Part 1.
Folding Instructions for Pattern Part 2
Step 6
For each Part 2, roll up the inner diamond as shown in Photo 7. Roll so the outside of the pattern paper in on outside of the roll. Inserting a pencil in the center of the rolled part may make the rolling easier. Attach the tips of the inner diamond with glue.

Photo 7. Two of Part 2 after Step 6
Step 7
For Each Part 2, roll up the intermediate diamond as shown in Photo 8. Roll so that the inside of the pattern paper is on the outside of the roll. Attach the tips of the intermediate diamond with glue.

Photo 8. Two of Part 2 after Step 7.
Step 8
Complete each Part 2 by rolling up the outer diamond as shown in Photo 9. Roll so that the outside of the pattern paper is on the outside of the roll. Attach the tips of the outer diamond with glue.

Photo 9. After Step 8. Two completed Part 2’s.
Final Project Assembly
Step 9
Fold the red line on each Part 2 as a mountain fold. Attach the Part 2 to Part 1 by gluing the small triangle on Part 2 onto a triangle face of Part 1. Orient the triangle so that the purple dot on the Part 2 triangle is aligned with the purple dot on the Part 1 triangle face. Since the purple dots are now on the inside of Part 1, you will need to figure out where they would be by looking at one of the left over patterns for Part 1. Continue until all twenty Part 2’s are attached to Part 1.

Photo 10. Step 9. Three Part 2’s attached to Part 1.

Photo 11. Step 9. Seven Part 2’s attached to Part 1.

Photo 12. Completed Mass Confusion.

Photo 13. Another View of Completed Mass Confusion.
Another Example

Photo 14. Another Example of Mass Confusion.

Photo 15. Another Example of Mass Confusion.