FlowerSphere
Overlapping flowers form an amazing sphere. Each flower has five petals that it shares with one of its neighbors.

Project Info
Paper required: Two sheets 8 1/2 inch xx 11 inch (or A4)
Finished Project size: 4 inches (10 cm)
Difficulty Level: Beginner
INSTRUCTIONS
STEP 1
Print the pattern onto the two matching paper sheets of your choice.
Read the pattern key included in the General Instructions.
Step 2
Cut out the five patterns by cutting on all black lines. Fold the red lines as mountain folds to cut out the three interior hexagons on each piece. For this project, the inside of the pattern is visible in the finished project, so I decided to paint the inside of the pattern pieces green.

Photo 1. After Step 2, Outside of Pattern, Inside of Pattern, and Inside of Pattern after Painting
STEP 3
Fold patterns on all green lines. Green lines are valley folds.

Photo 2. After Step 3, Outside of Pattern and Inside of Pattern.
Step 4
On each of the five pattern pieces, glue Flap A to Flap B, Flap C to Flap D, Flap E to Flap F, and Flap G to Flap H.
STEP 5
Next attach the first pattern piece to the second. Do this by gluing Flap J on piece 1 to Flap P on piece 2, Flap K on piece 1 to Flap Q on piece 2, Flap L on piece 1 to Flap R on piece 2, Flap M on piece 1 to Flap S on piece 2, Flap N of piece 1 to Flap T on piece 2, and Flap O on piece 1 to Flap U on piece 2.

Photo 3. After Step 5, Outside of Pattern.

Photo 4. After Step 5, Inside of Pattern
Step 6
Continue to attach pattern pieces. Glue Flap J on piece 2 to Flap P on piece 3, Flap K on piece 2 to Flap Q on piece 3, Flap L on piece 2 to Flap R on piece 3, Flap M on piece 2 to Flap S on piece 3, Flap N on piece 2 to Flap T on piece 3, and Flap O on piece 2 to Flap U on piece 3. Do the same to attach piece 3 to piece 4 and piece 4 to piece 5. Finally close the figure by gluing Flap J on piece 5 to Flap P on piece 1, Flap K on piece 5 to Flap Q on piece 1, Flap L on piece 5 to Flap R on piece 1, Flap M on piece 5 to Flap S on piece 1, Flap N on piece 5 to Flap T on piece 1, and Flap O on piece 5 to Flap U on piece 1.
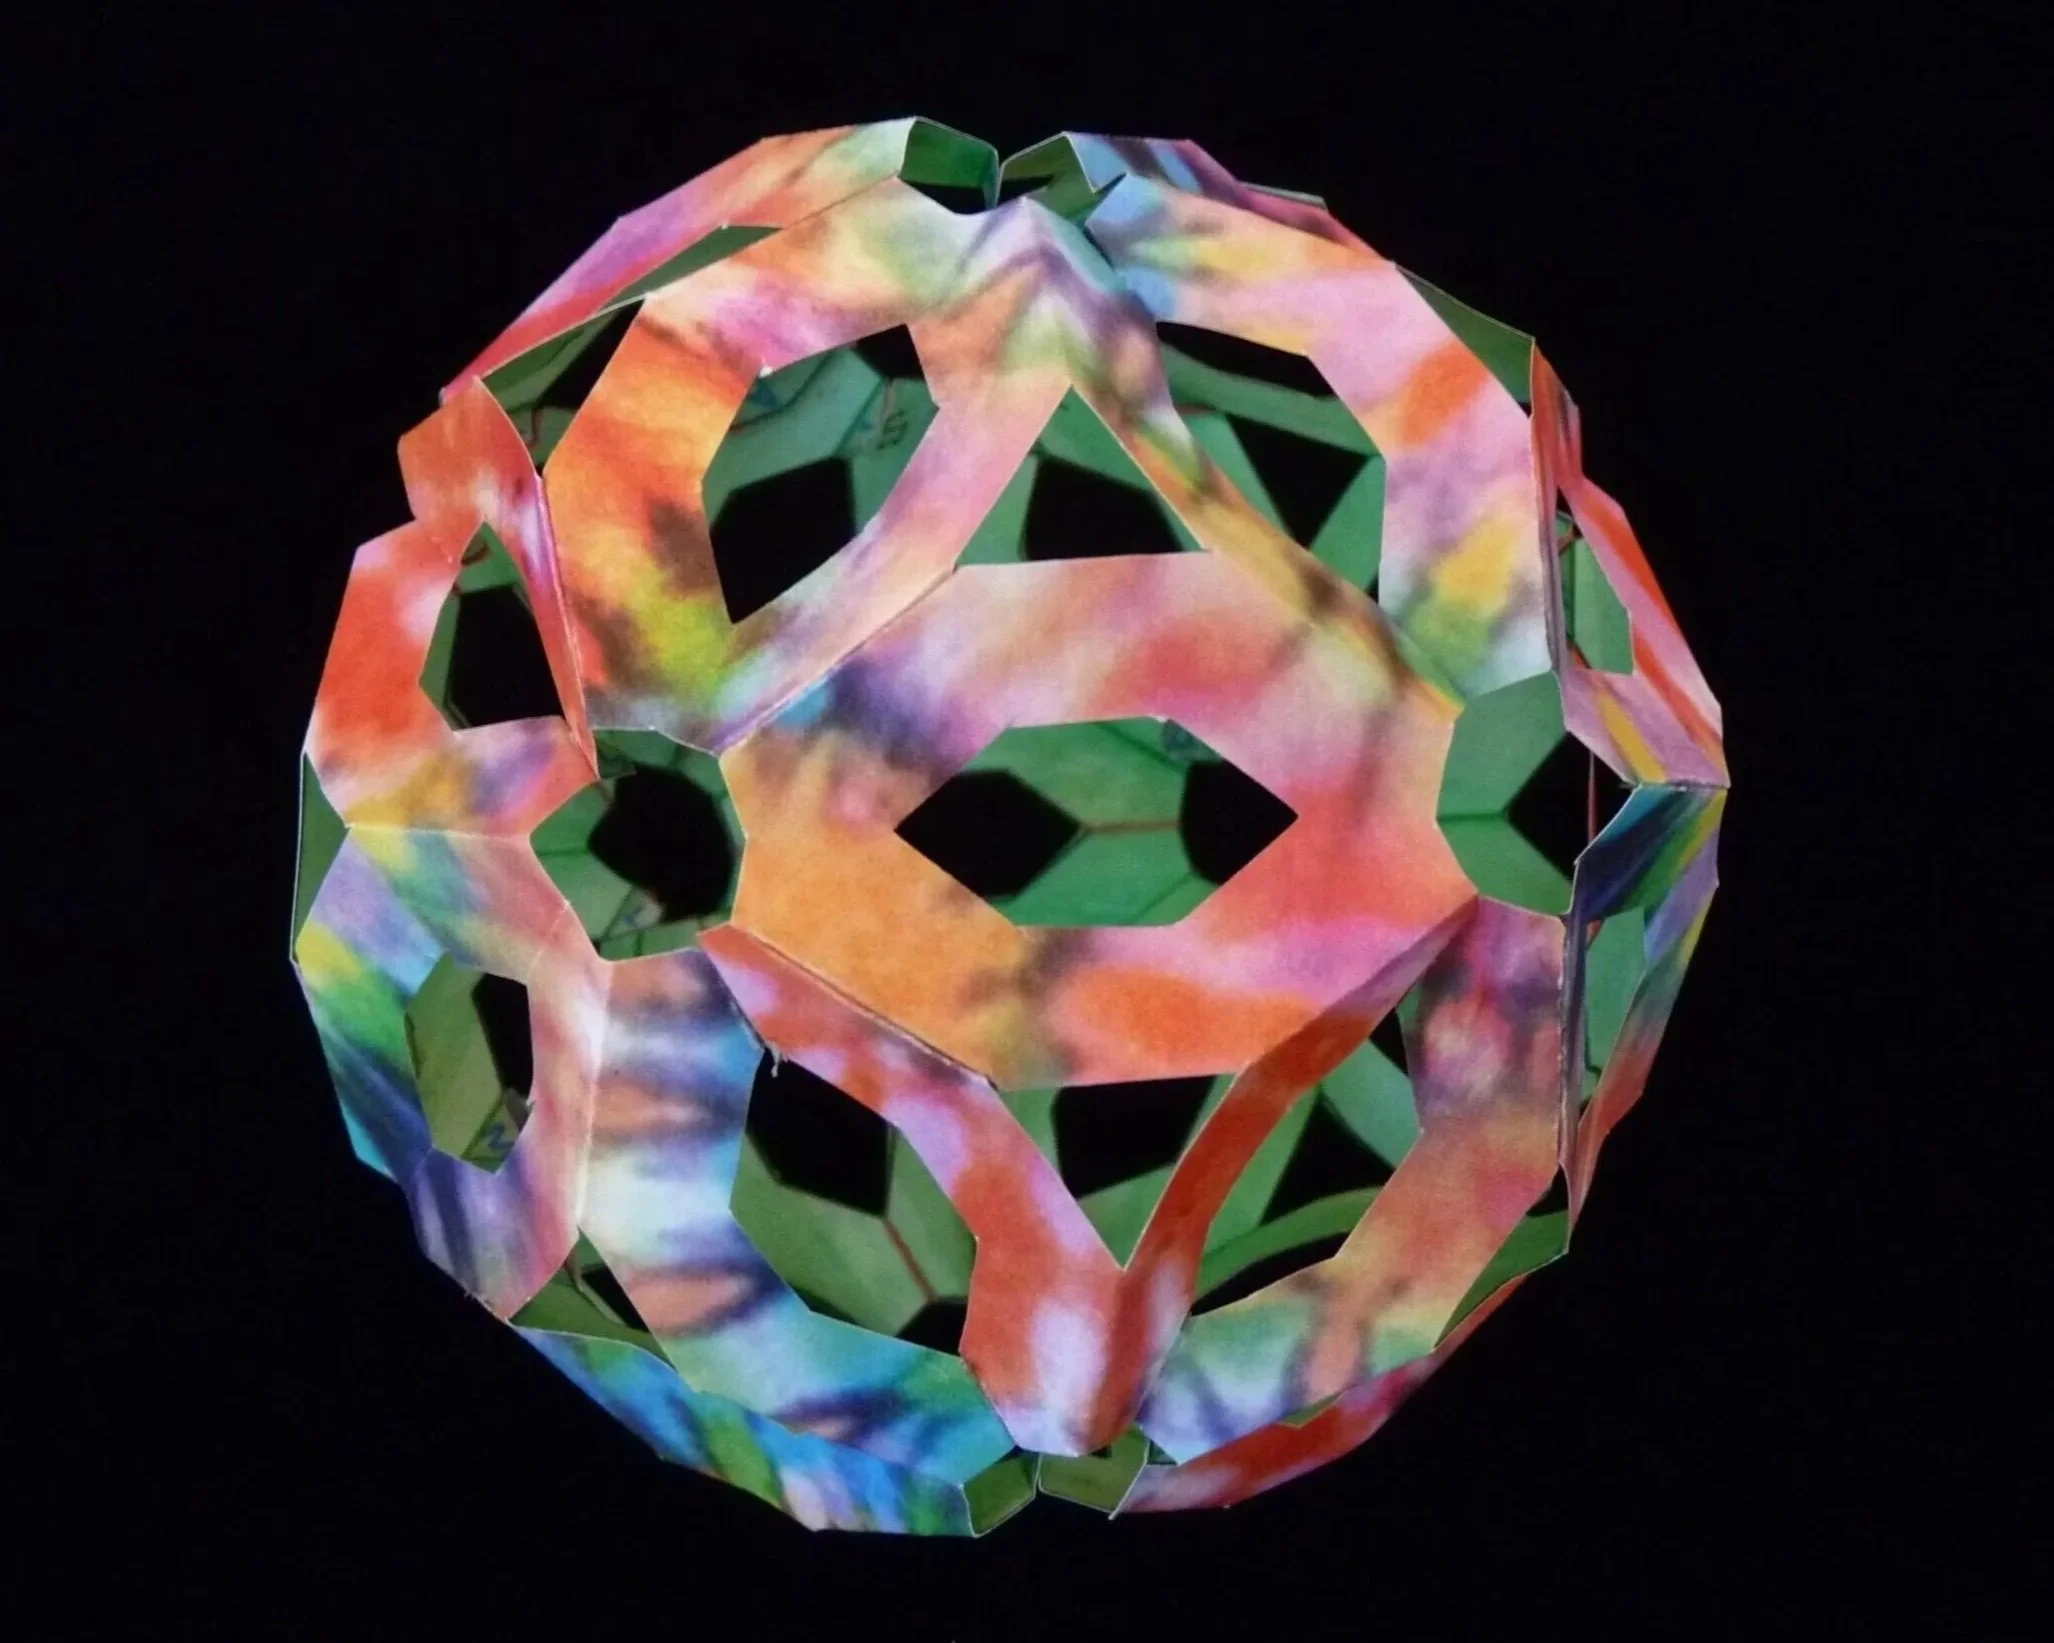
Photo 5. Completed Flowersphere.

Photo 6. Another view of Completed Flowersphere.
More Examples
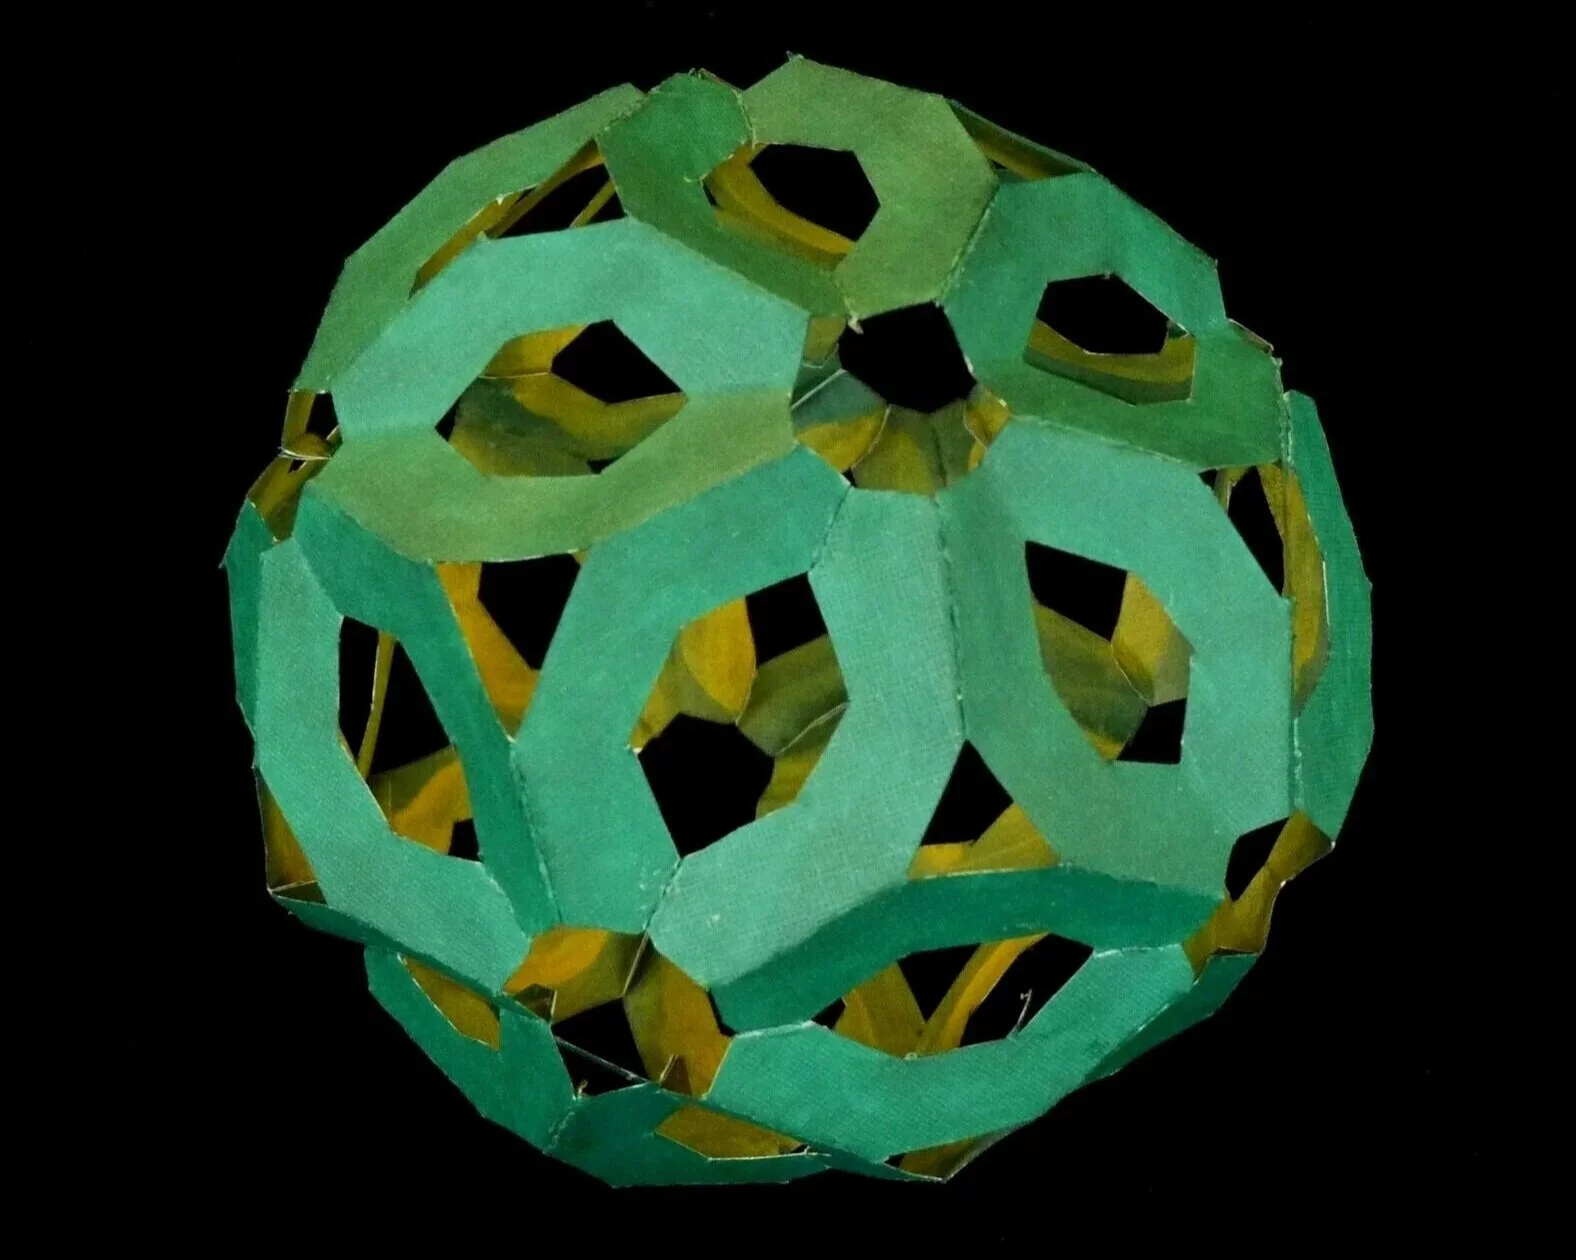
Photo 7. Second Example of Completed Flowersphere.

Photo 8. Third Example of Completed Flowersphere - View 1

Photo 9. Third Example of Completed Flowersphere - View 2

Photo 10. Third Example of Completed Flowersphere - View 3
The Flowersphere is nothing more complicated than a stellated icosahedron. Look for the triangles and you will see it. Amazing!