Diamond kaleidescope
Diamonds, stars, and octagons form this kaleidoscope view in 3d.

Project Info
Paper required: Three sheets 8 1/2 inch x 11 inch (or A4)
Finished Project size: 8 inches (20 cm)
Difficulty Level: Advanced
INSTRUCTIONS
STEP 1
Print the pattern onto the paper of your choice. Print the Part 1 pattern sheet twice and the Part 2 pattern sheet once, so that you have four of Part 1 and twelve of Part 2.
Read the pattern key included in the General Instructions.
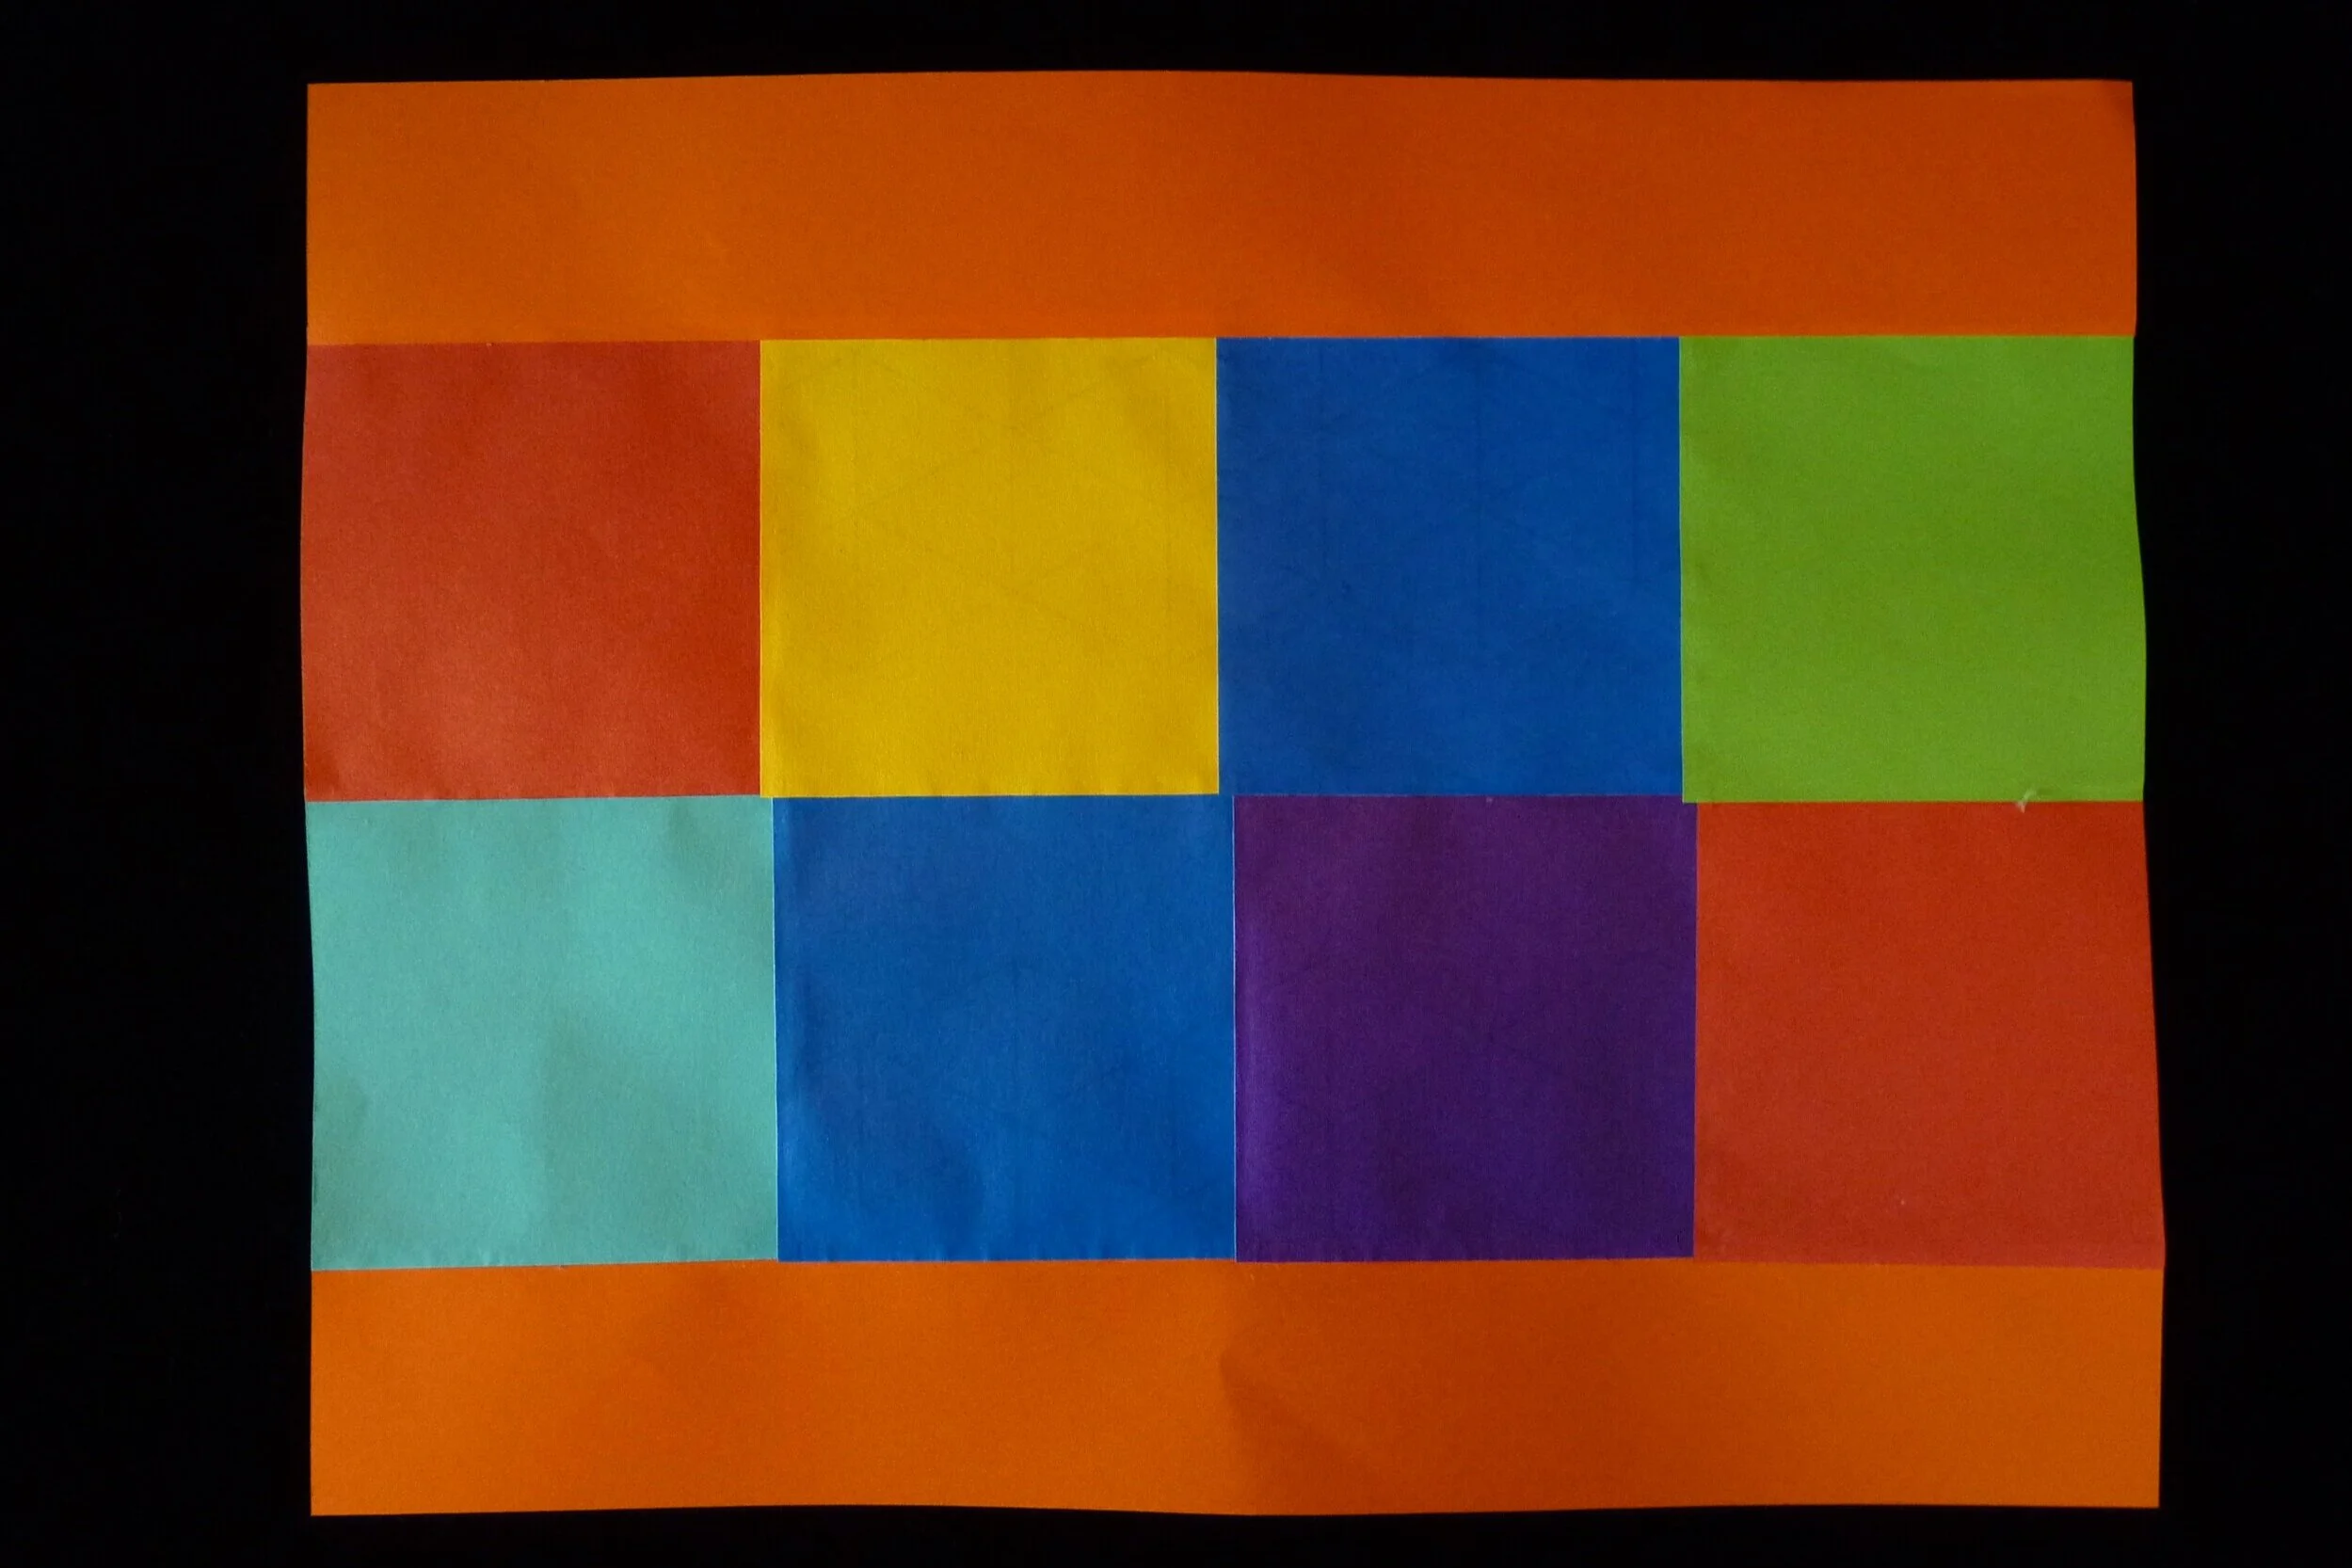
Photo 1. Printable size paper made by gluing together smaller pieces

Photo 2. After Step 1, Pattern printed onto back of paper.
STEP 2
Cut out the four Part 1 patterns and the twelve Part 2 patterns by cutting on all black lines.

Photo 3. After Step 2, Inside and Outside of Pattern Part 1.
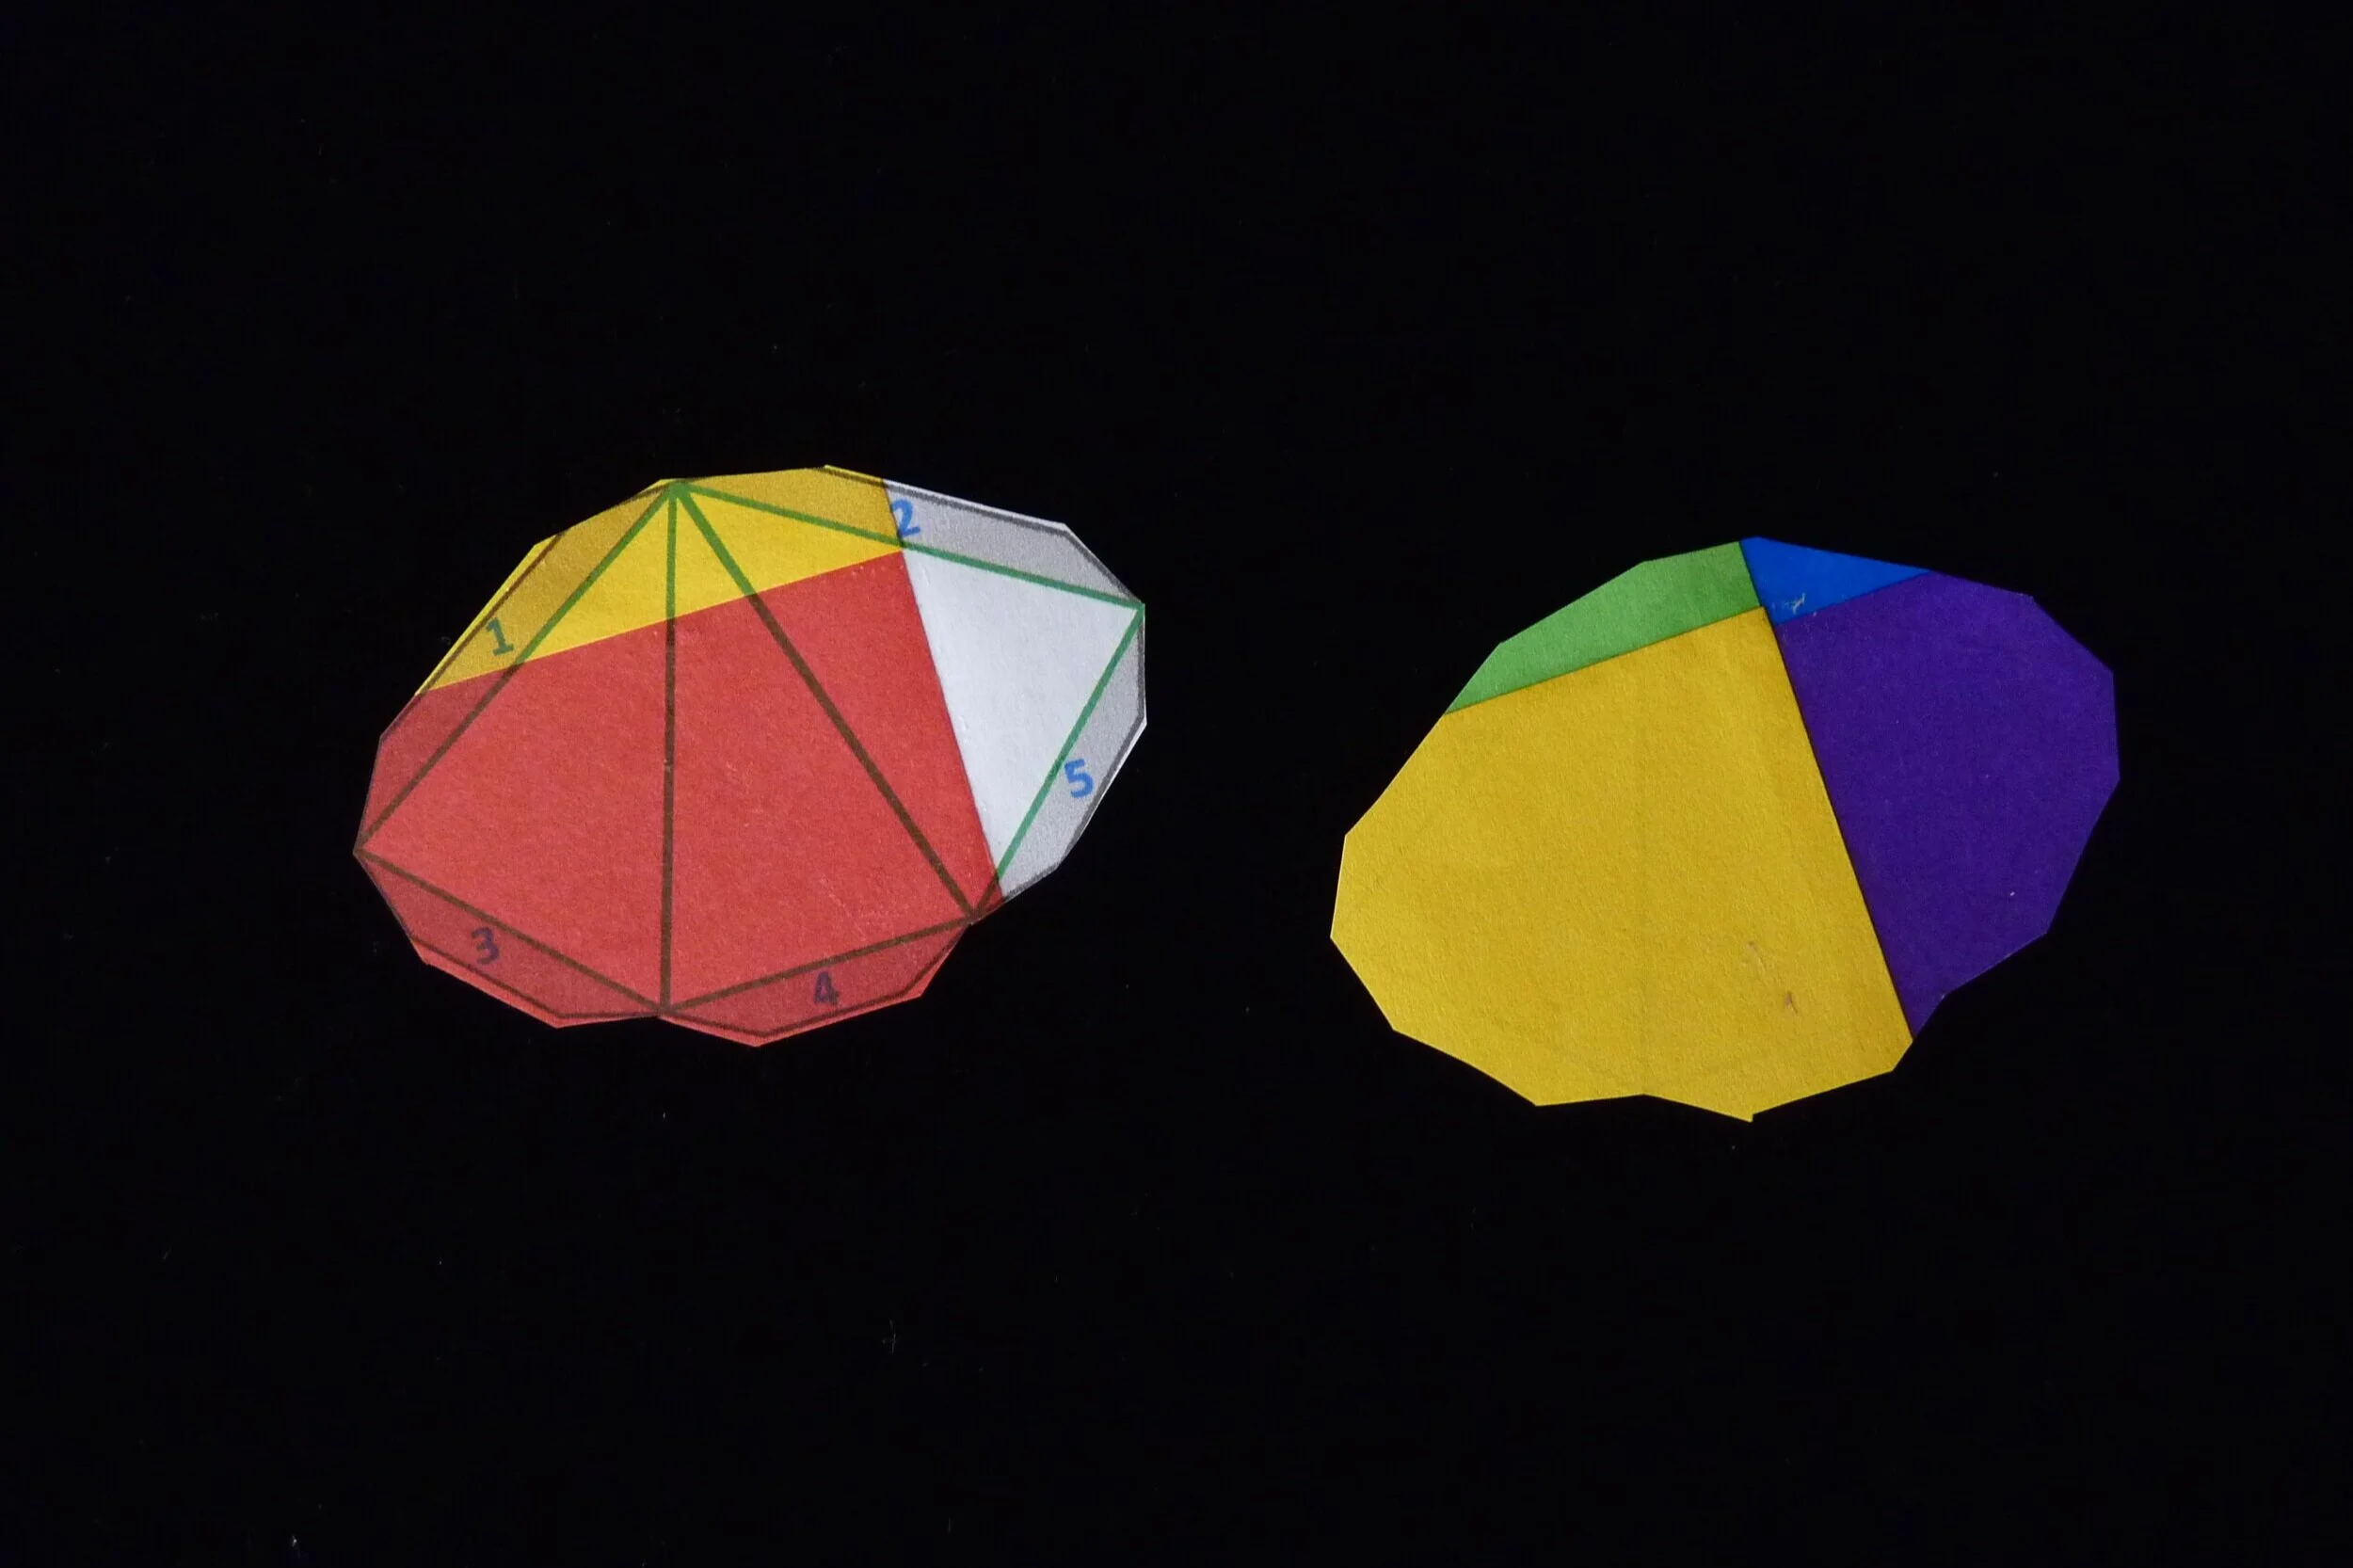
Photo 4. After Step 2, Inside and Outside of Pattern Part 2.
Folding Instructions for Pattern Part 1
Step 3
Fold the red lines as mountain folds and the green lines as valley folds. Crease the three lines that are part red and part green in both the mountain and valley fold directions.

Photo 5. After Step 3, Inside and Outside of Pattern Part 1.
Step 4
On each of the four Part 1’s, glue Flap O to Flap N, Flap P to Flap Q, and Flap R to Flap S. Next glue Flap L to Flap M, Flap J to Flap K, and Flap G to Flap H.

Photo 6. Step 4, after first 3 sets of flaps are glued.

Photo 7. Step 4, after all 6 set of flaps are glued.
Step 5
Roll up each of the Part 1’s into an octagon shape. Roll in a direction so that the pattern points between Flap A and Flap B and between Flap C and Flap D become one of the the inside 3d points in the octagon figure. Glue Flap A to Flap C and Flap B to Flap D.

Photo 8. Two of Pattern Part 1, after Step 5.
Step 6
Close each Pattern Part 1 by gluing Flap T to Flap U and Flap E to Flap F.

Photo 9. Two of Pattern Part 1, after Step 6.
FOlding Instructions for Pattern Part 2
Step 7
For each of the twelve Part 2’s, fold all green lines as valley folds.

Photo 10. Two of Part 2, after Step 7.
Step 8
For each of the twelve Part 2’s, glue Flap 1 to Flap 2.

Photo 11. Two Completed Part 2’s, after Step 8.
FInal Project Assembly
Step 9
Arrange the four Part 1’s in a two by two arrangement so that a diamond is formed in the center. Attach by gluing one of the exterior face triangles on each Part 1 to the neighboring exterior face triangle on the adjacent Part 1.

Photo 12. Four Part 1’s connected, after Step 9.
Step 10
Attach the twelve Part 2’s to complete the project. Use Glue Flaps 3, 4, and 5 on each Part 2 to attach to an exterior face triangle on the assembled Part 1’s. Flap 4 on Part 2 should go from front to back of the Part 1, and Flaps 3 and 5 on Part 2 should be aligned on each side of the Part 1.

Photo 13. Completed Diamond Kaleidoscope.
Another Example

Photo 14. Another Completed Diamond Kaleidoscope