Callisto
Solve the Callisto paradox. Turn twelve 15-sided points into a perfect star. Instructions and pattern on this web page show you how !
Project Info
Paper required: Four sheets 8.5 x 11 inch (or A4)
Finished Project size: 6.5 inches (16 cm)
Difficulty Level: advanced
Click button below to get your free printable pattern !
Click button below to get your free printable pattern !
INSTRUCTIONS
STEP 1
Print the pattern onto the four matching paper sheets of your choice. An easily foldable paper, about the thickness of normal office paper, will work best for this project.
Read the pattern key included in the General Instructions.
Step 2
Cut out the twelve identical parts by cutting on the black lines.
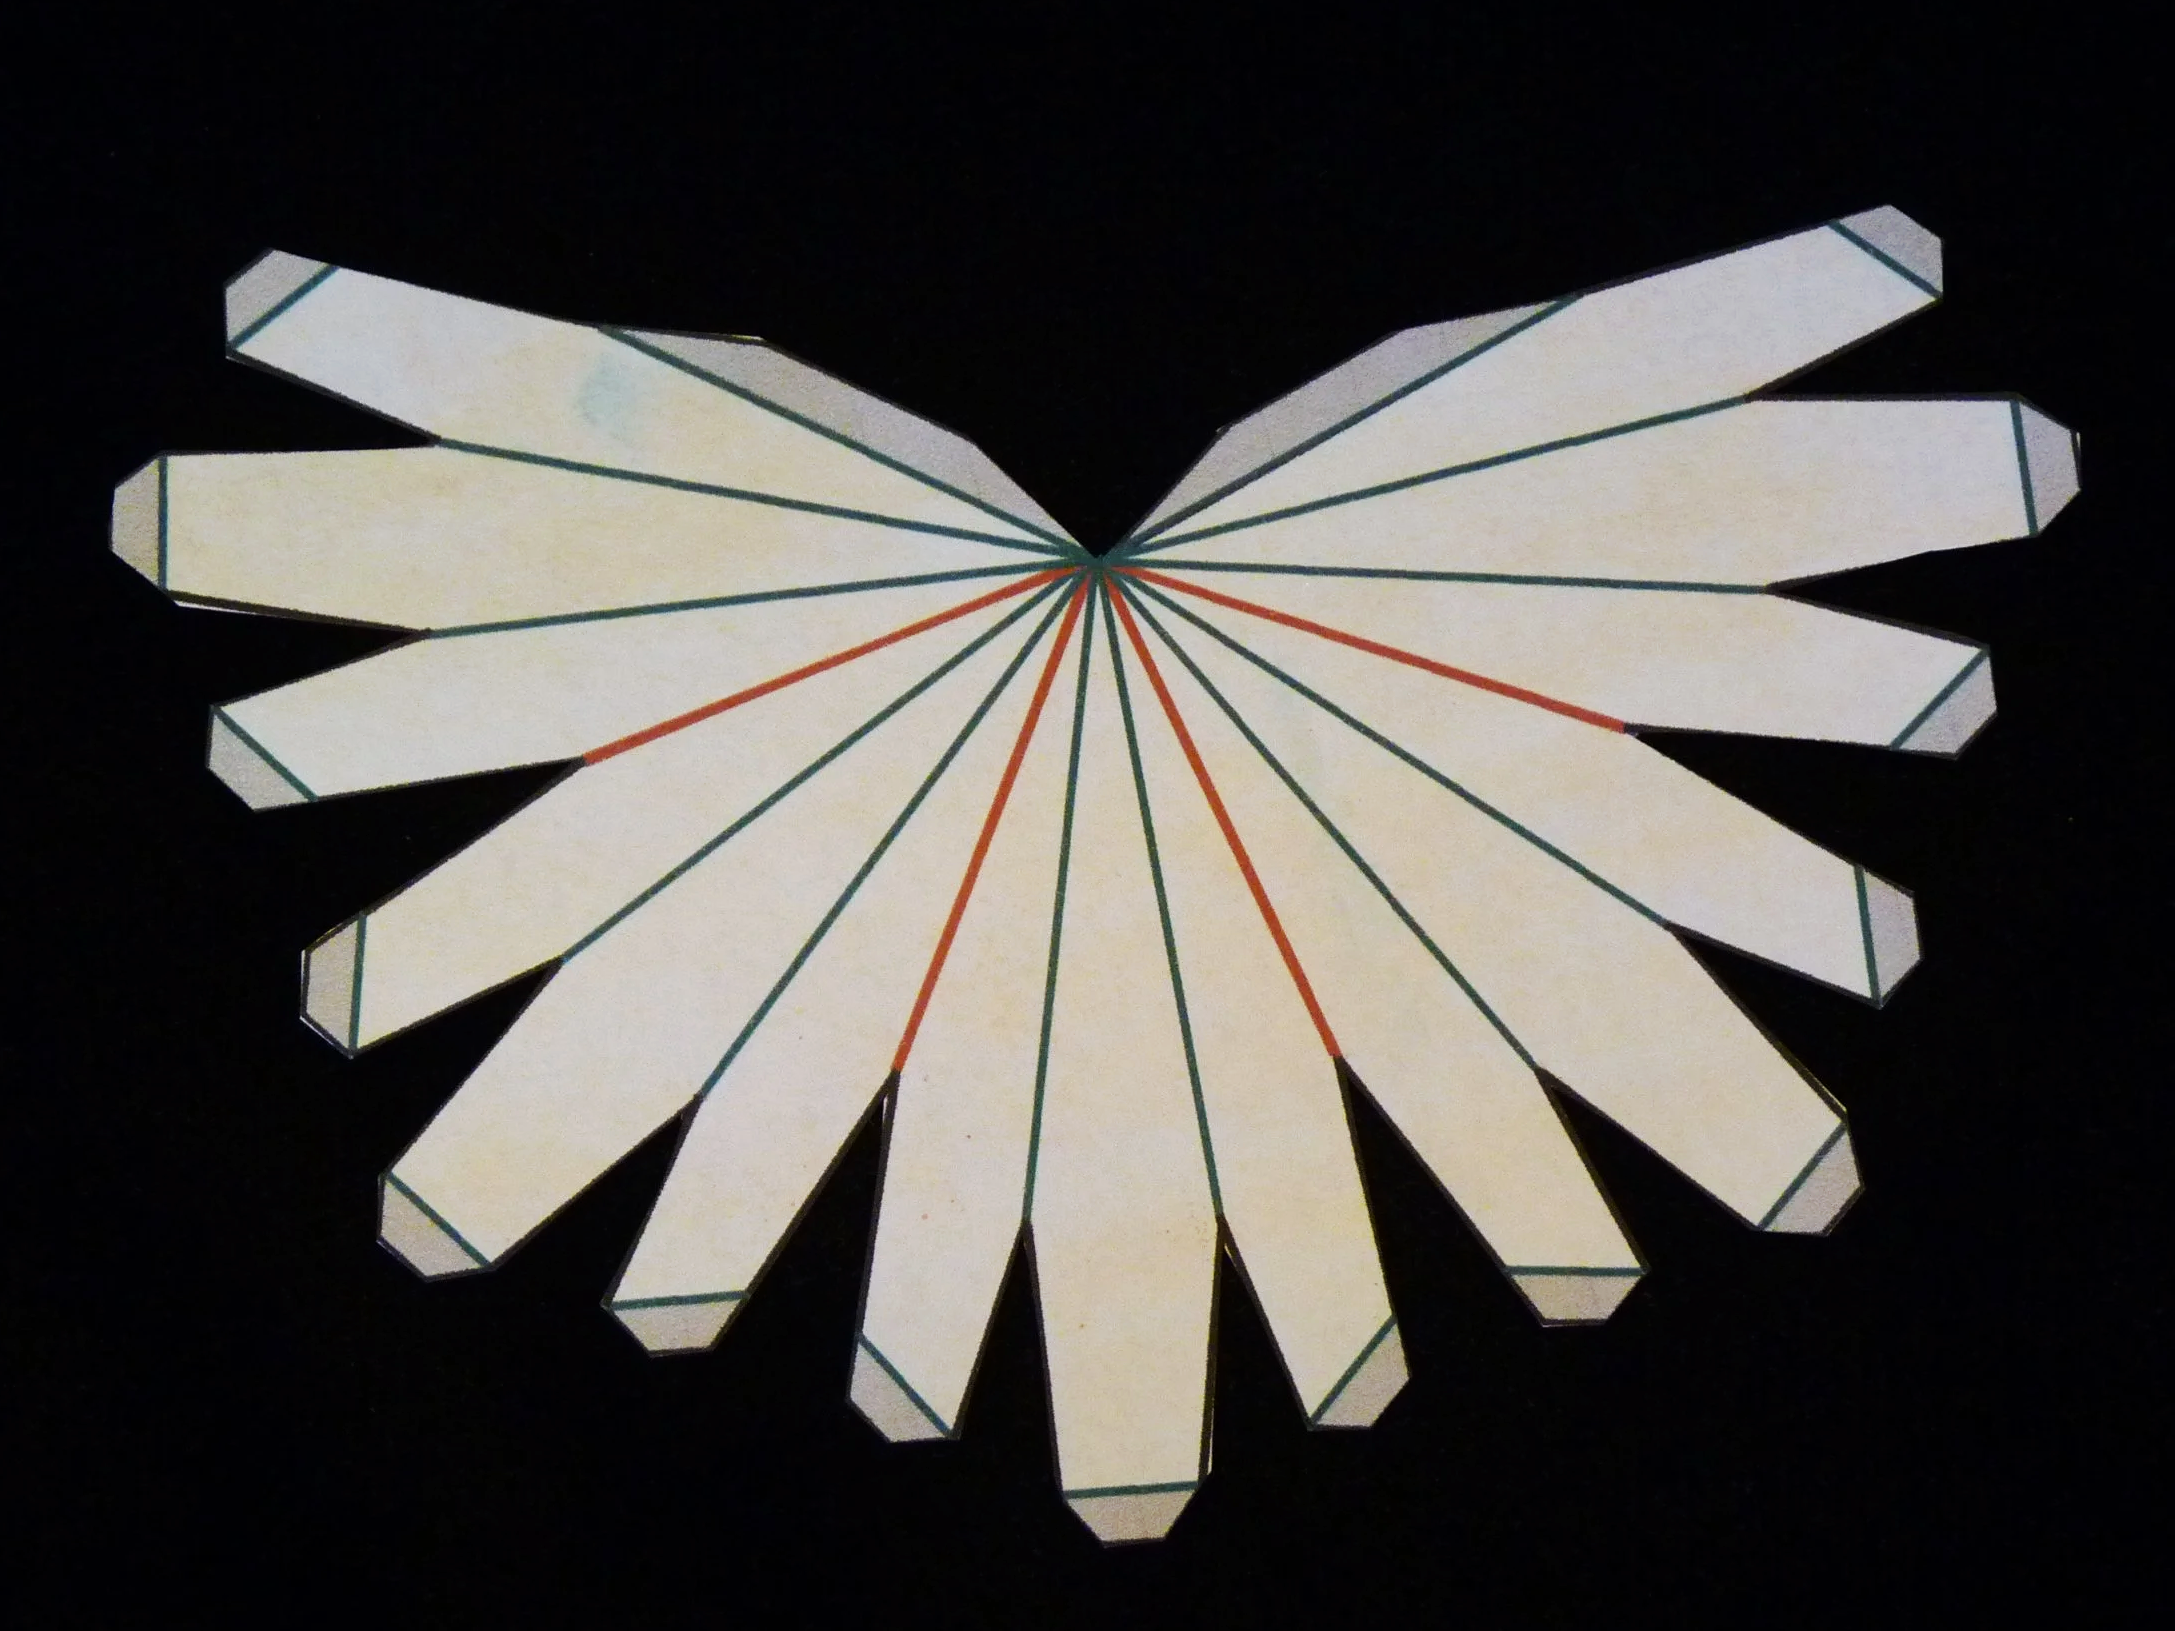
Photo 1. Back of a Part after Step 2

Photo 2. Front of a Part after Step 2
STEP 3
On all twelve parts, fold the green lines as valley folds and fold the red lines as mountain folds. On each part, glue one long flap to the other long flap.
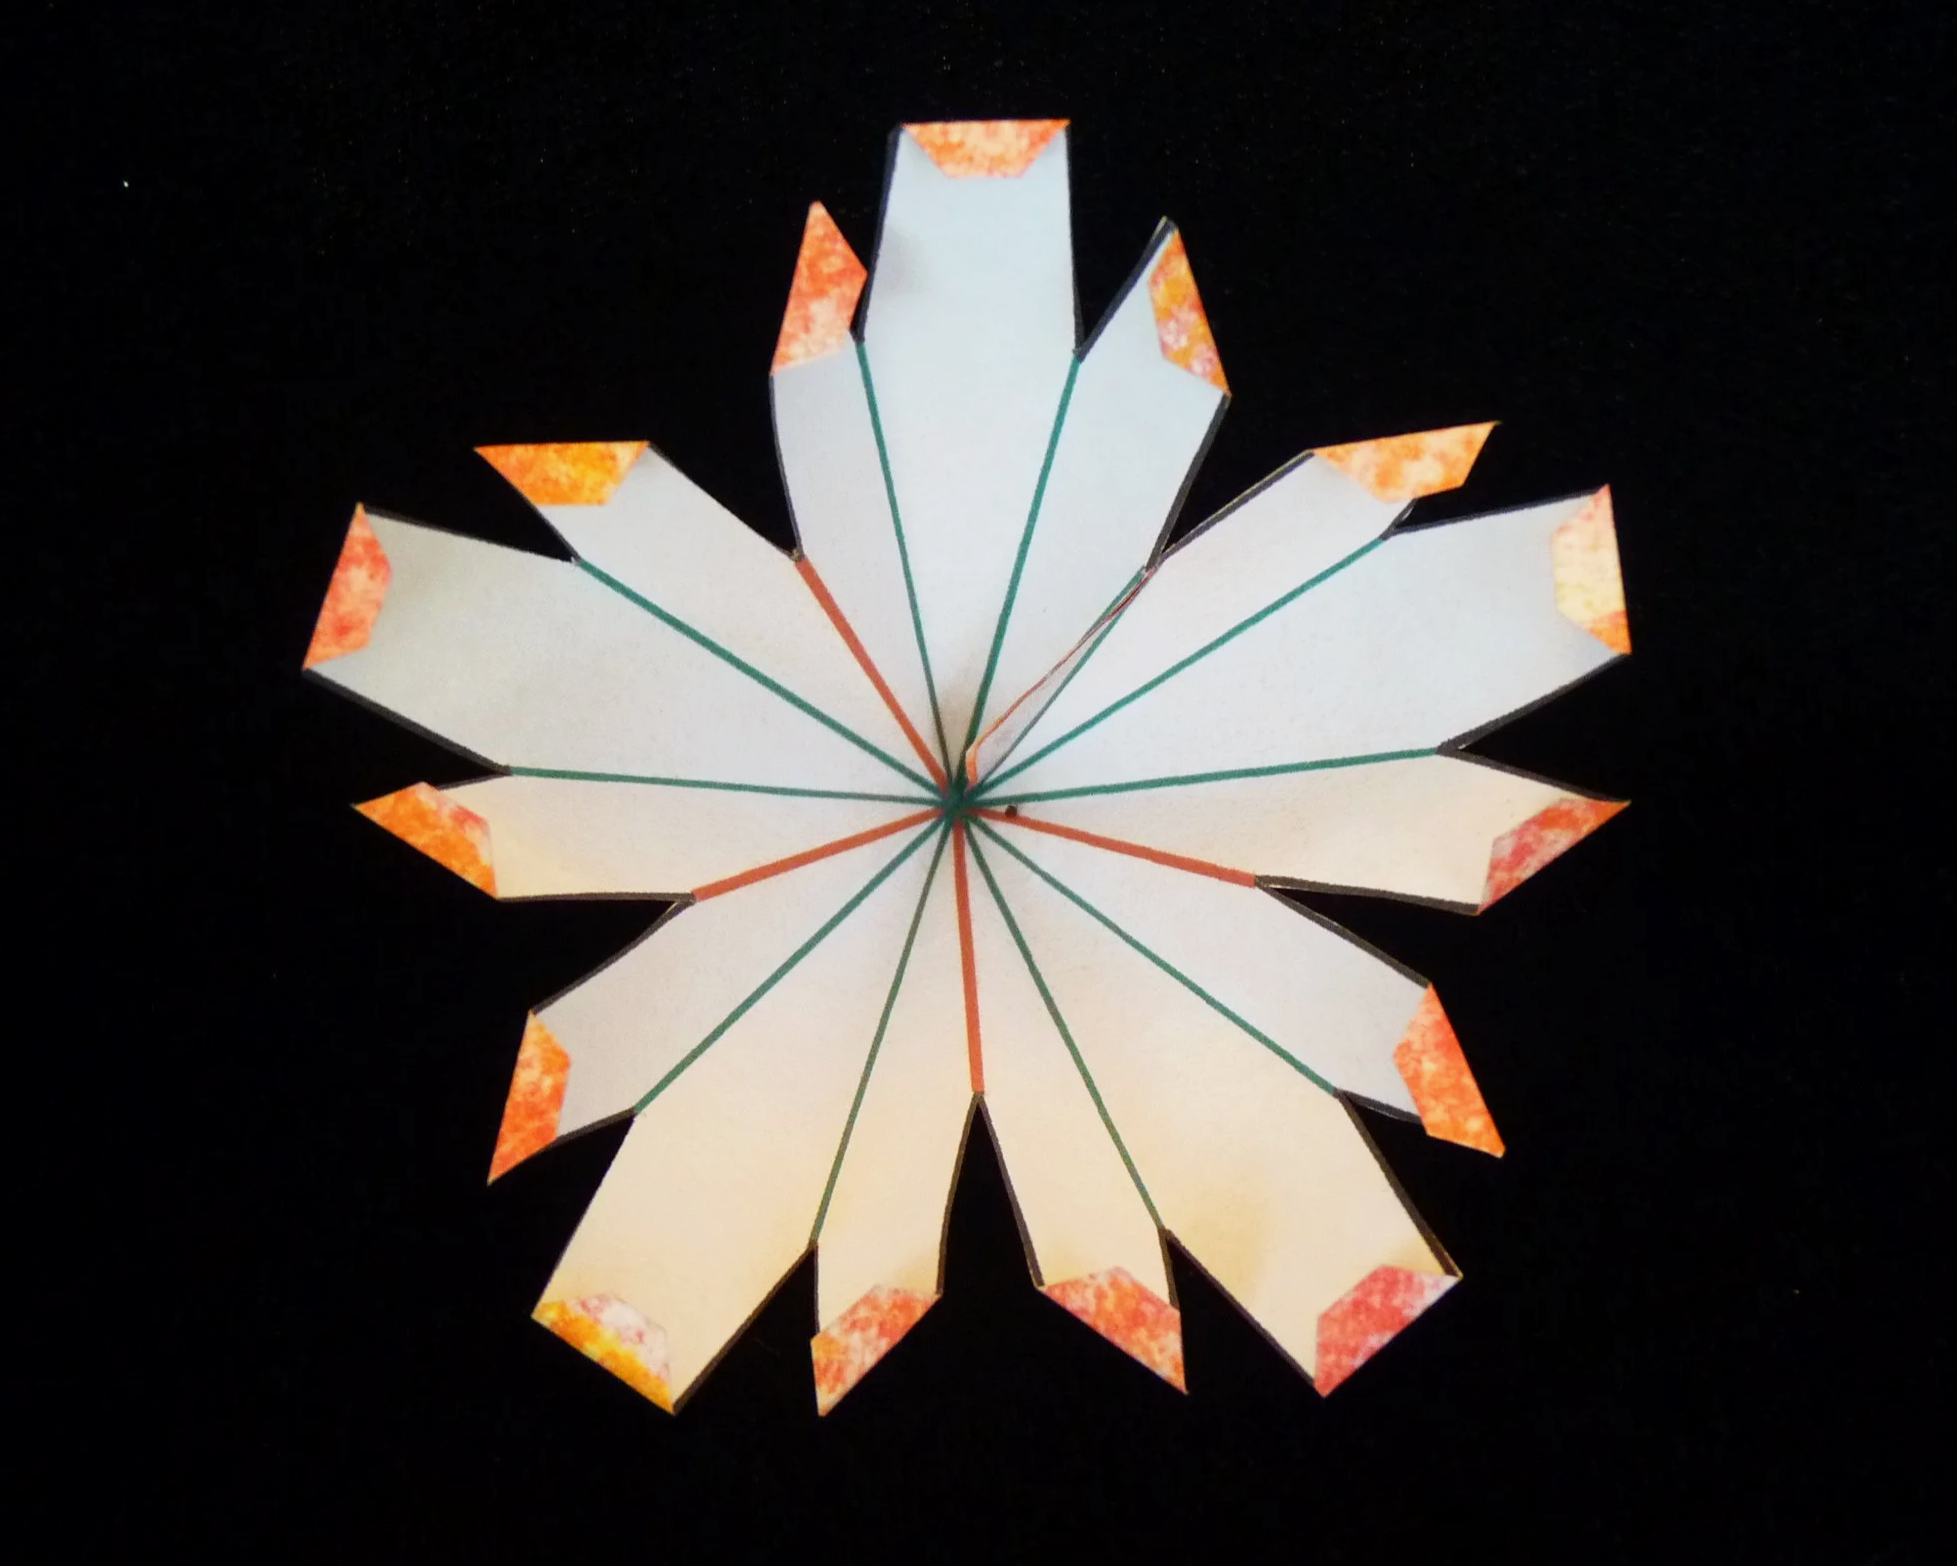
Photo 3. Inside of a Part after Step 3
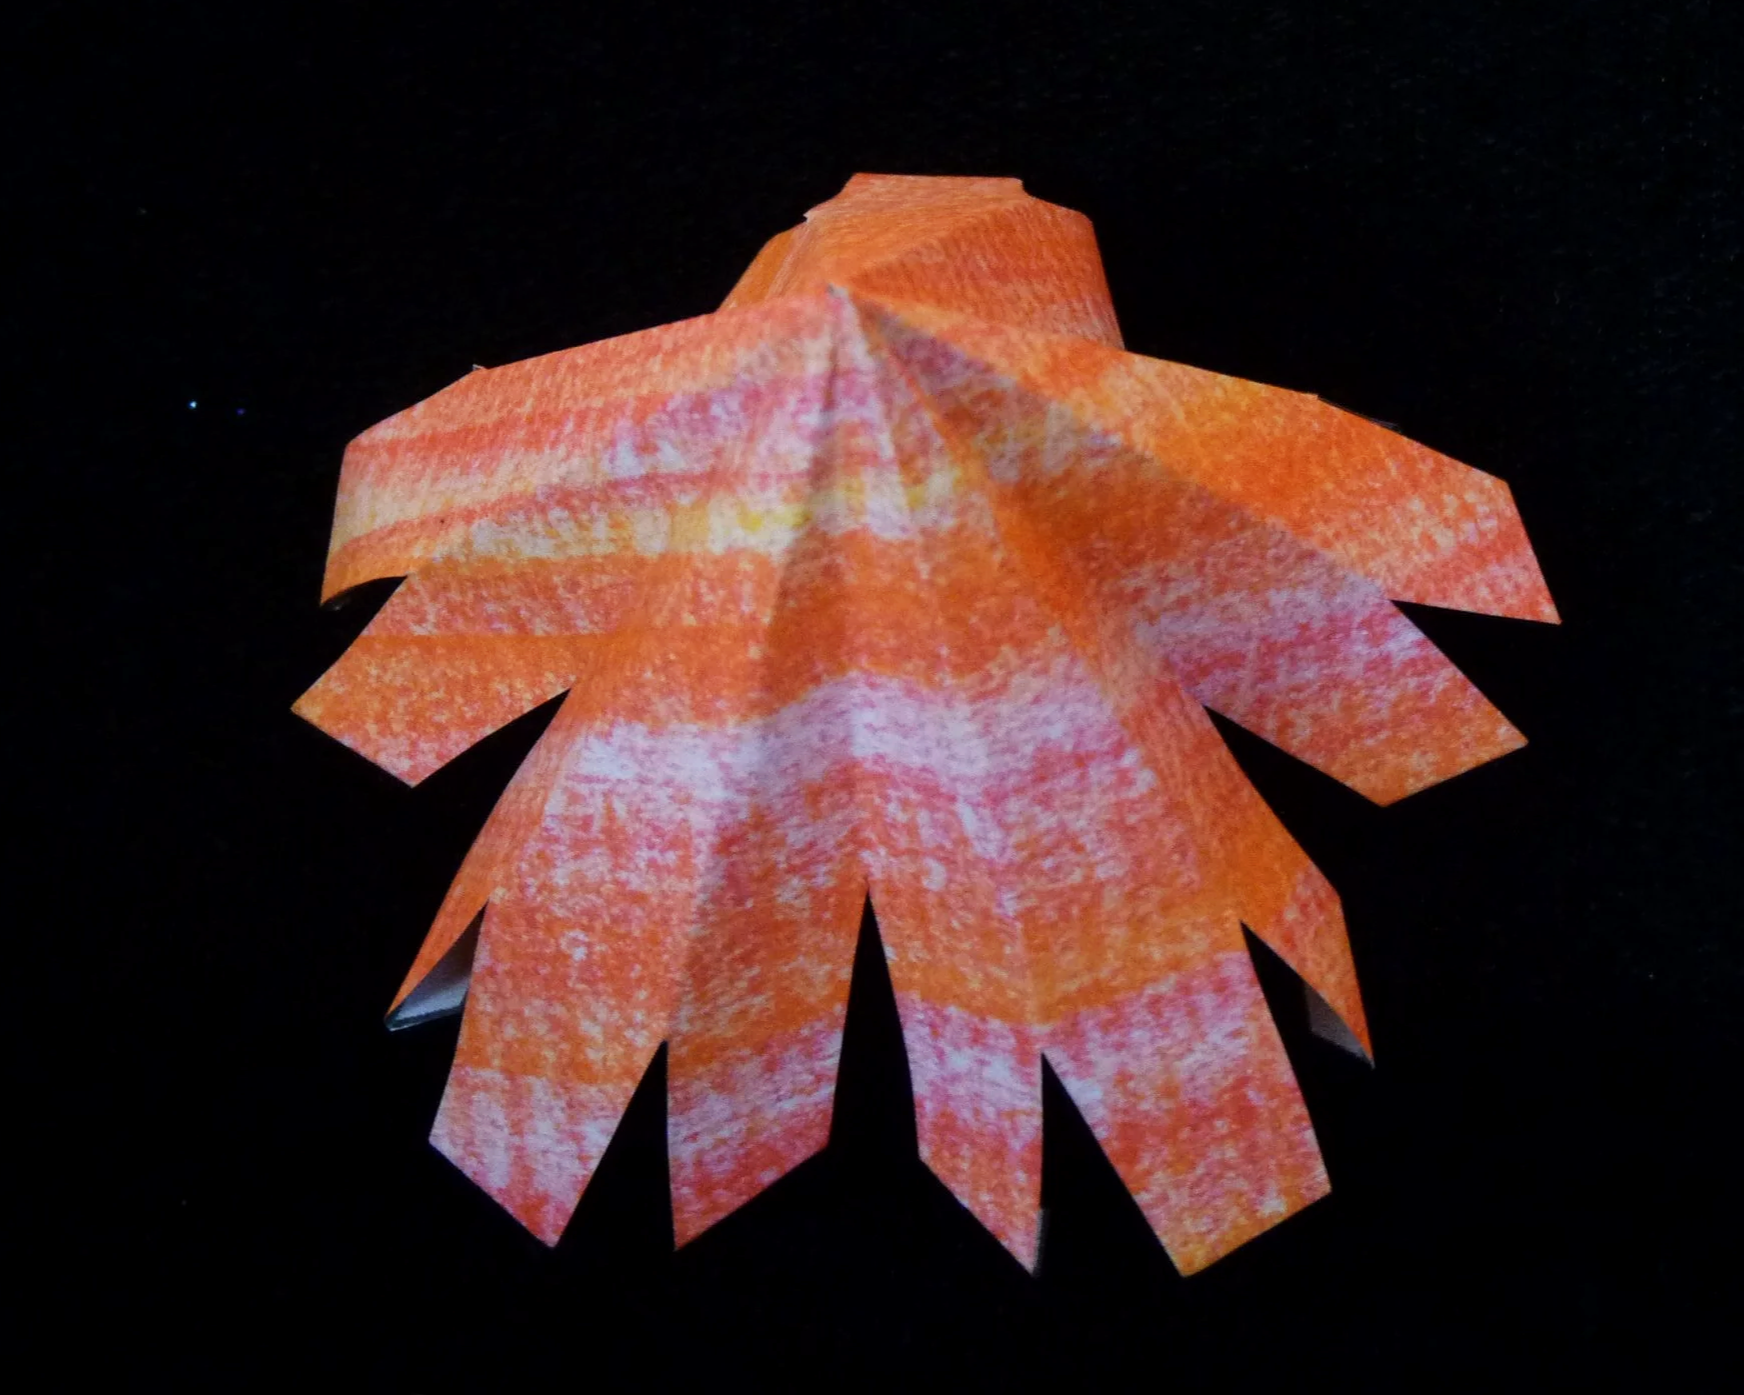
Photo 4. Outside of a Part after Step 3
Step 4
Connect two parts together using three short glue flaps on each, so that the two parts are meshed.
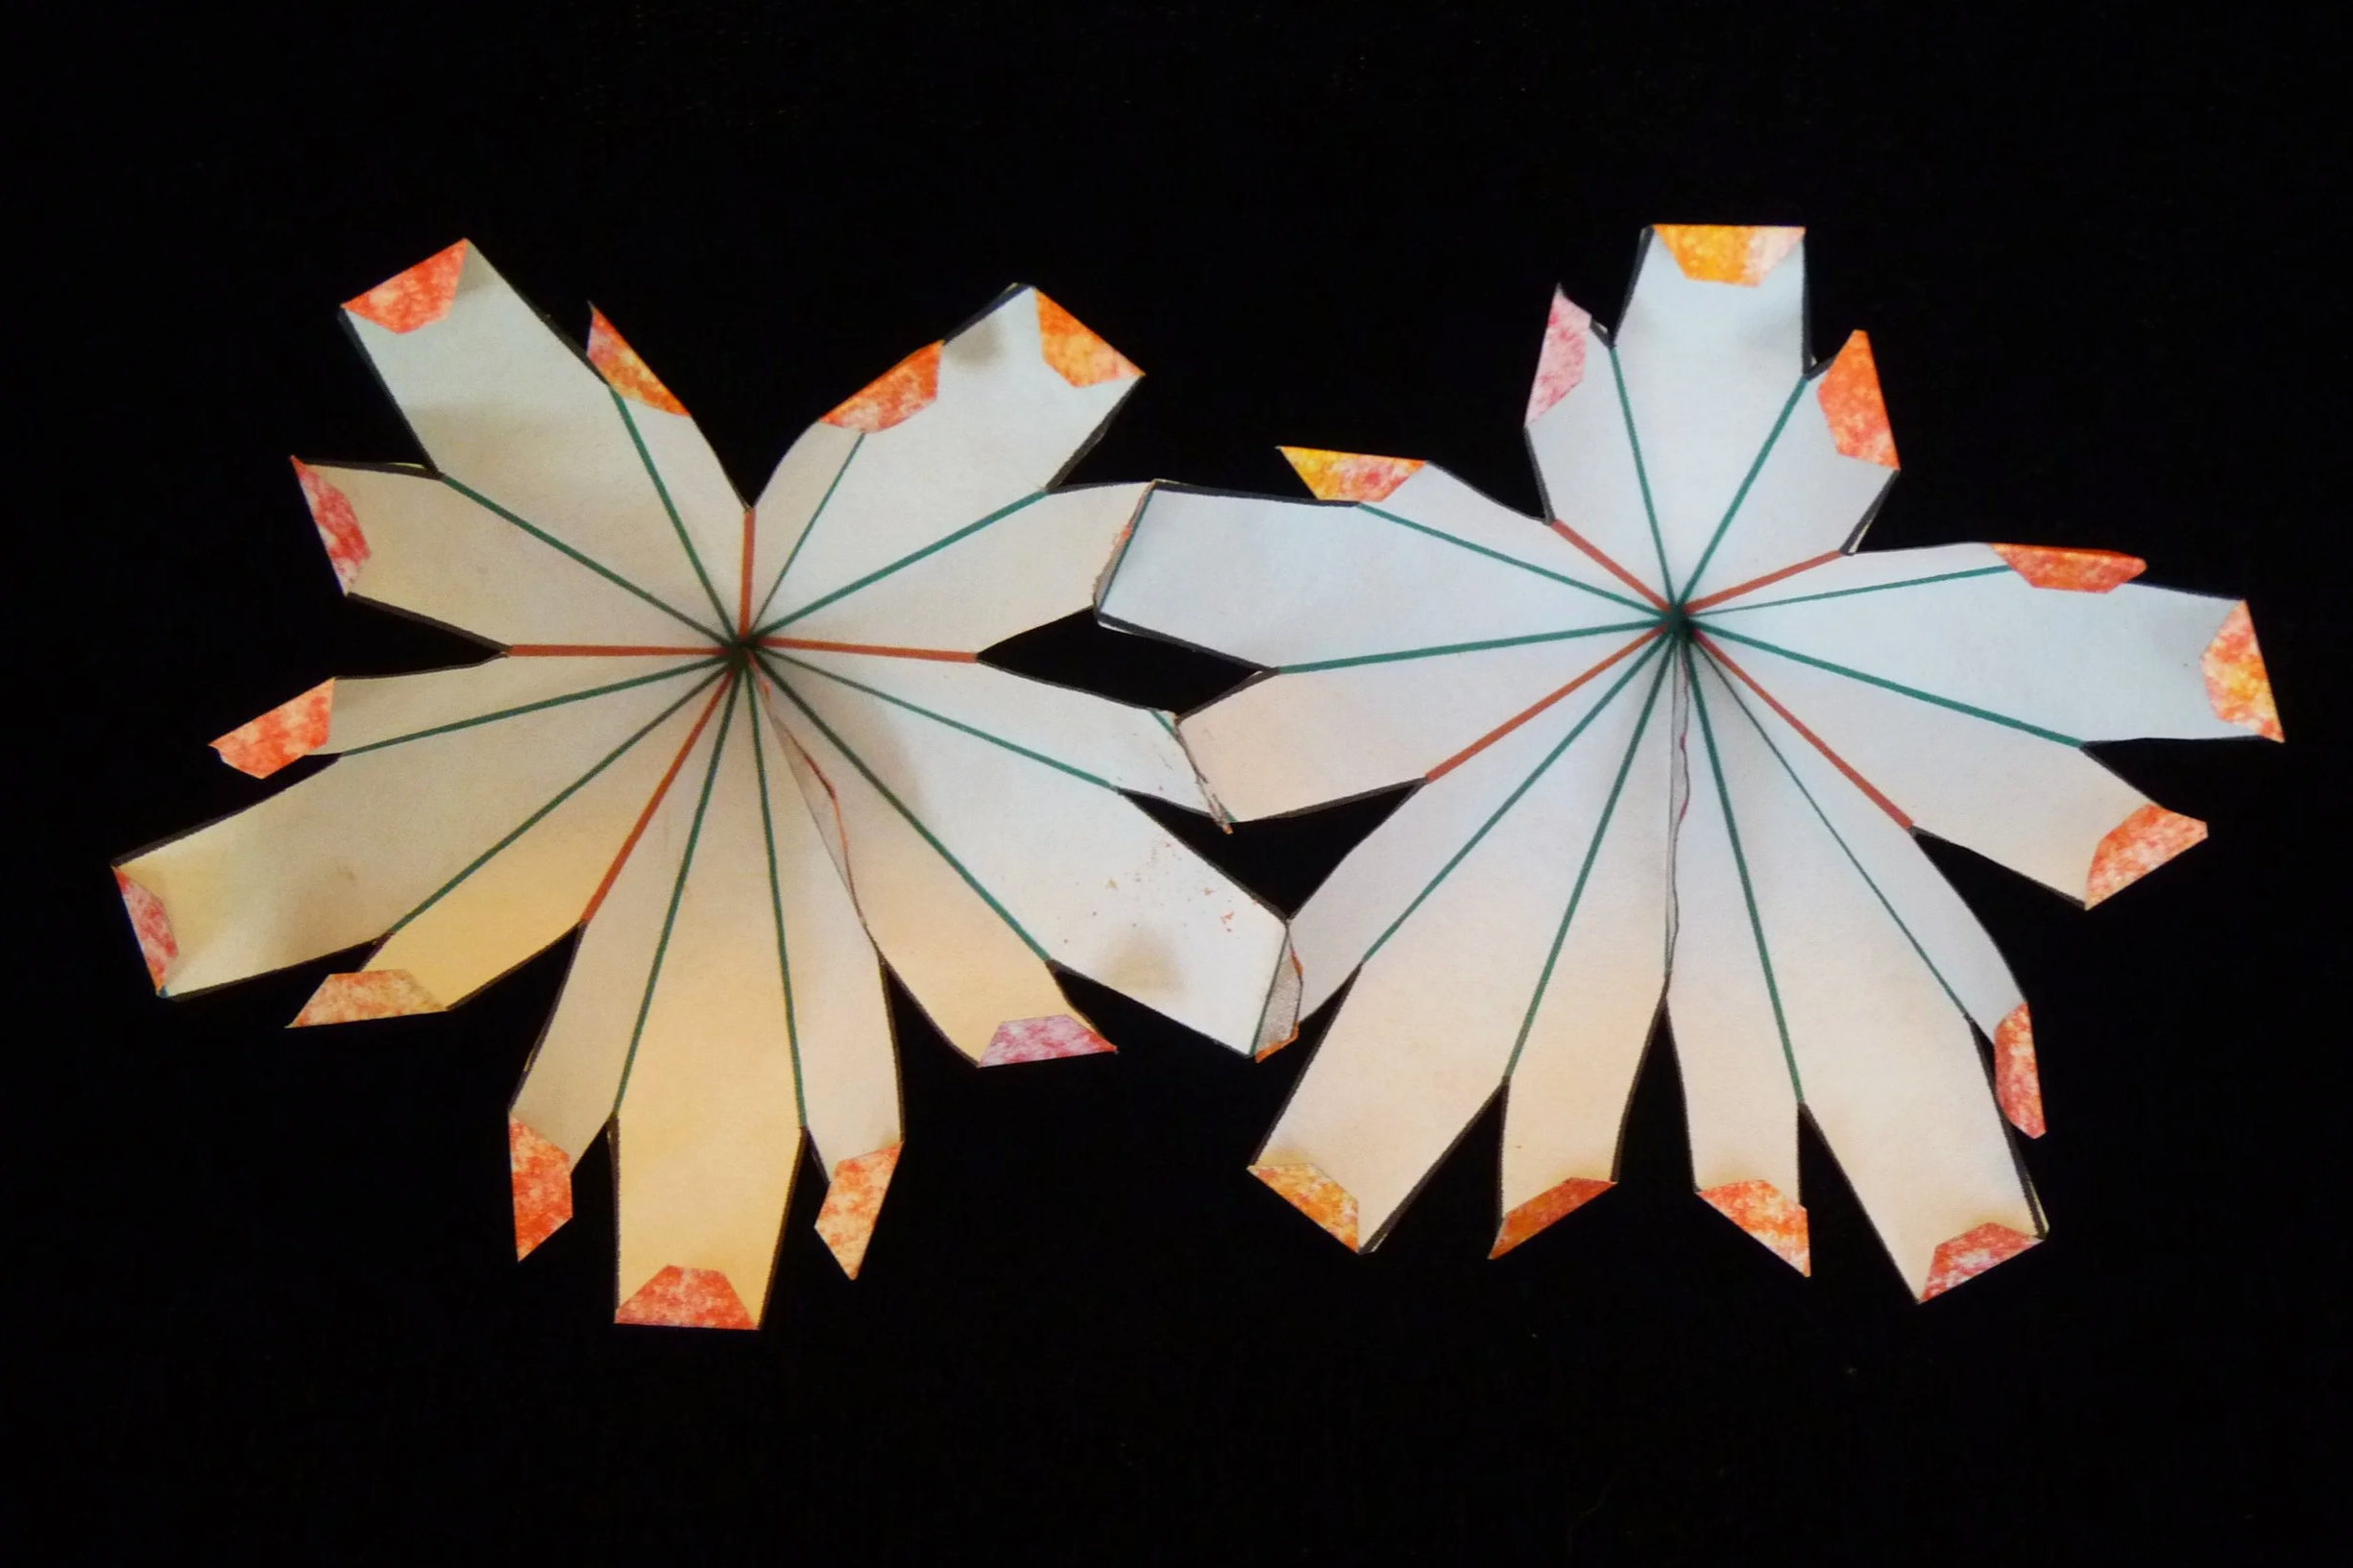
Photo 5. Inside of Project after Step 4
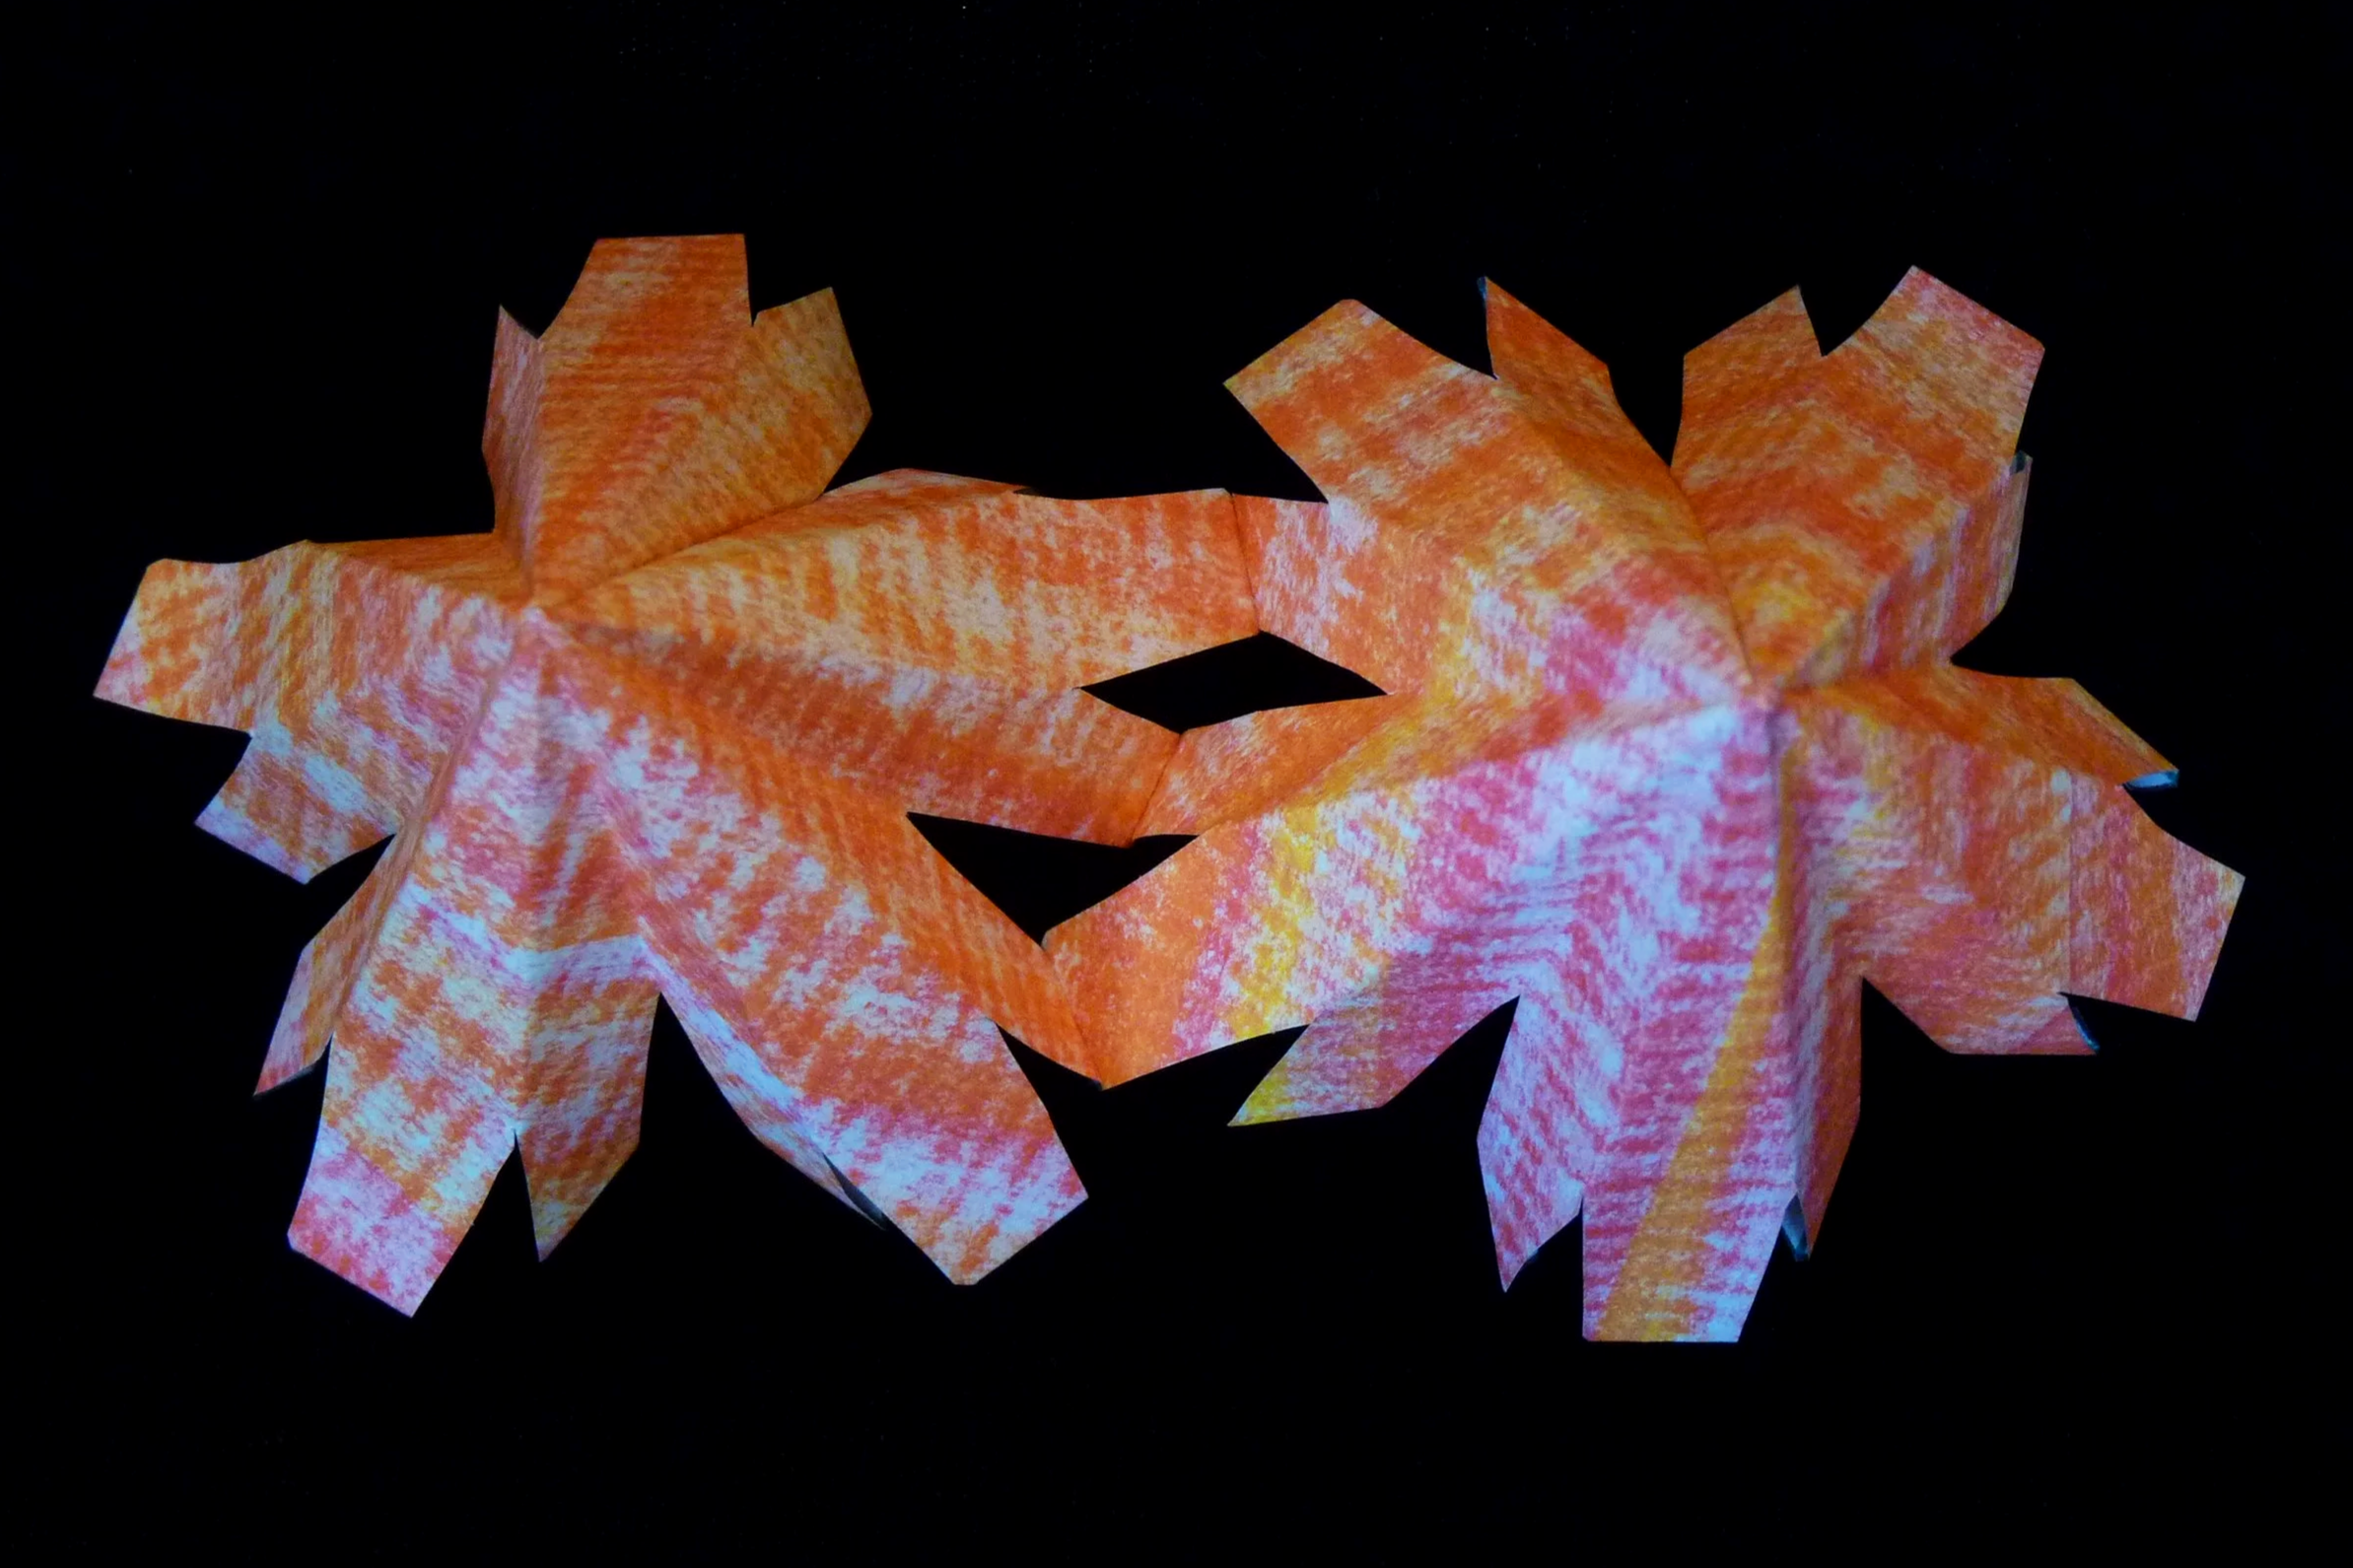
Photo 6. Outside of Project after Step 4
Step 5
Connect the third part to the project with three glue flaps to the first part and three glue flaps to the second part. Connect the fourth part to the project with three glue flaps to the first part and three glue flaps to the second part.
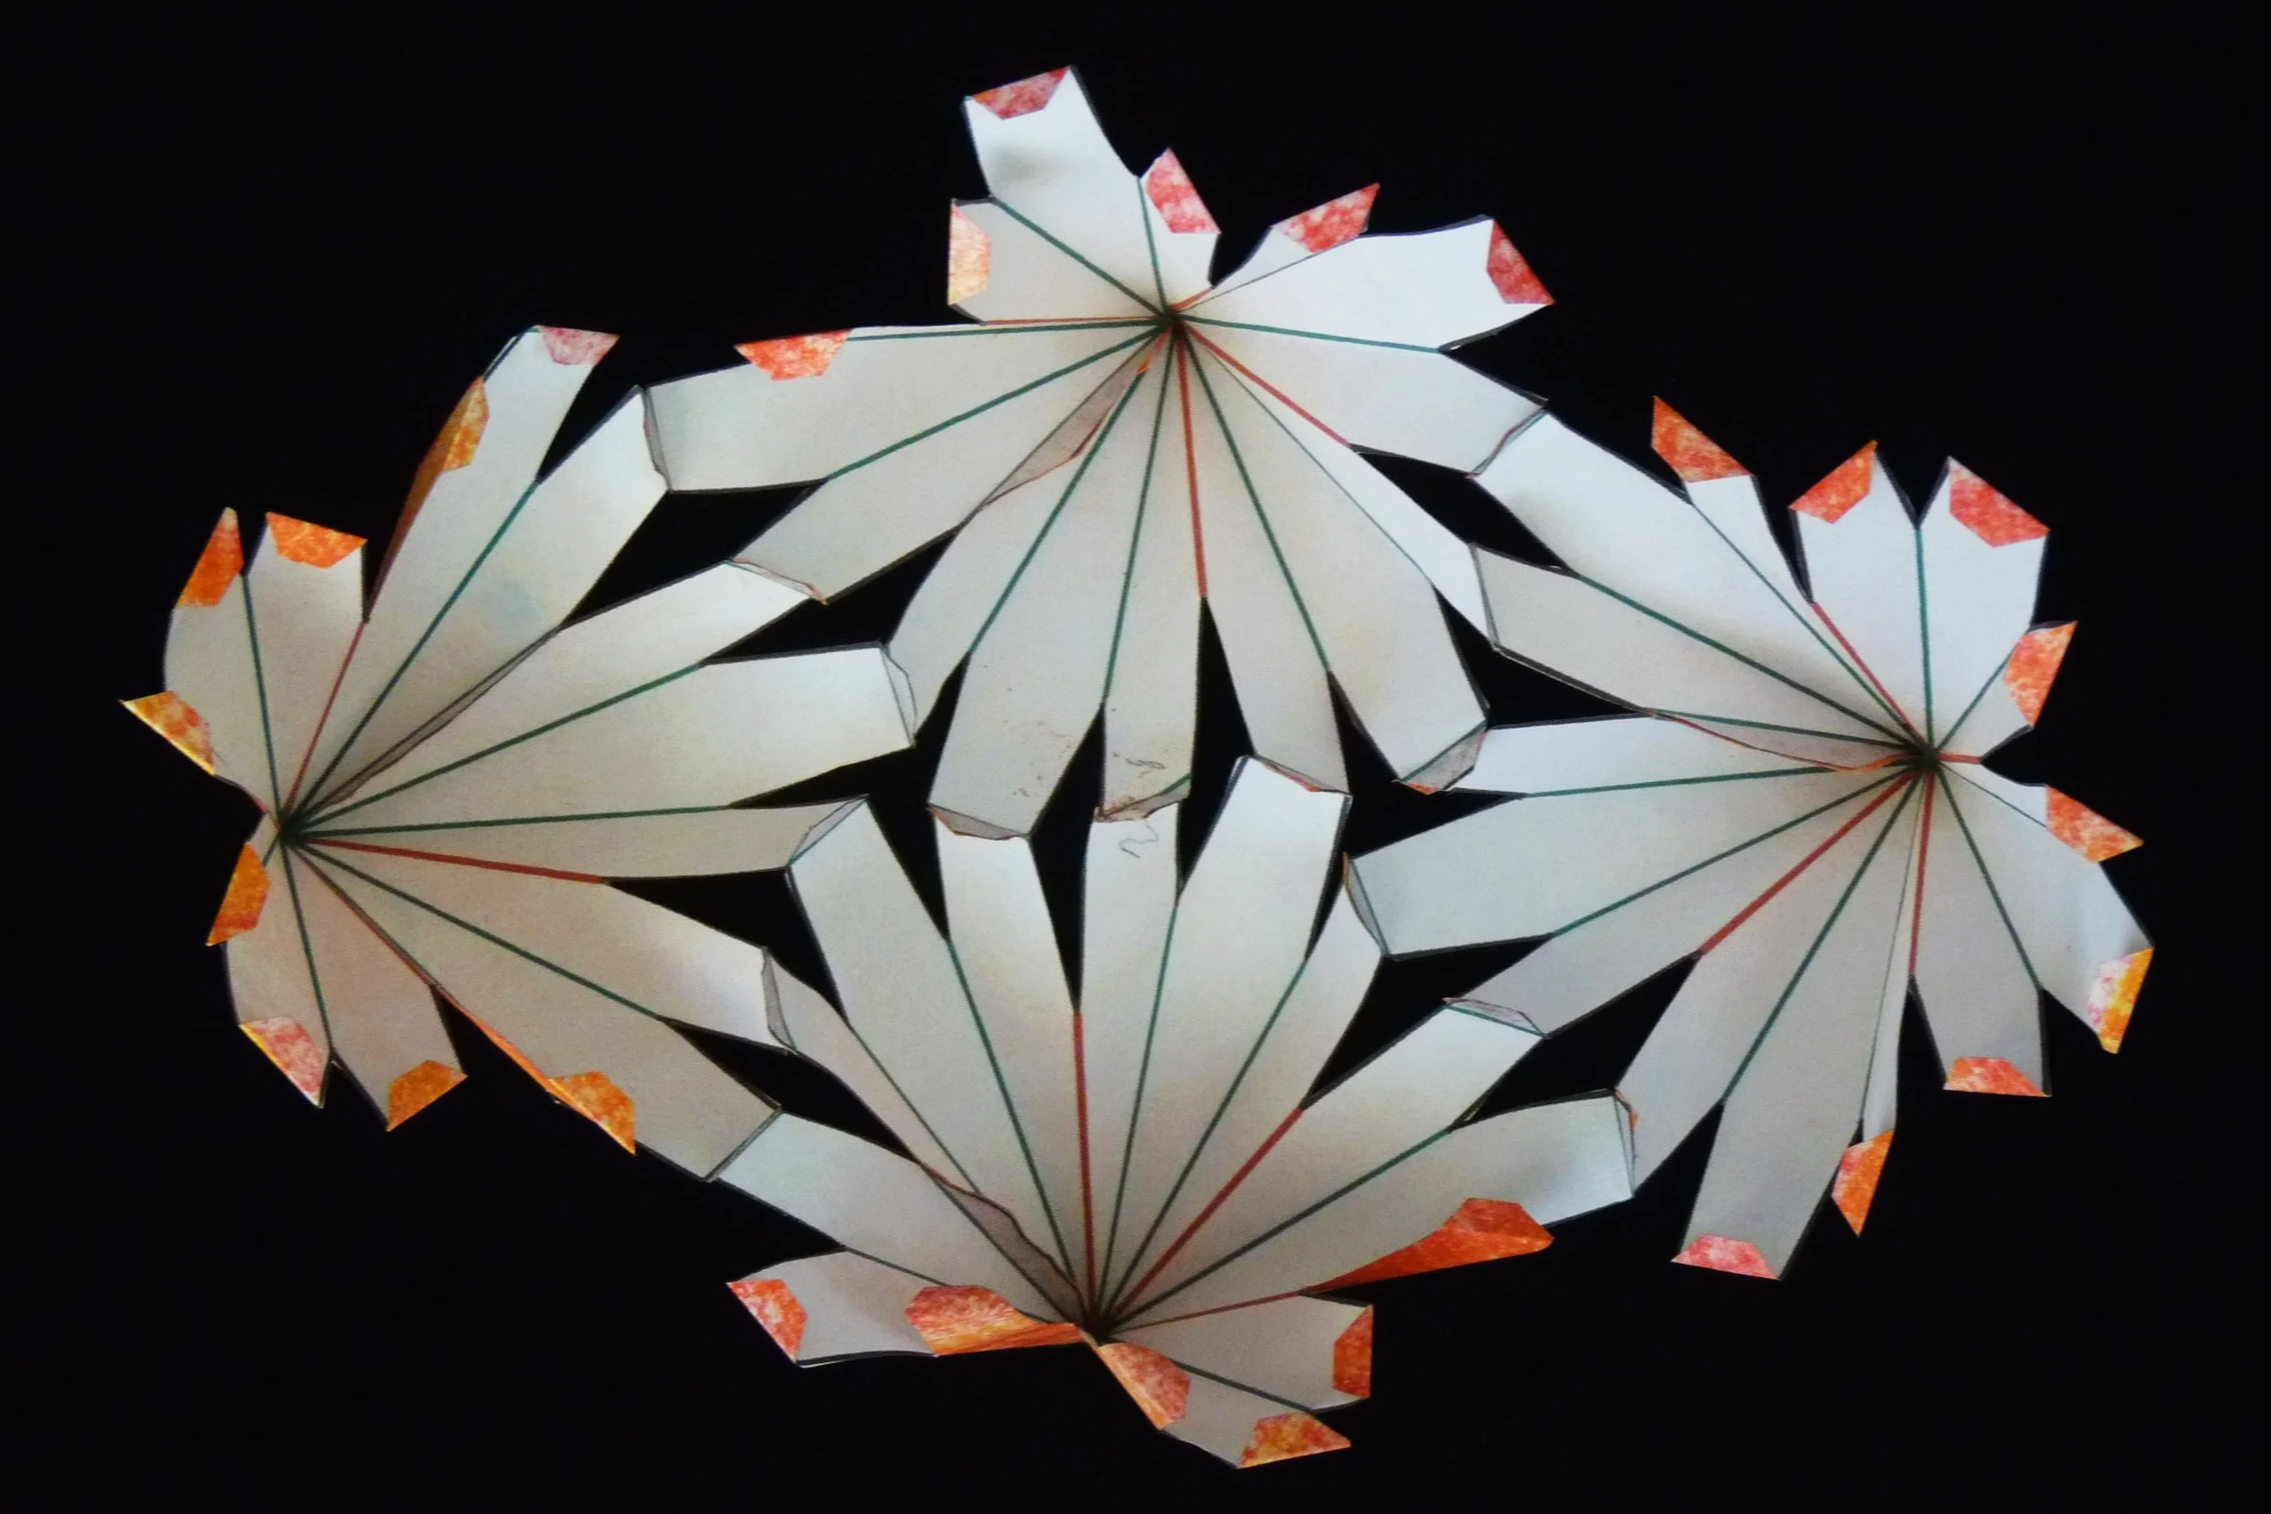
Photo 7. Inside of Project after Step 5
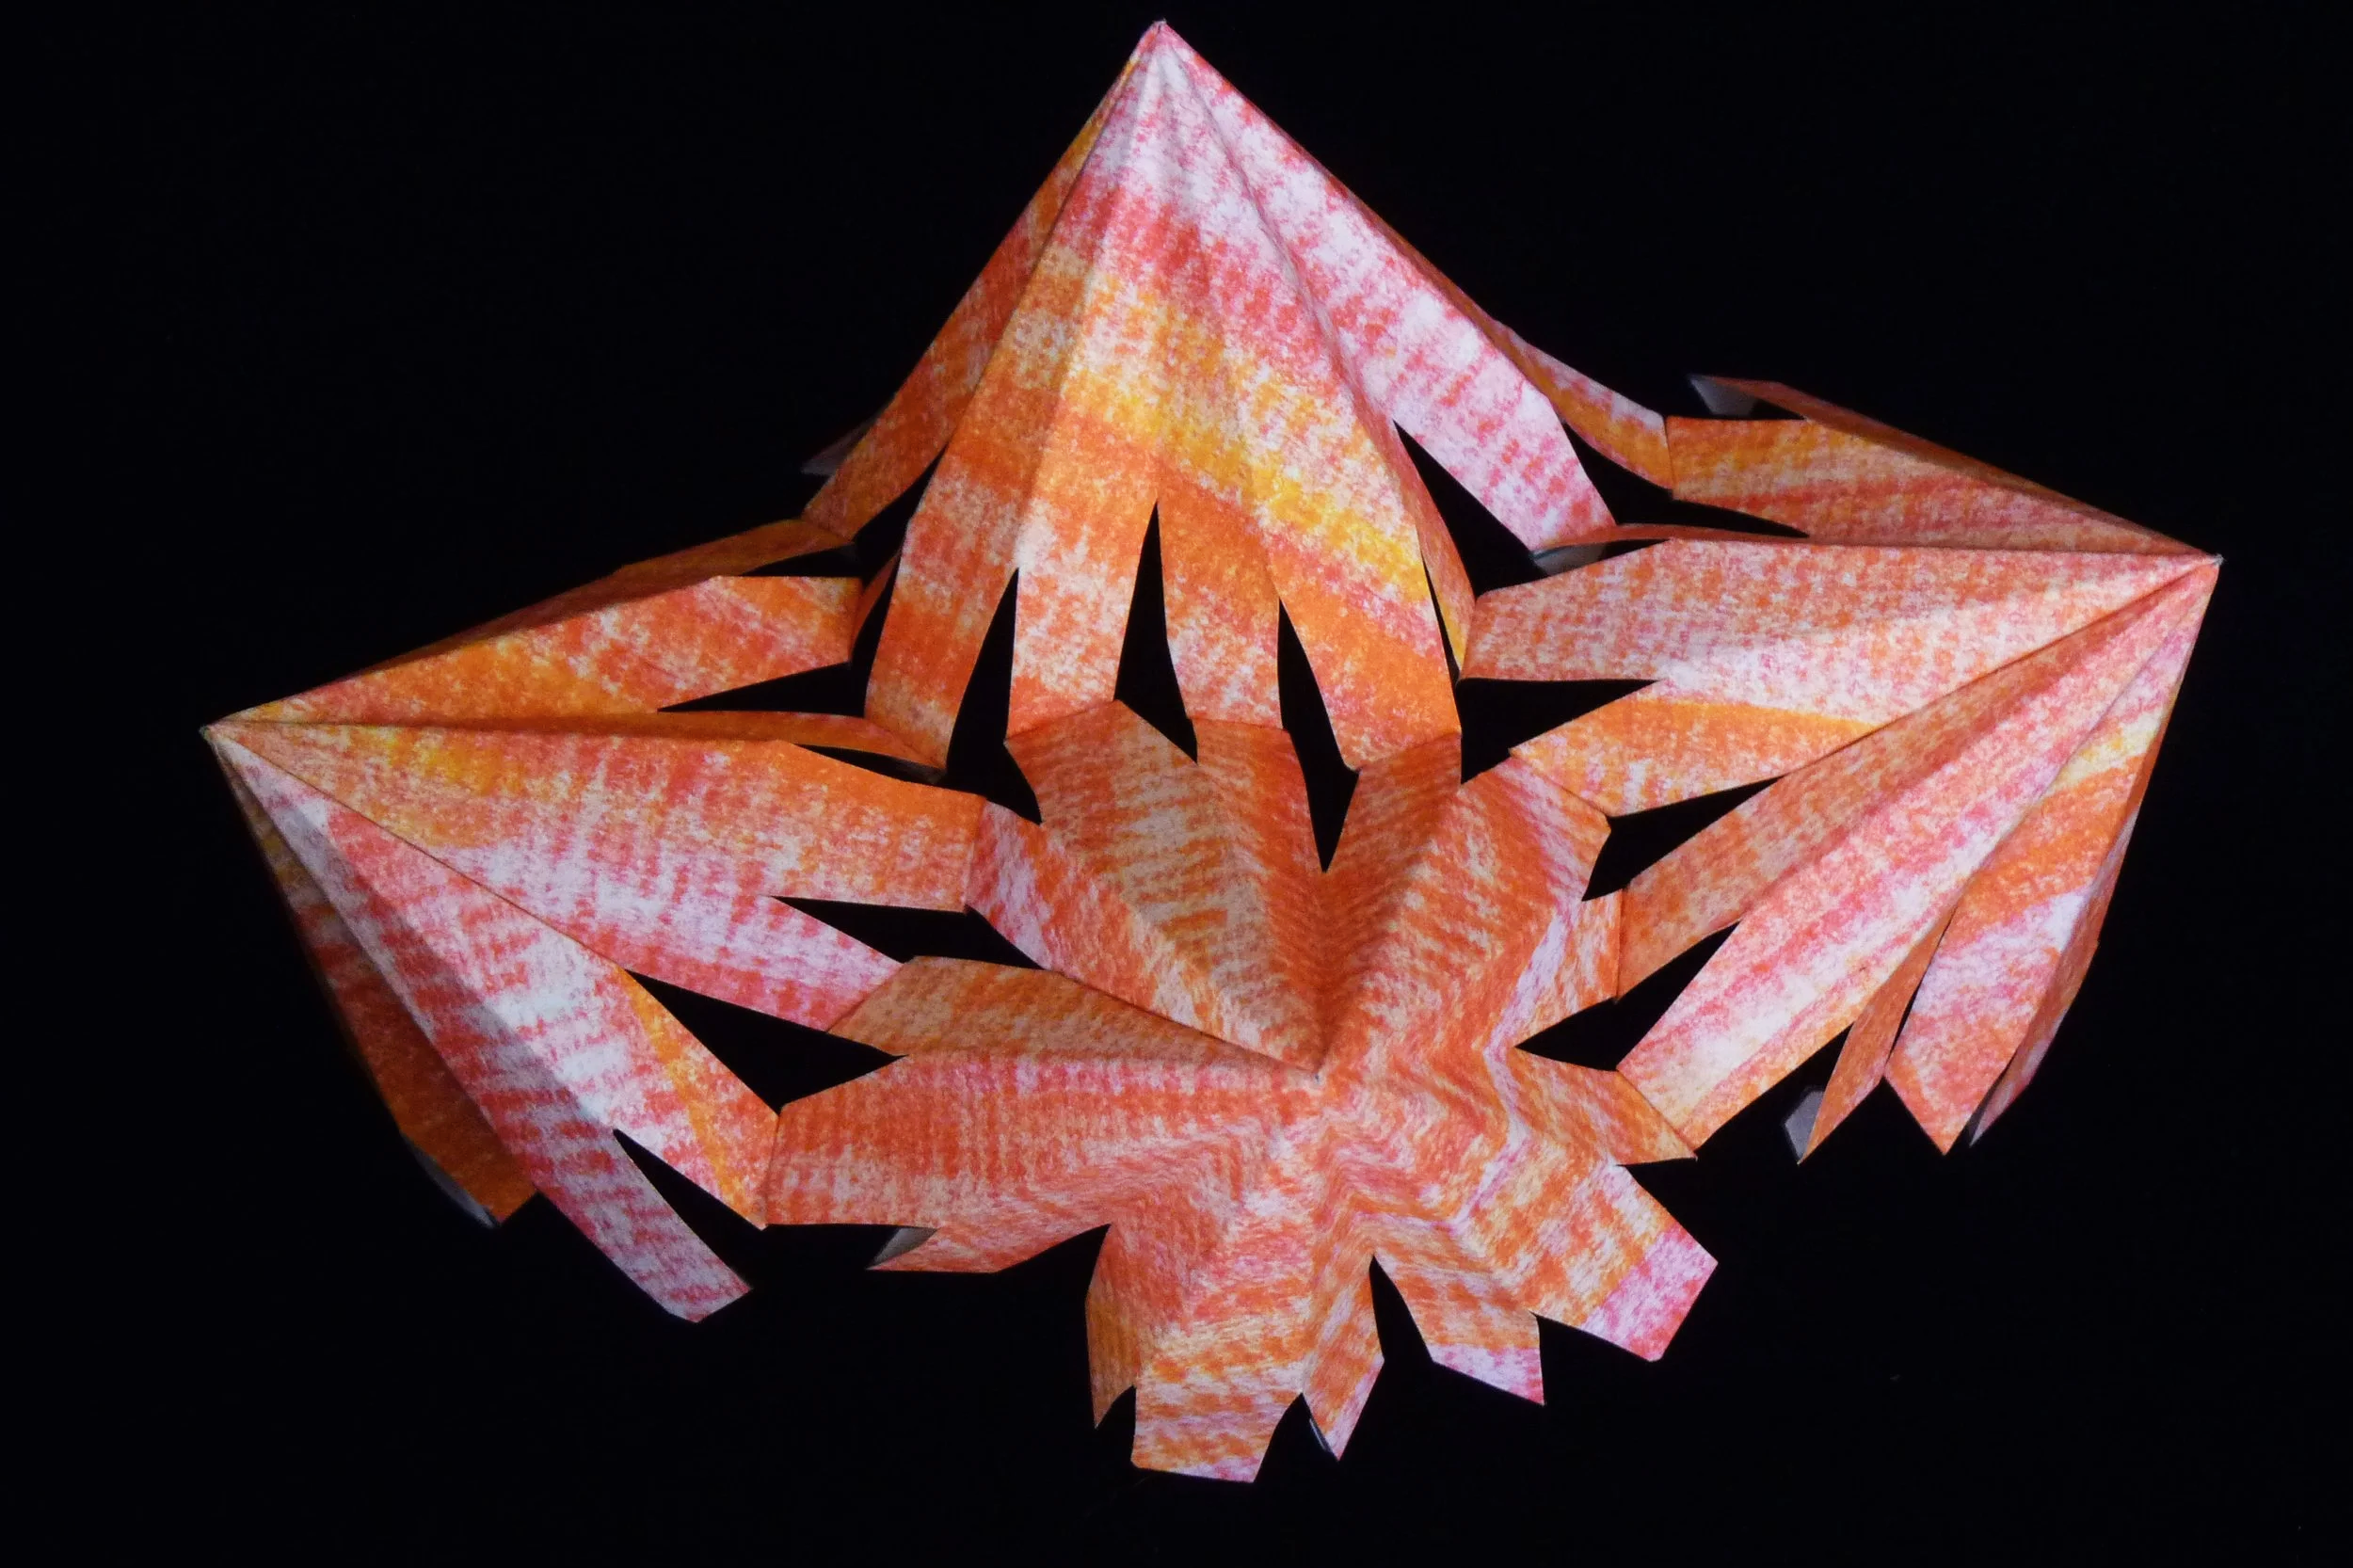
Photo 8. Outside of Project after Step 5
Step 6
Connect the fifth part to the project with three glue flaps to the first part and three glue flaps to the third part. Connect the sixth part to the project with three glue flaps to the first part and three glue flaps to the fourth part.
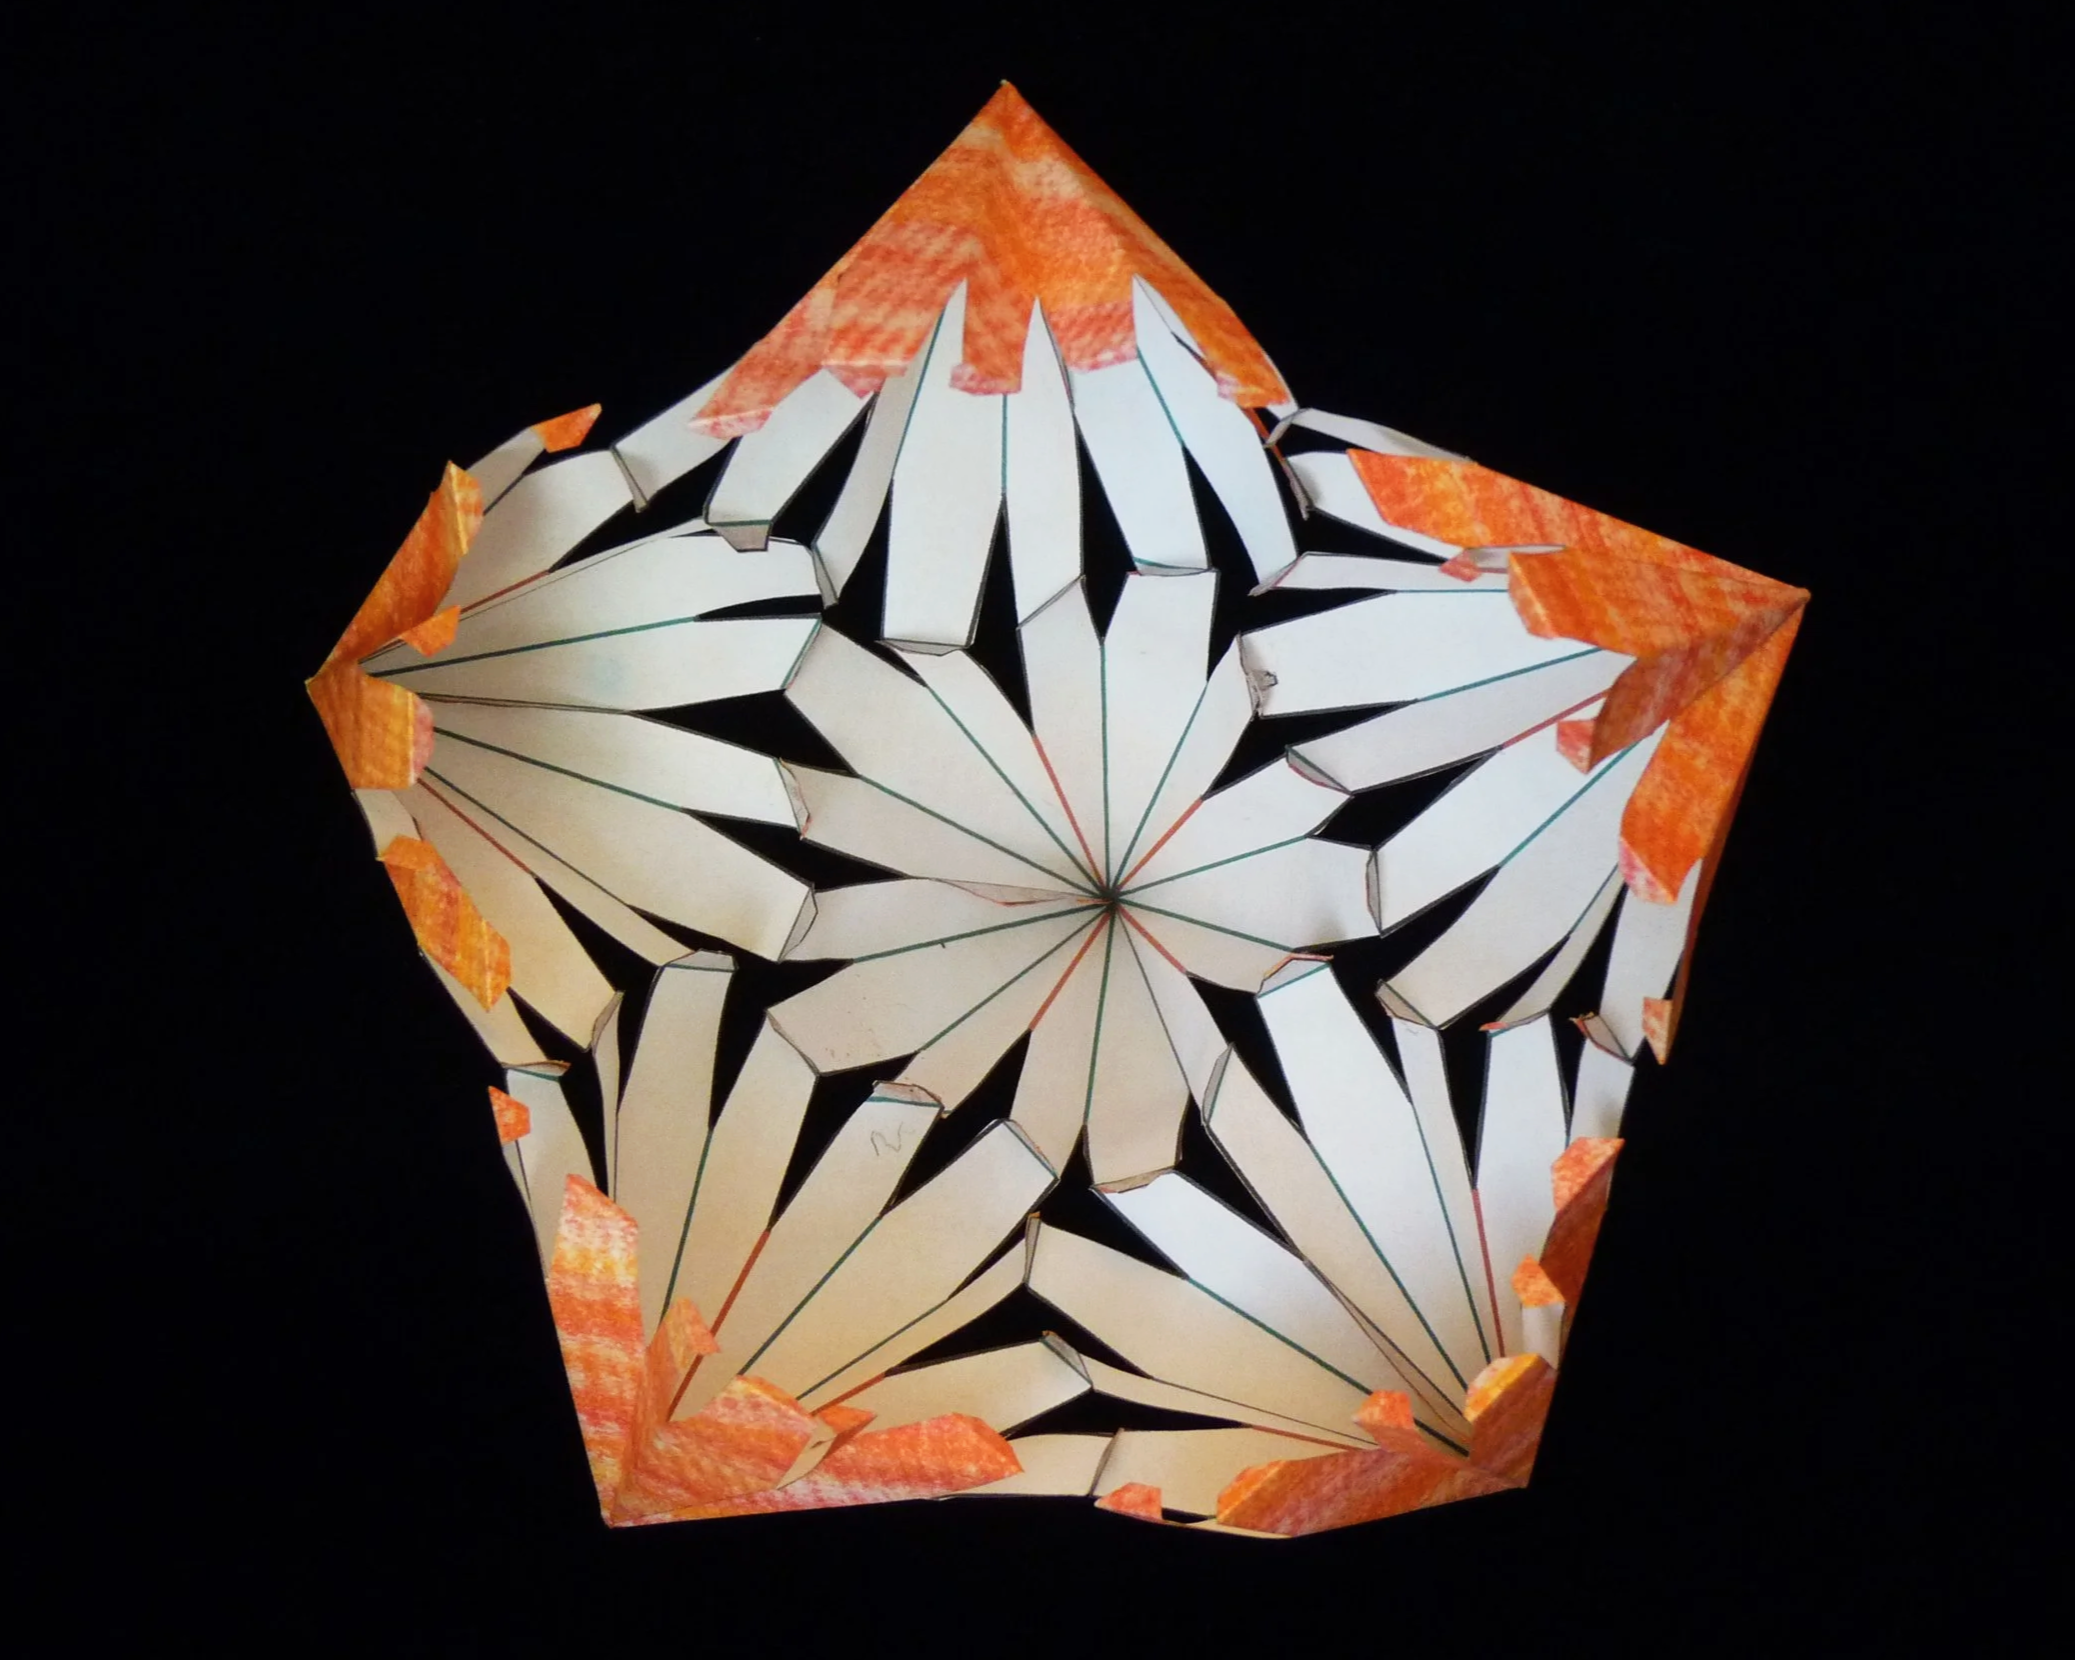
Photo 9. Inside of Project after Step 6

Photo 10. Outside of Project after Step 6
Step 7
Connect the seventh part to the project with three glue flaps to the second part and three glue flaps to the fourth part. Connect the eighth part to the project with three glue flaps to the seventh part, three glue flaps to the fourth part, and three glue flaps to the sixth part. Connect the ninth part to the project with three glue flaps to the fifth part, three glue flaps to the sixth part, and three glue flaps to the eighth part.
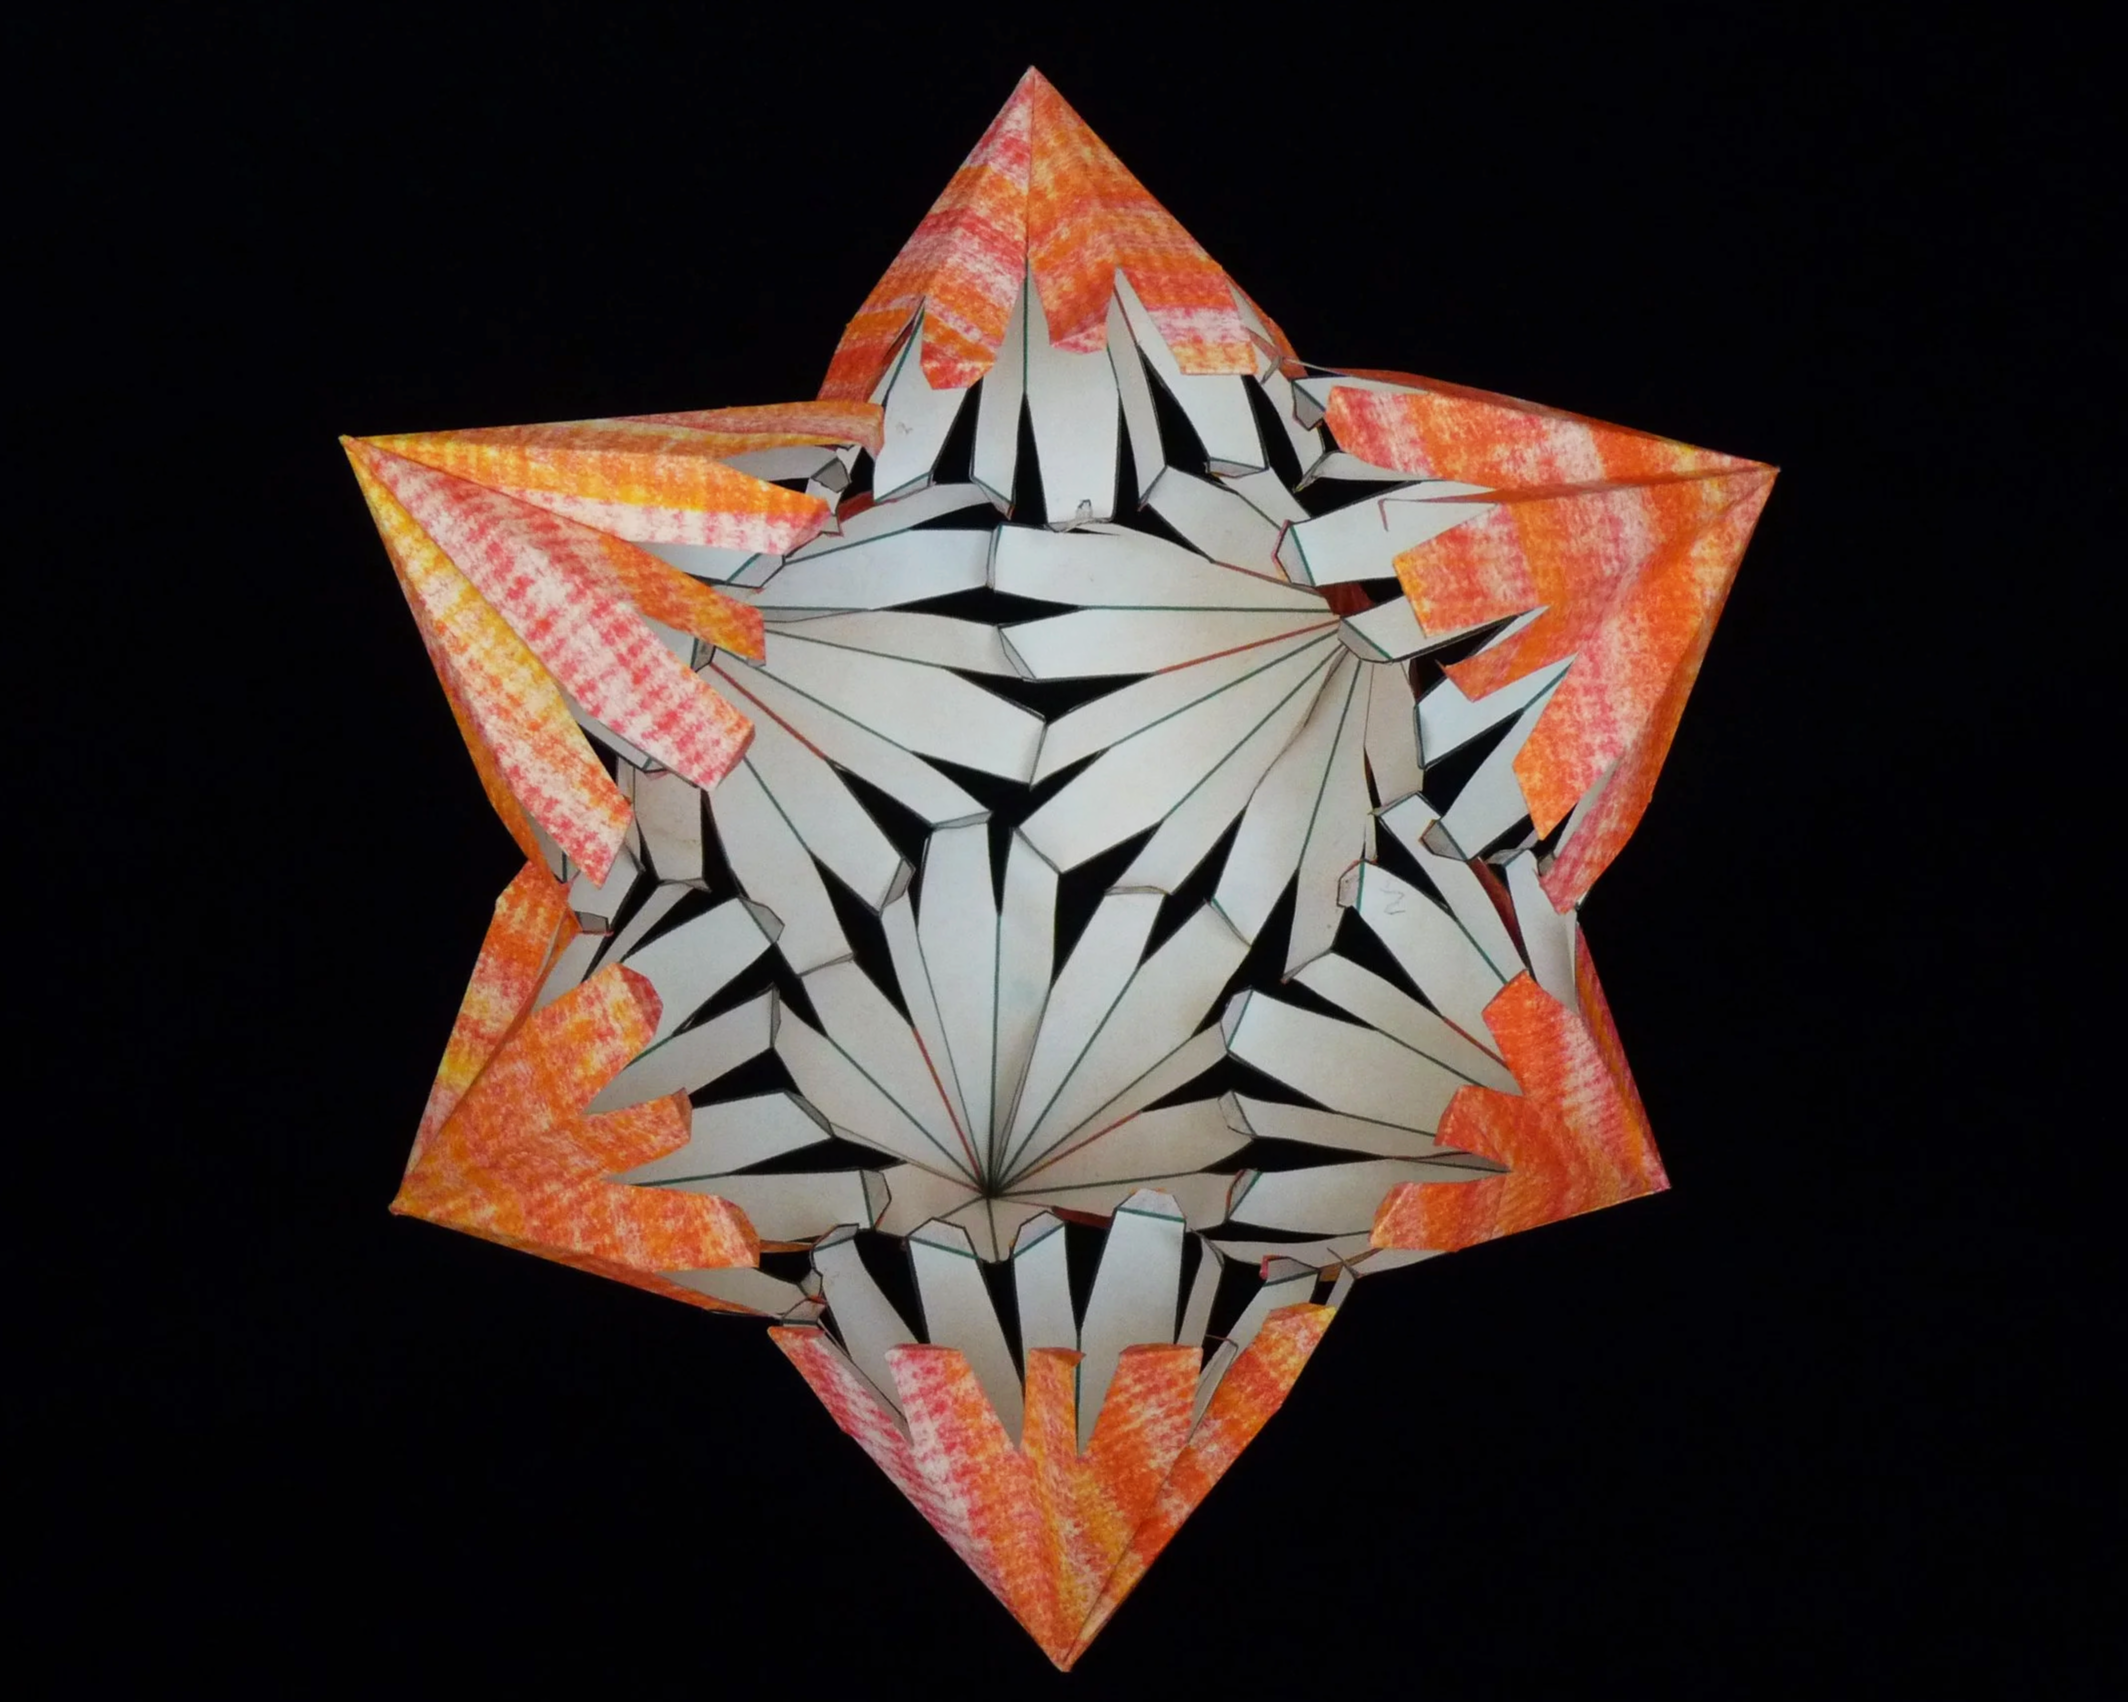
Photo 11. Inside of Project after Step 7
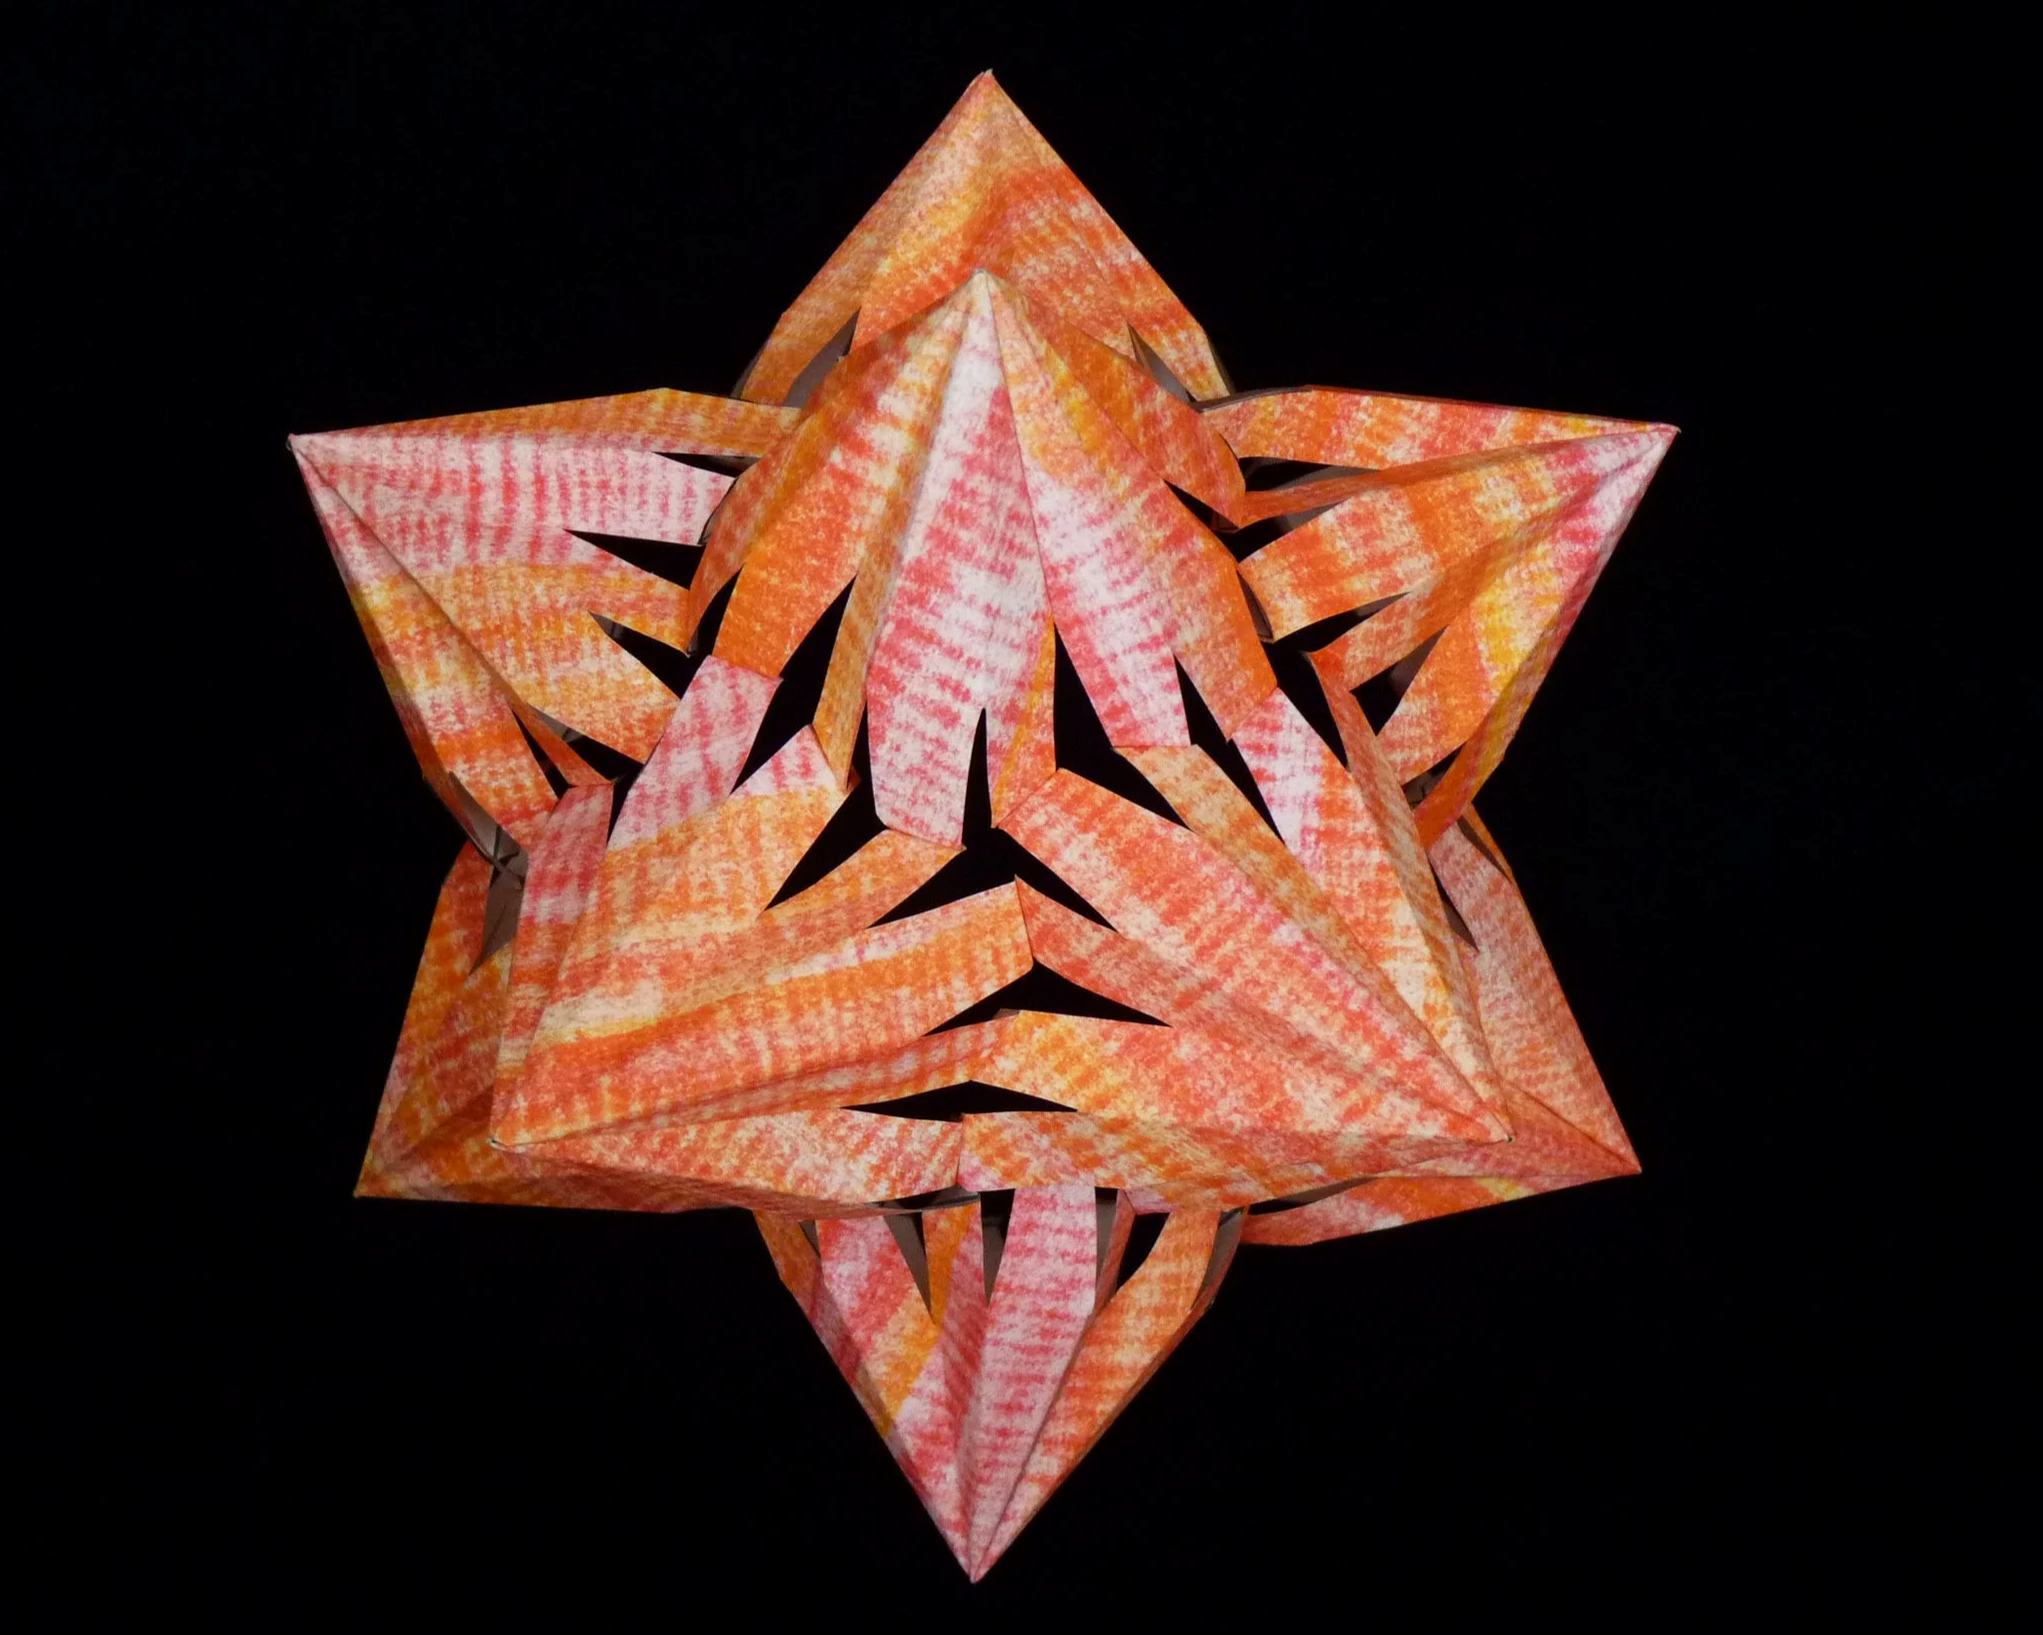
Photo 12. Outside of Project after Step 7
Step 8
Connect the tenth part to the project with three glue flaps to the second part, three glue flaps to the third part, and three glue flaps to the seventh part. Connect the eleventh part to the project with three glue flaps to the seventh part, three glue flaps to the eighth part, three glue flaps to the ninth part, and three glue flaps to the tenth part. Connect the twelfth and final part with three glue flaps to the ninth part, three glue flaps to the tenth part, three glue flaps to the third part, three glue flaps to the fifth part, and three glue flaps to the eleventh part.
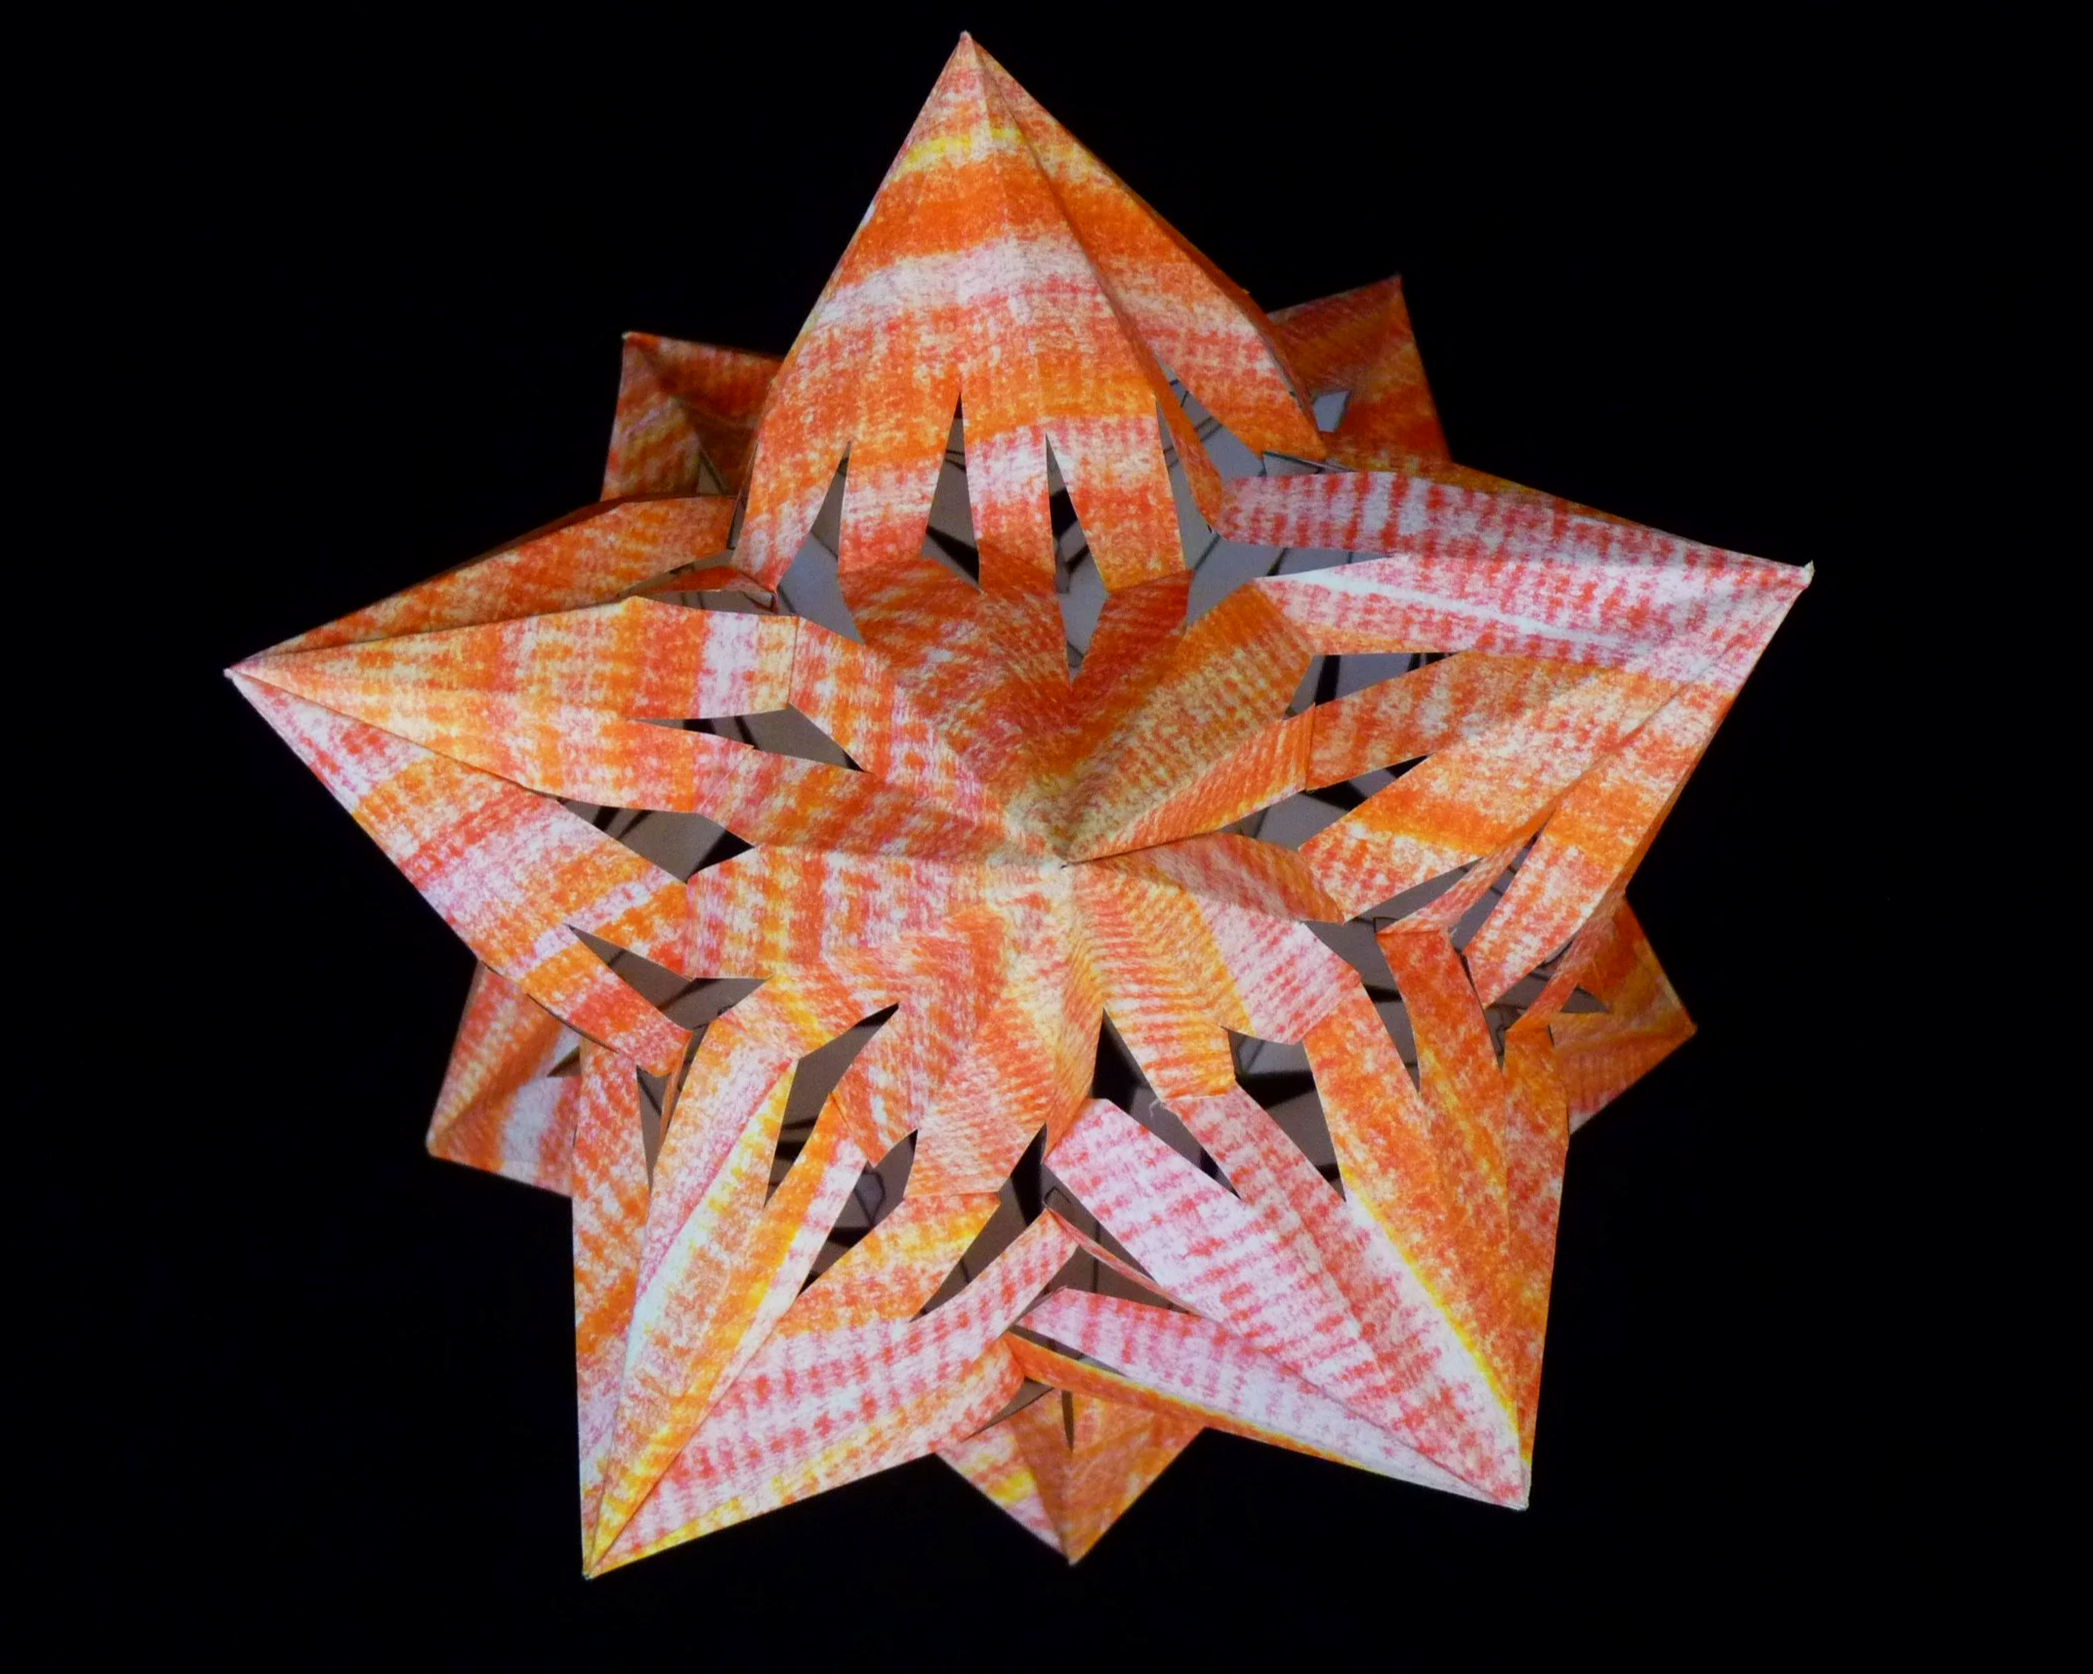
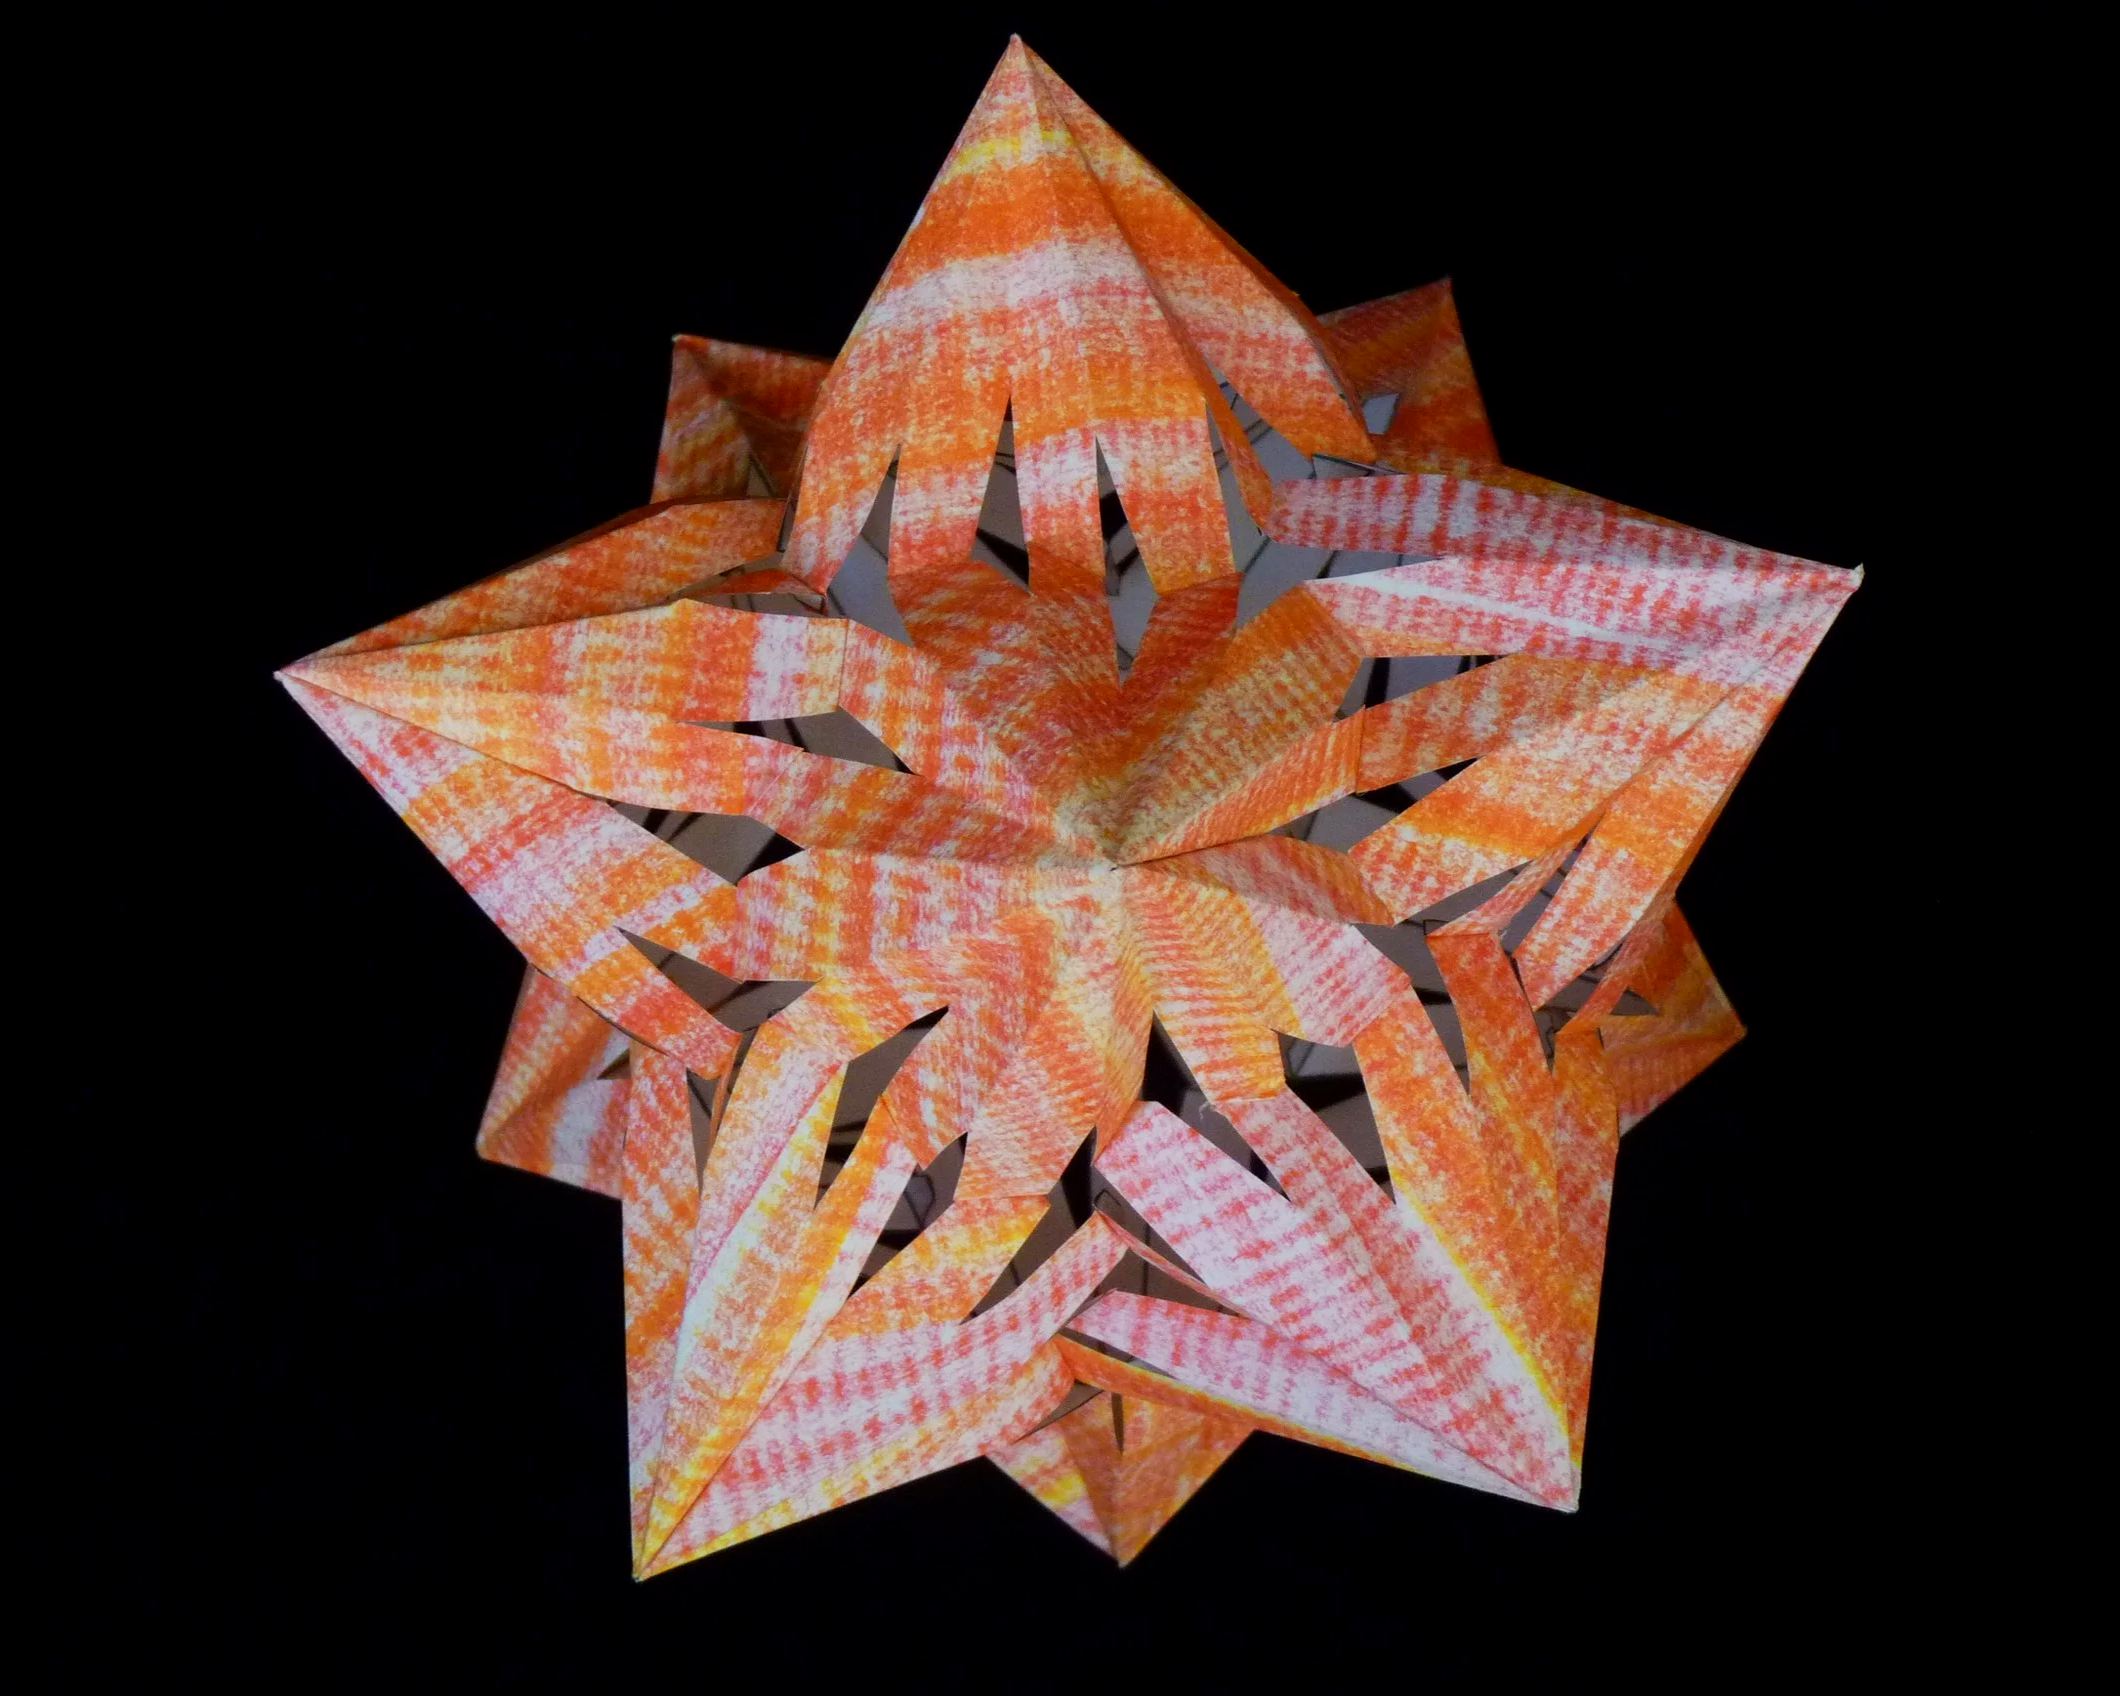
Photo 12. Completed Callisto - View 1
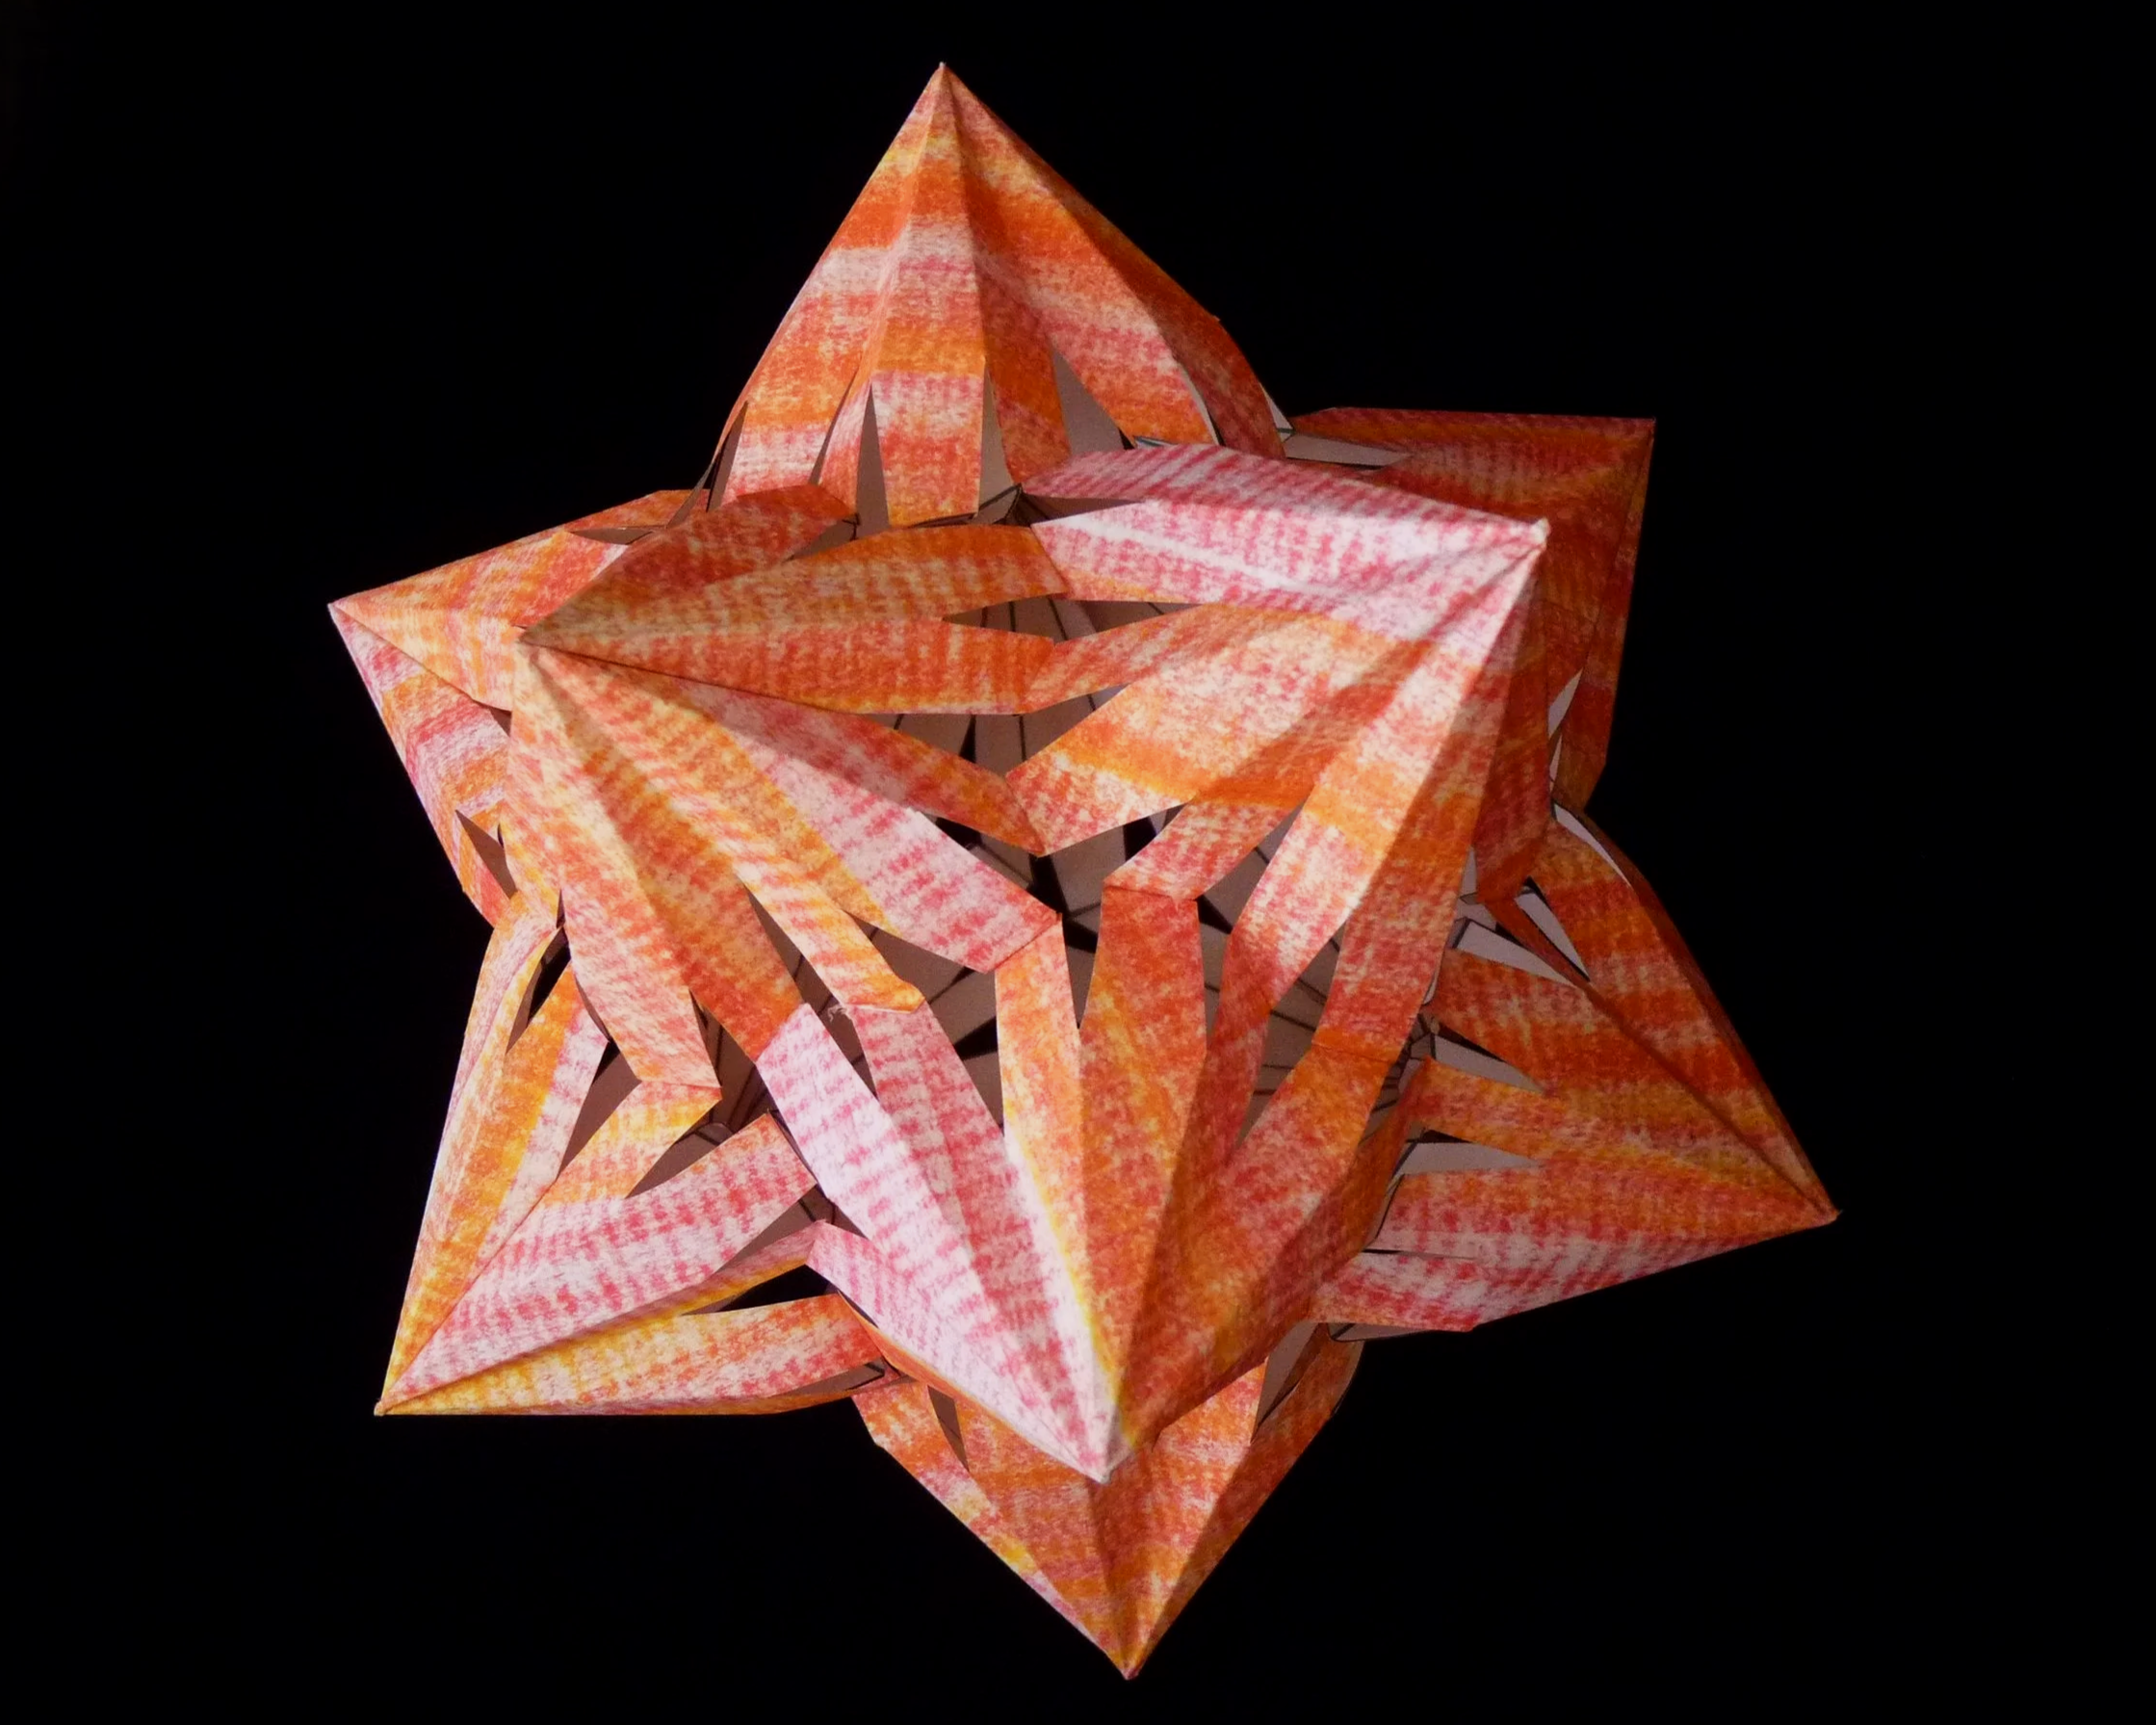
Photo 13. Completed Callisto - View 2
This Callisto is a stellation of the pentagonal hexecontahedron, one of the thirteen Catalan solids. Each of the twelve points cover five faces of the pentagonal hexecontahedron