Black Hole
Beware the Black Hole. Nothing can escape its gravity !
Project Info
Paper required: two sheets 8.5 x 11 inch (or A4)
Finished Project size: 3 inches (8 cm)
Difficulty Level: intermediate
Click button below to get your free printable pattern !
Click button below to get your free printable pattern !
INSTRUCTIONS
STEP 1
Print the pattern onto the two matching paper sheets of your choice. Both sides of the paper will be visible in the finished project.
Read the pattern key included in the General Instructions.
Step 2
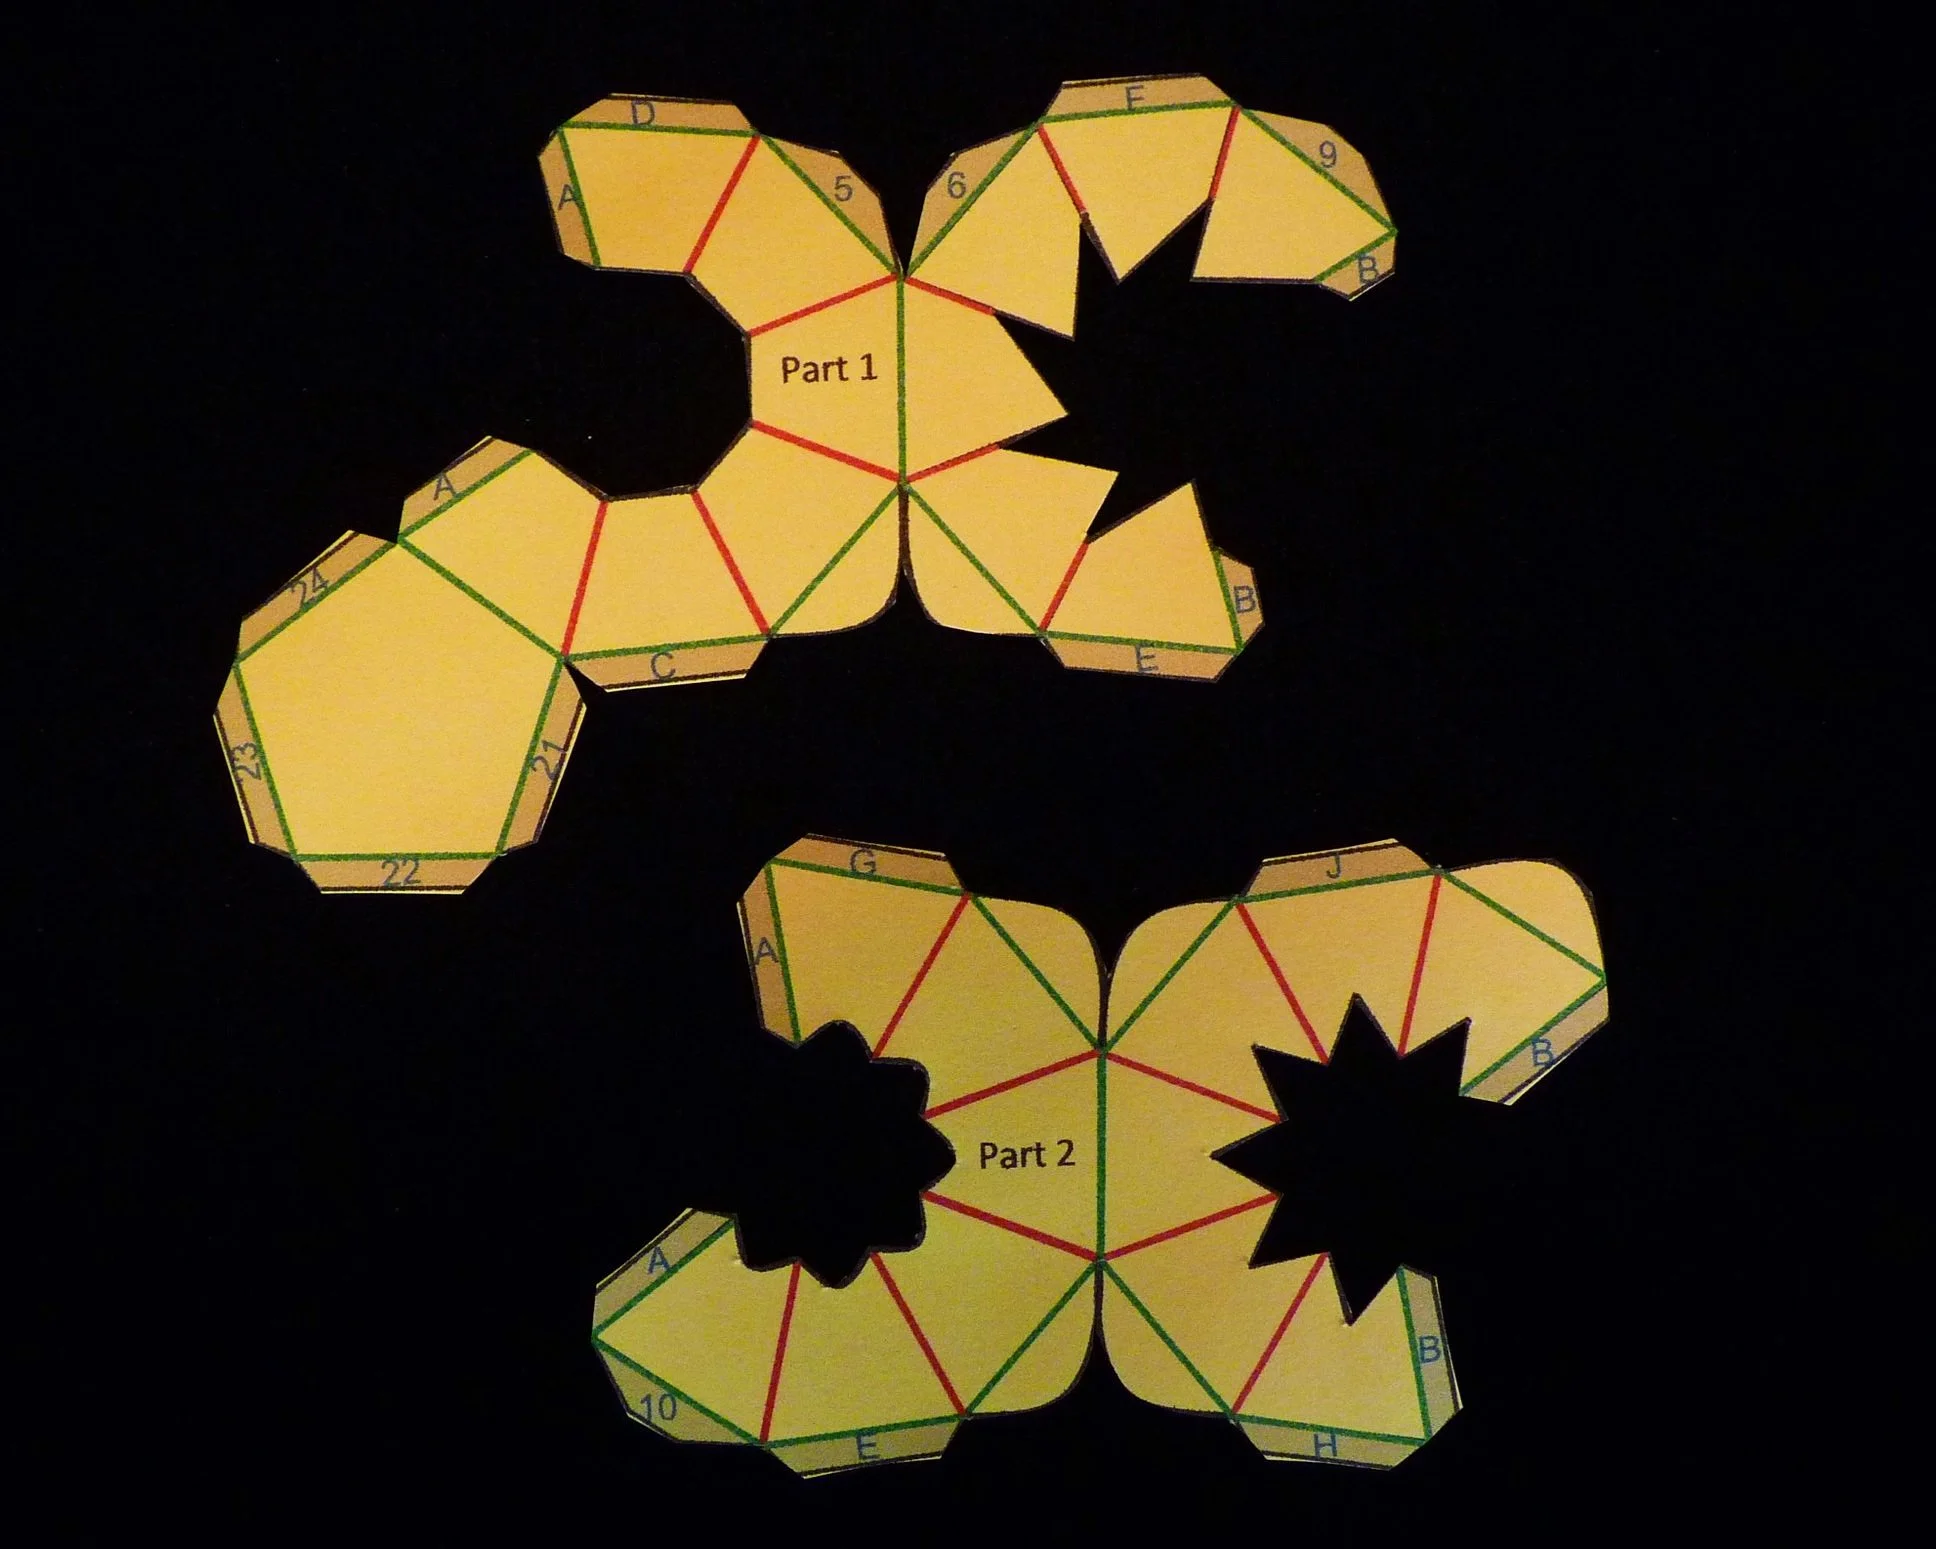
Cut out pattern Parts 1 through 10 by cutting on all black lines.
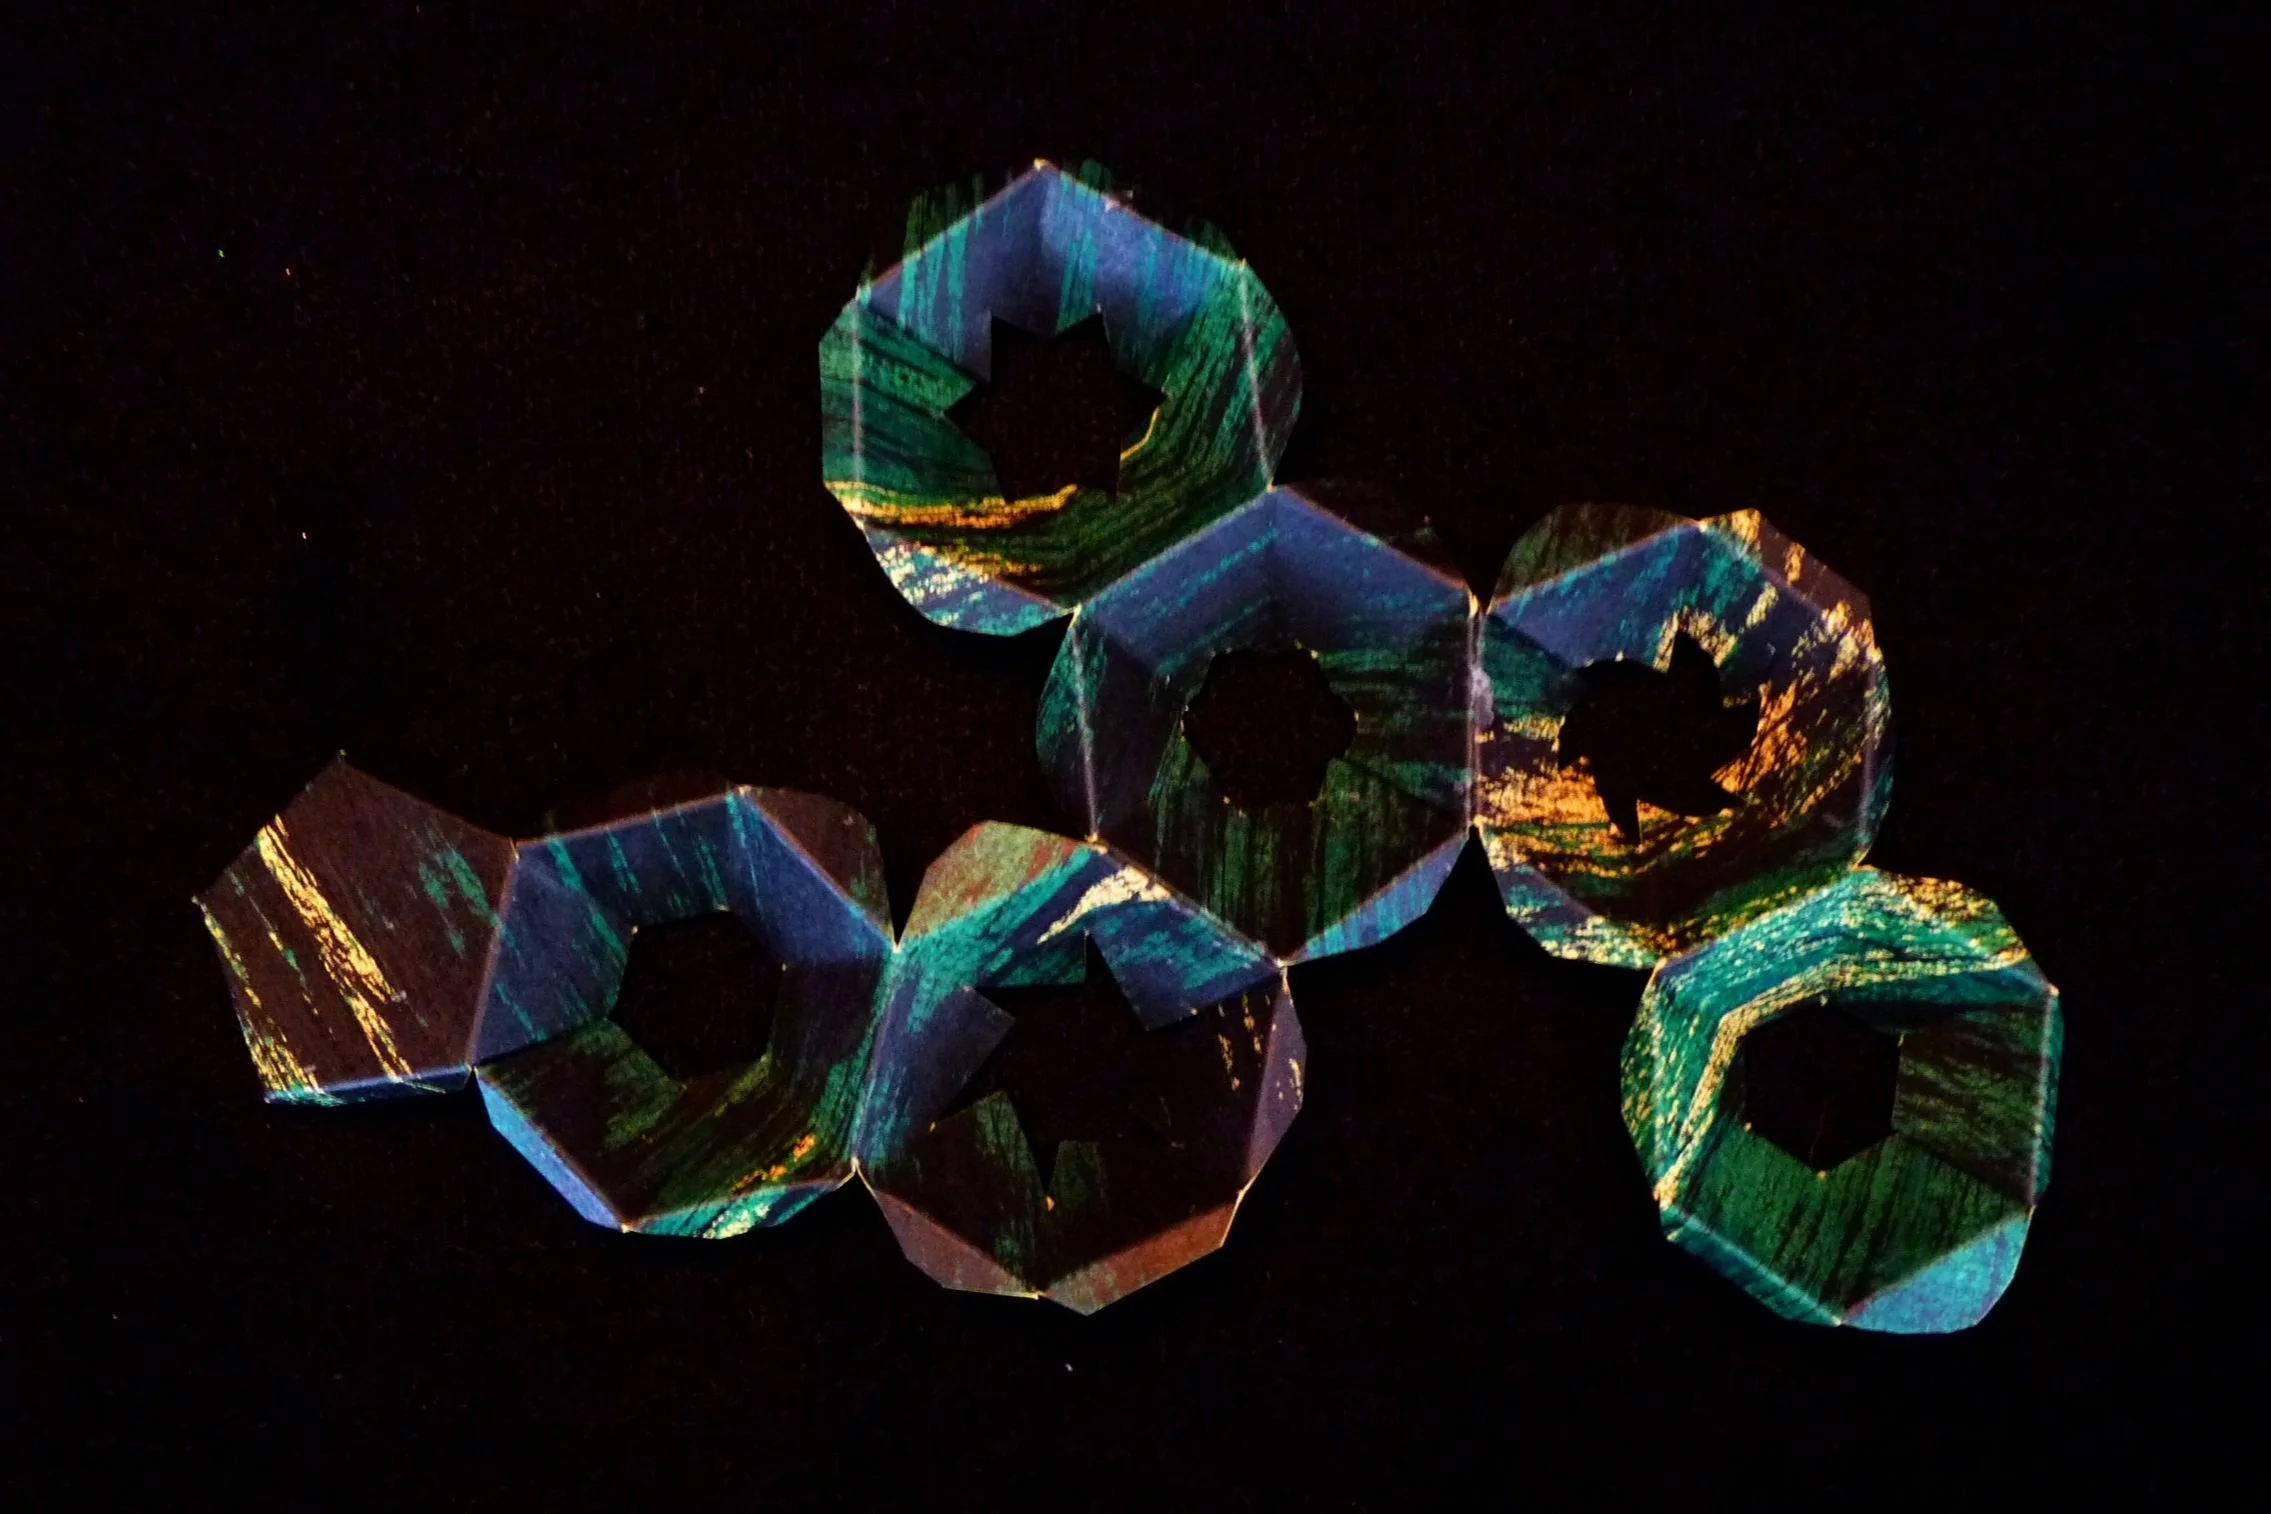
Photo 1. Inside of Pattern Parts 1 and 2 after Step 2
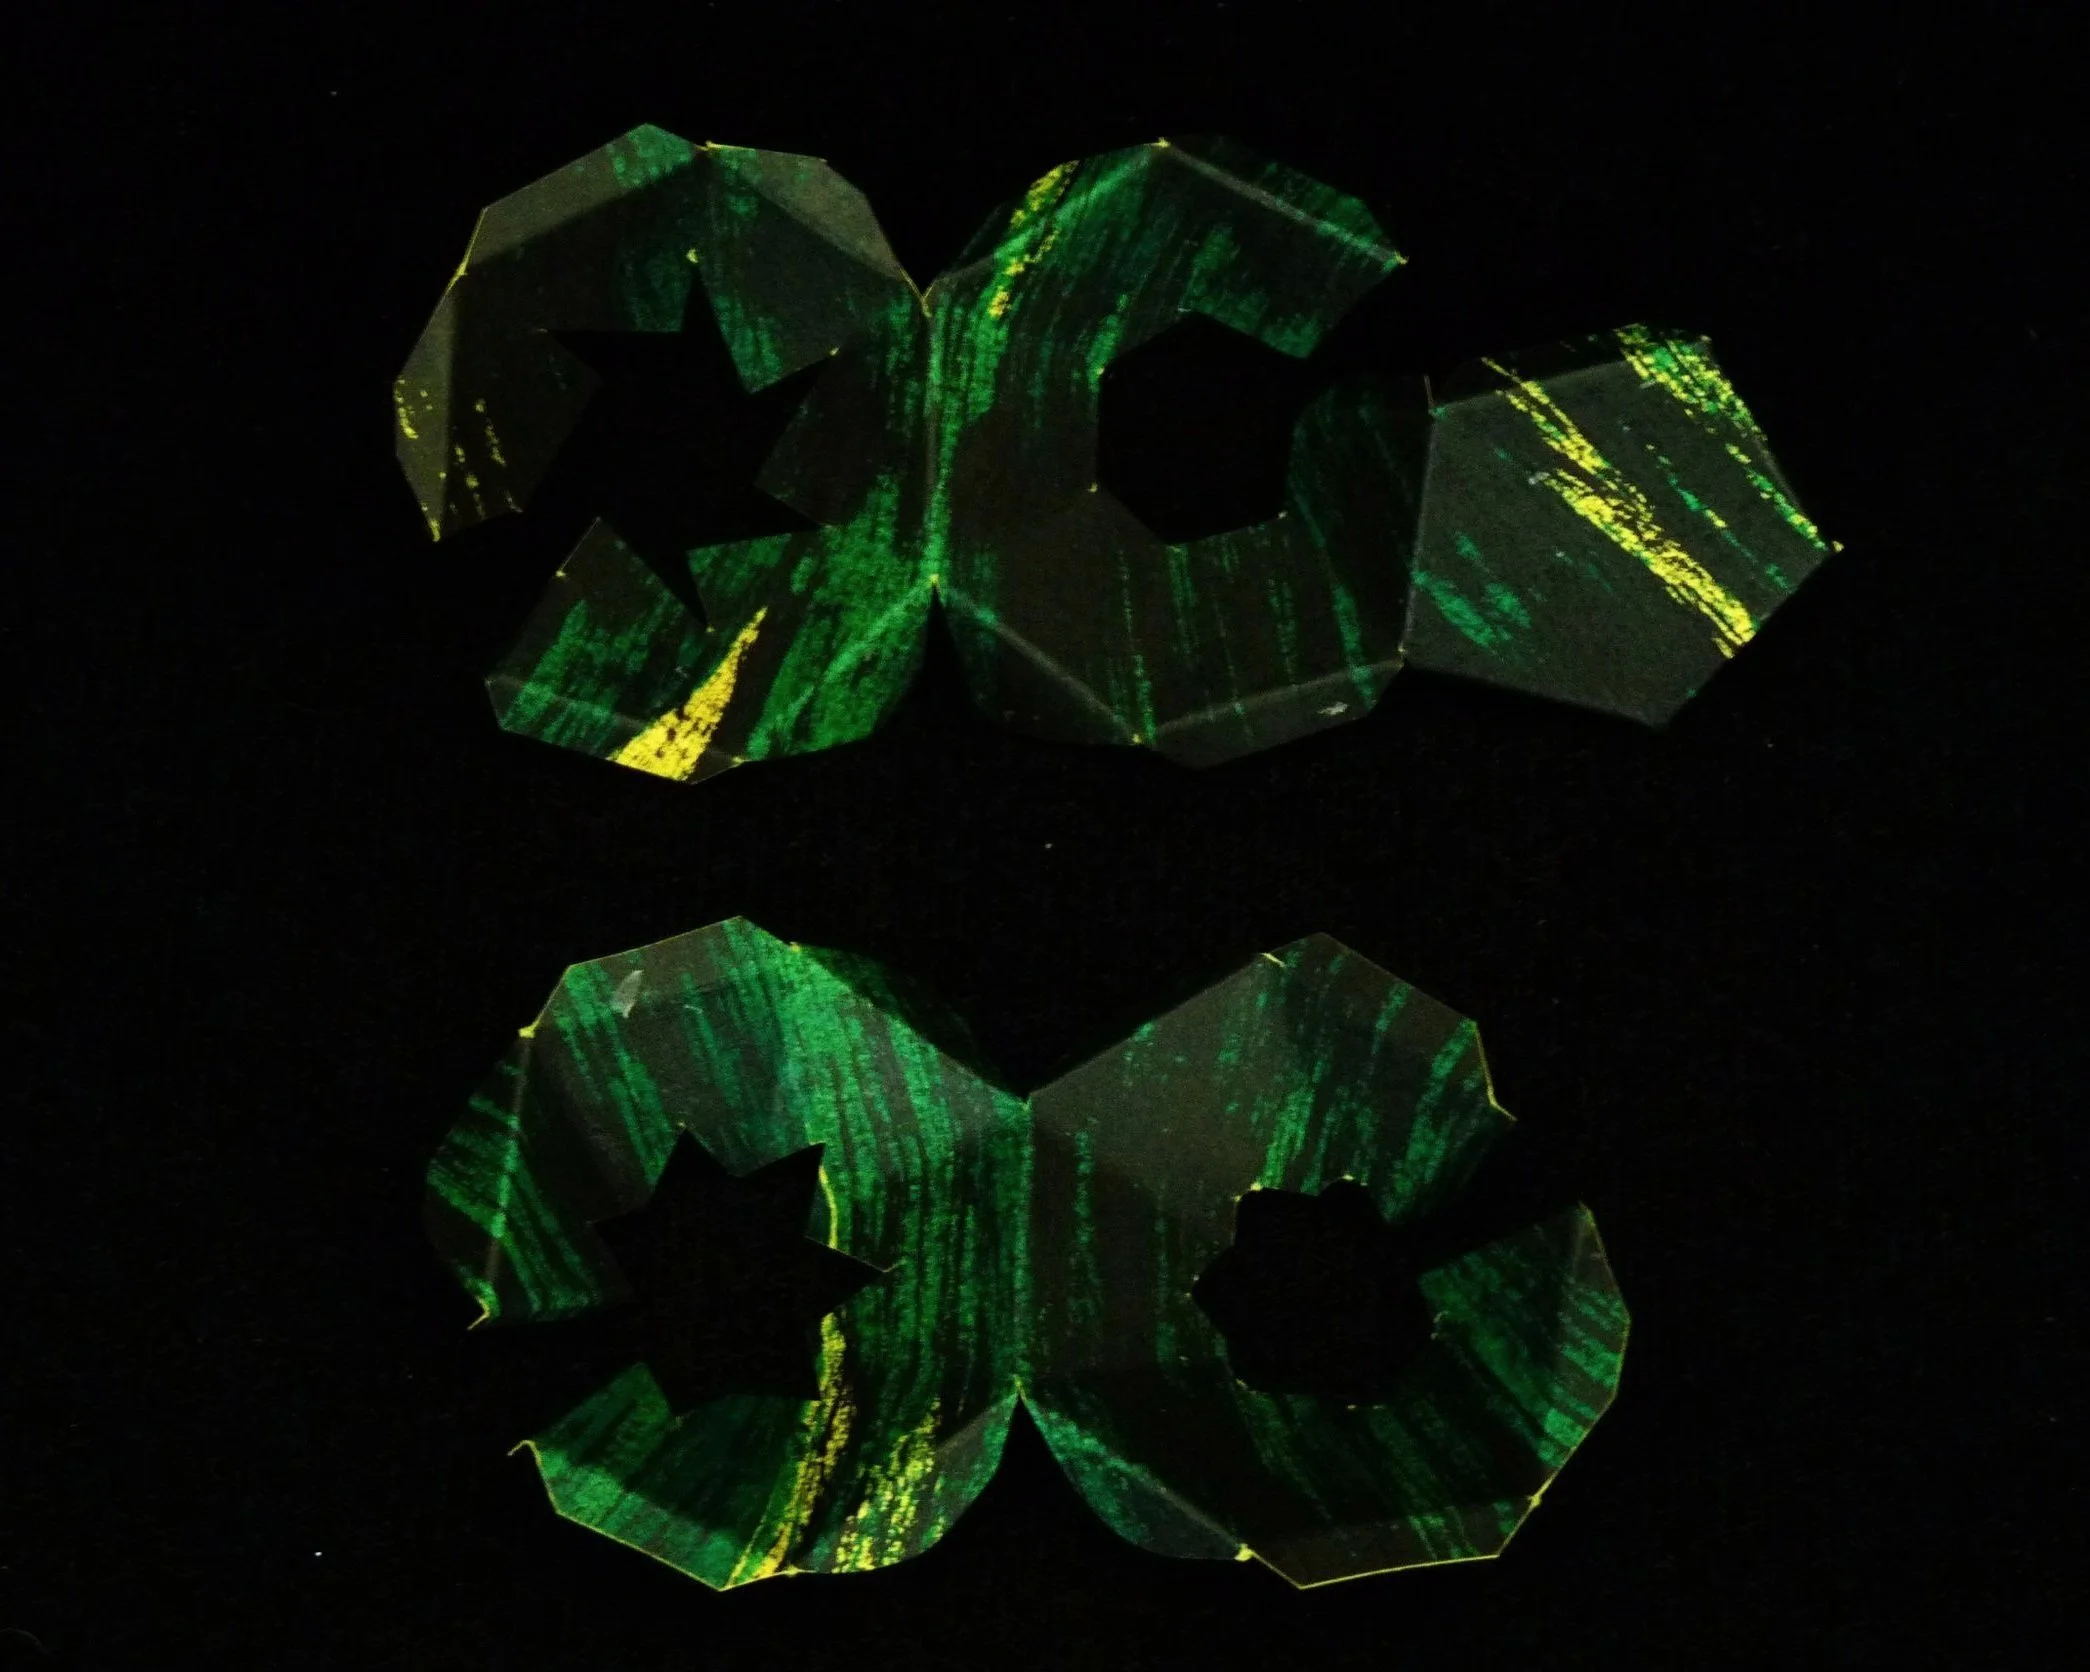
Photo 2. Outside of Pattern Parts 1 and 2 after Step 2
STEP 3
On all ten parts, fold all green lines as valley folds and all red lines as mountain folds. All ten pieces are folded in the same way.
Photo 3. Inside of Pattern Parts 1 and 2 after Step 3
Photo 4. Outside of Pattern Parts 1 and 2 after Step 3
Step 4
On each of the ten parts, glue Flap A to the other Flap A and Flap B to the other Flap B.
Photo 5. Inside of Pattern Parts 1 and 2 after Step 4
Photo 6. Outside of Pattern Parts 1 and 2 after Step 4
Step 5
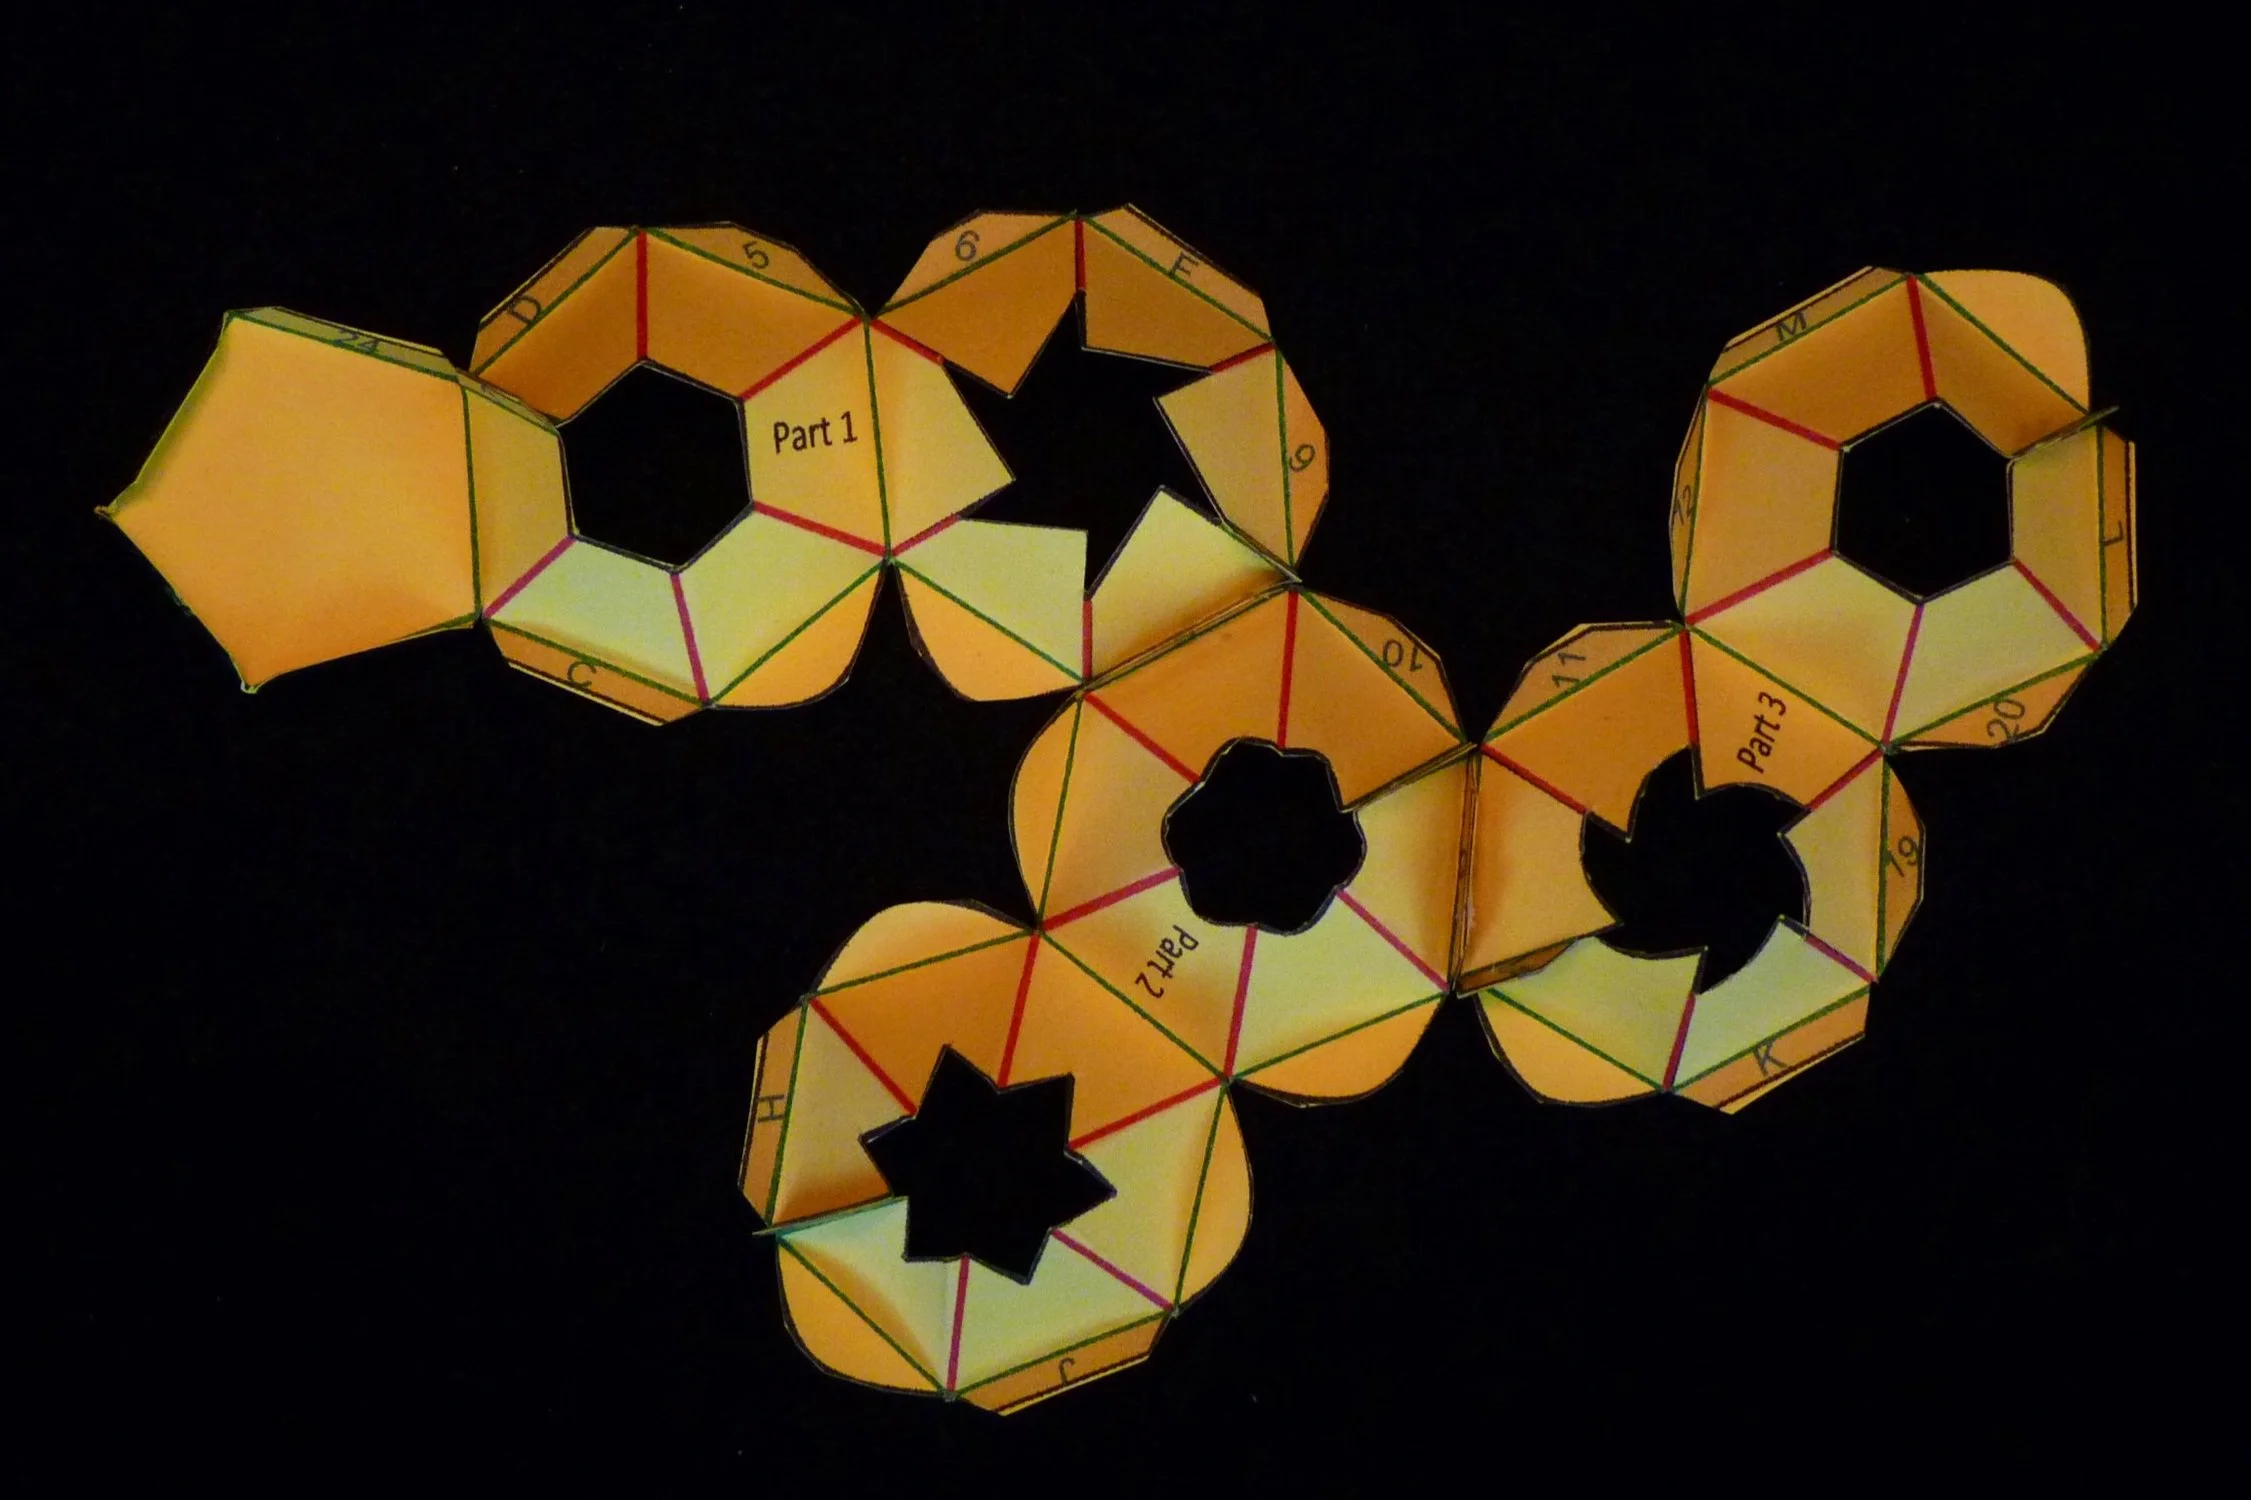
Connect Parts 1, 2, and 3. Glue Flap E on Part 1 to Flap E on Part 2; and then glue Flap G on Part 3 to Flap G on Part 2.
Photo 7. Inside of Project after Step 5
Photo 8. Outside of Project after Step 5
Step 6
Next connect Parts 4, 5, and 6 to the project. Glue Flap K on Part 4 to Flap K on the previously assembled project. Glue Flaps J and N on Part 5 to Flaps J and N on the project. Glue Flaps C, H, and Q on Part 6 to Flaps C, H, and Q on the project.
Photo 9. Inside of Project after Step 6
Photo 10. Outside of Project after Step 6
Step 7
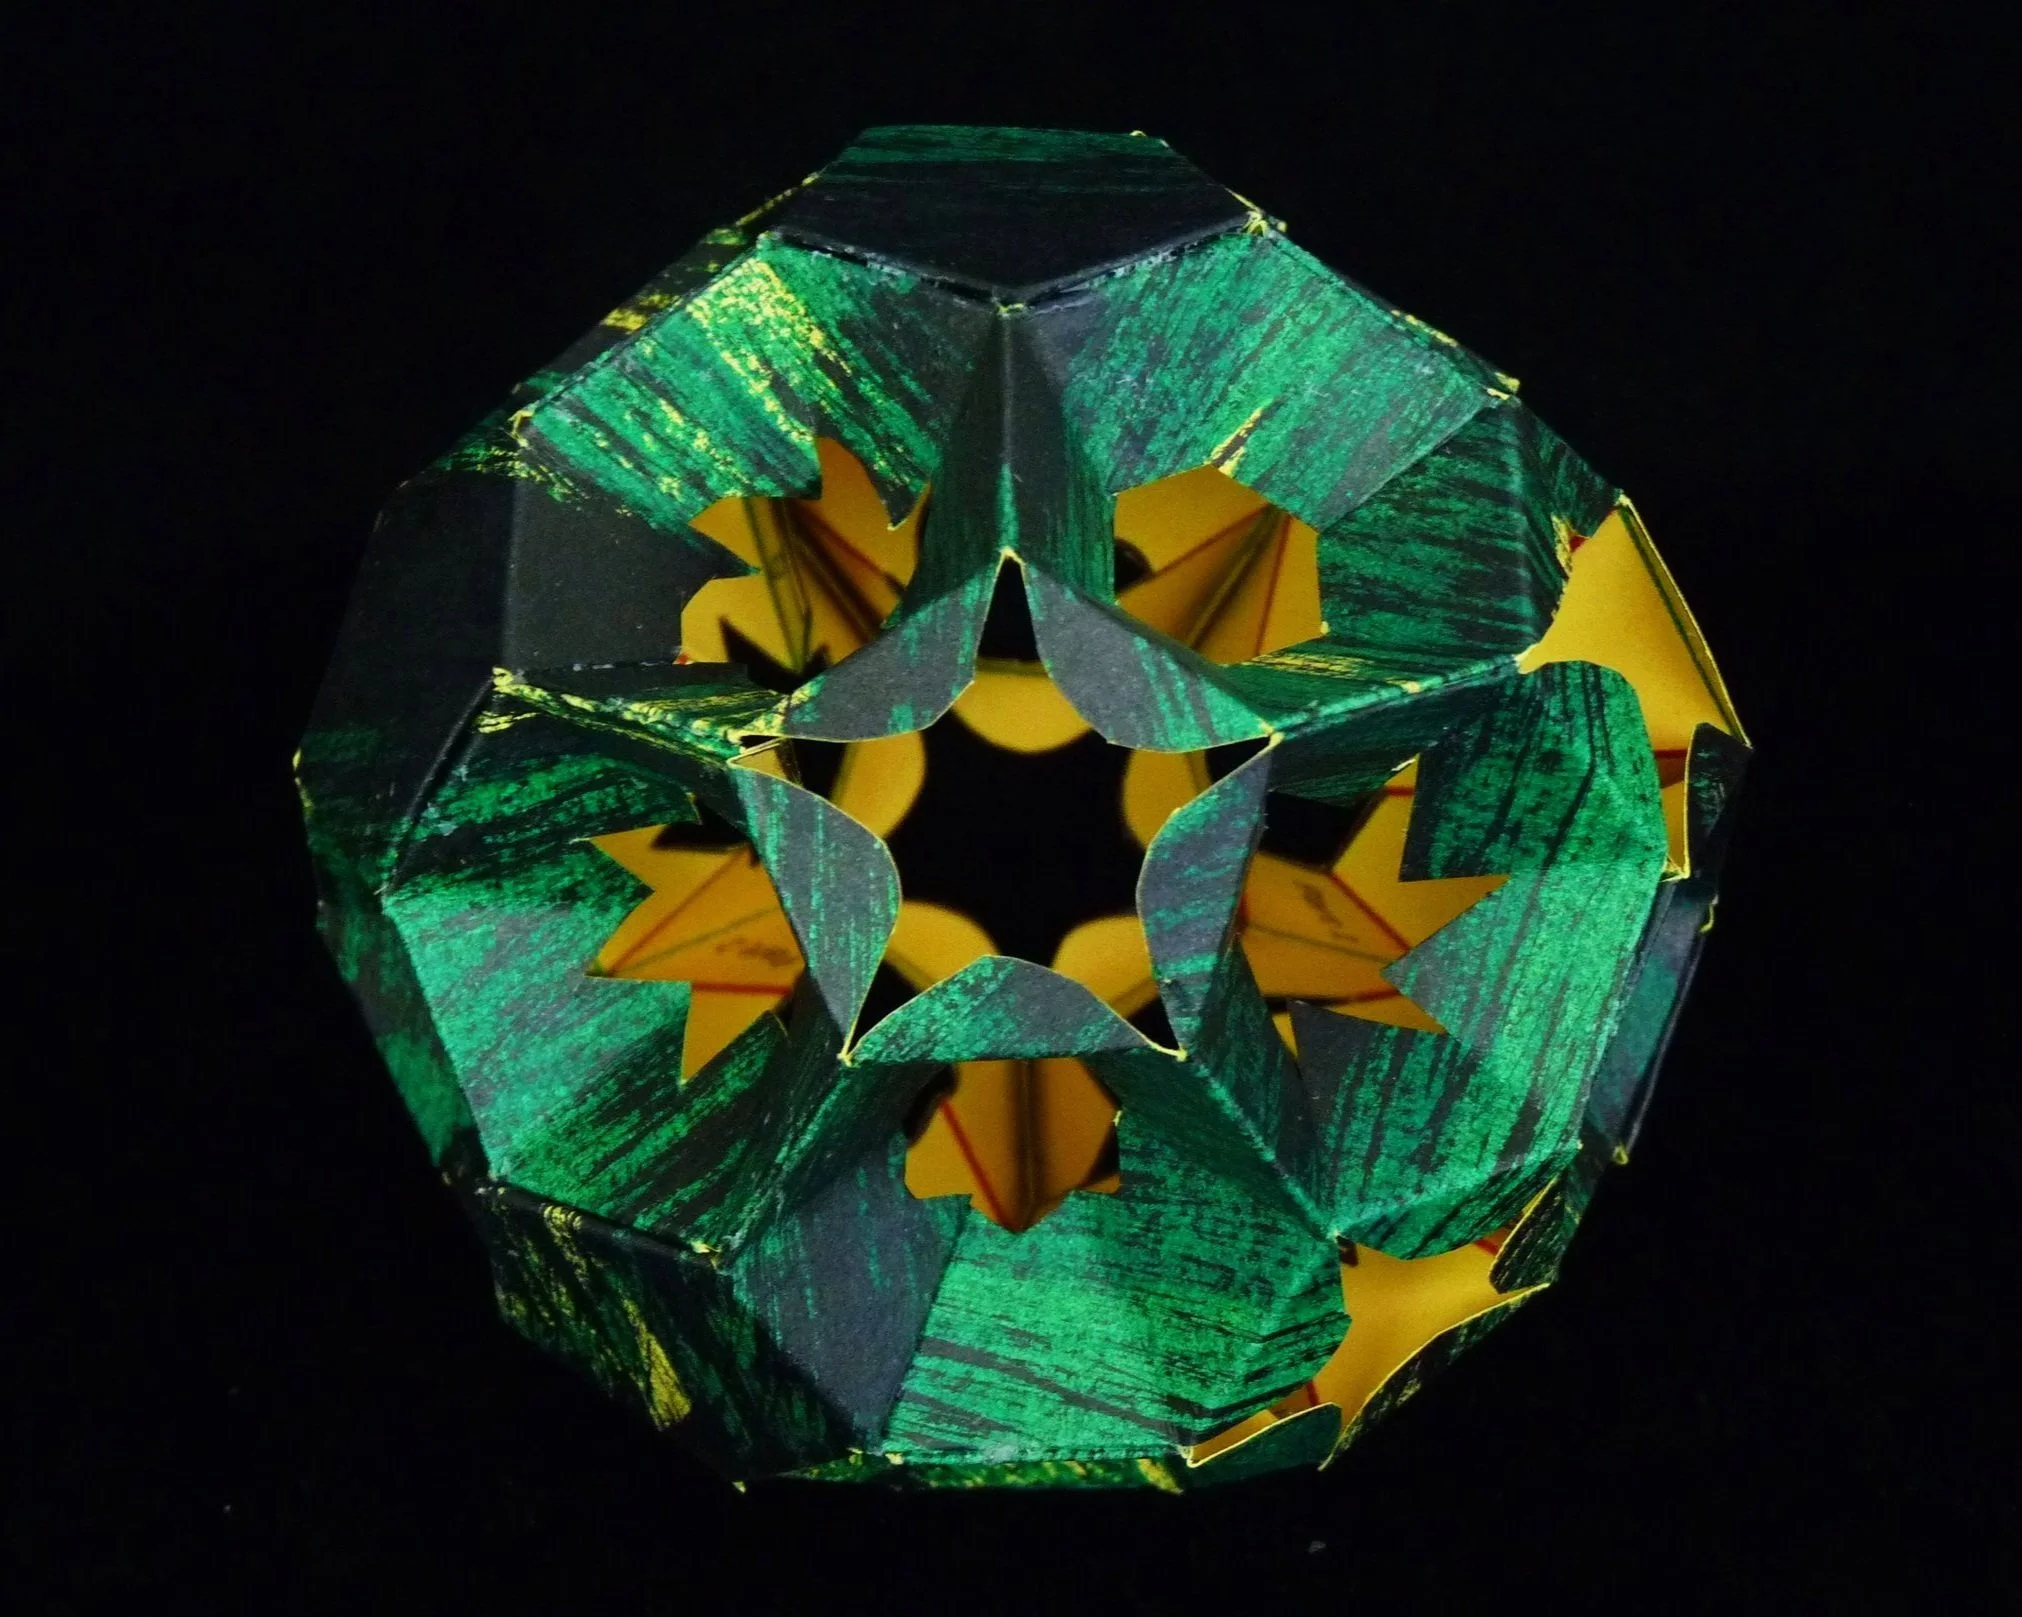
Complete the project by attaching Parts 7, 8, 9, and 10. Glue Flaps D and S on Part 7 to the similarly labelled flaps on the project; then glue down Flaps 21, 22, 23, and 24 on Part 1. Glue Flaps T, R, O, 1, 2, 3, and 4 on Part 8 to the similarly labelled flaps on the project; then glue down Flaps 13, 14, 15, and 16 on Part 7. Glue Flaps L, P, V, 17, 18, 19, and 20 on Part 9 to the similarly labelled flaps on the project. Glue Flaps F, M, U, W, 9, 10, 11, and 12 on Part 10 to the similarly labelled flaps on the project; then glue down Flaps 5, 6, 7, and 8 on Part 7.
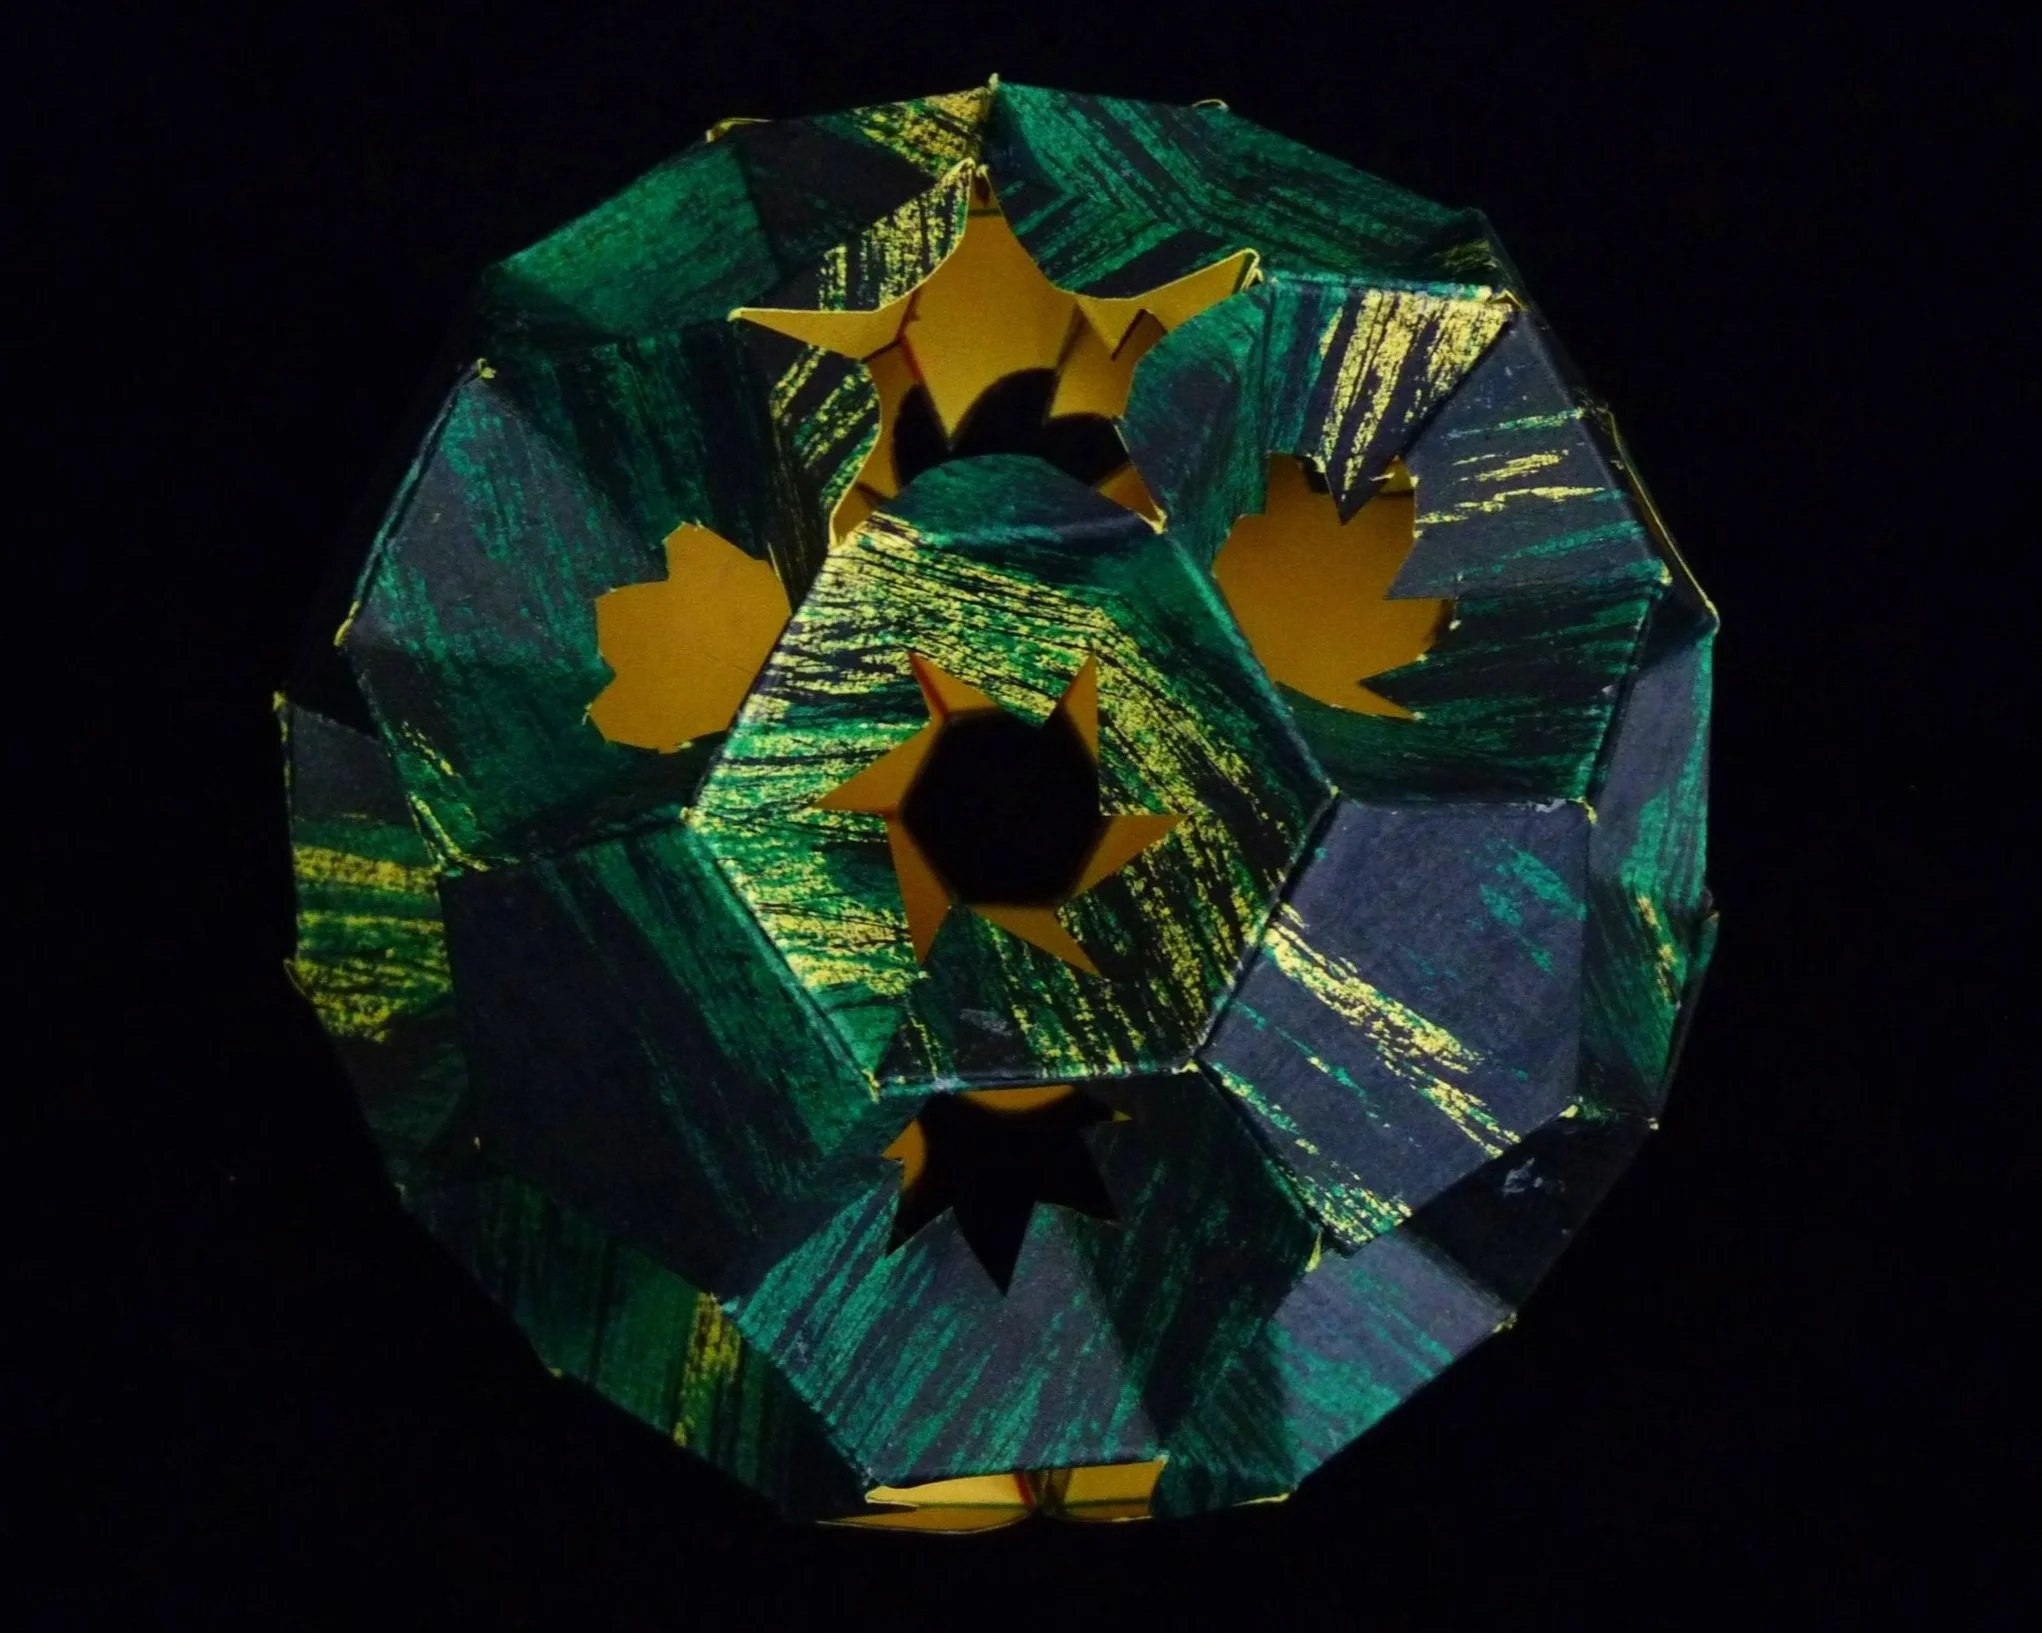
Photo 11. Completed Black Hole Project - View 1
Photo 12. Completed Black Hole Project - View 2
Photo 13 . Completed Black Hole Project - View 3
This Black Hole is in the form on a truncated icosahedron. You will see that there are five different types of hexagonal funnels and that each pentagon is surrounded by one of each type (see Photos 11 and 12).
