3-D Plus
3-D Plus one, 3-D Plus two; could this be the gateway to the fourth and fifth dimensions?

Project Info
Paper required: One sheet 8 1/2 inch x 11 inch (or A4)
Finished Project size: 3.5 inches (9 cm)
Difficulty Level: beginner
INSTRUCTIONS
STEP 1
Print the 3-D Plus pattern onto the paper of your choice.
Read the pattern key included in the General Instructions.
Step 2
Cut on the black lines around the outside of each of the six pattern pieces. Next cut the two black lines within each diamond by starting the cut between the C Glue Flaps. (I used white paper for this example that I “tie-dyed” myself, plenty of instructions on the internet, if you want to try it.)

Photo 1. After Step 2, Outside Cuts

Photo 2. After Step 2, With Inside Cuts Added
STEP 3
On each of the six pattern pieces, fold all green lines as valley folds.

Photo 3. Outside and Inside of Pattern Pieces after Step 3
Step 4
Form each pattern piece into a box shape by gluing Flap A to Flap B.

Photo 4. Two pattern pieces after Step 4
Step 5
Connect two of the parts together by gluing any two Glue Flaps C’s on the first part to any two Glue Flap D’s on the second part.
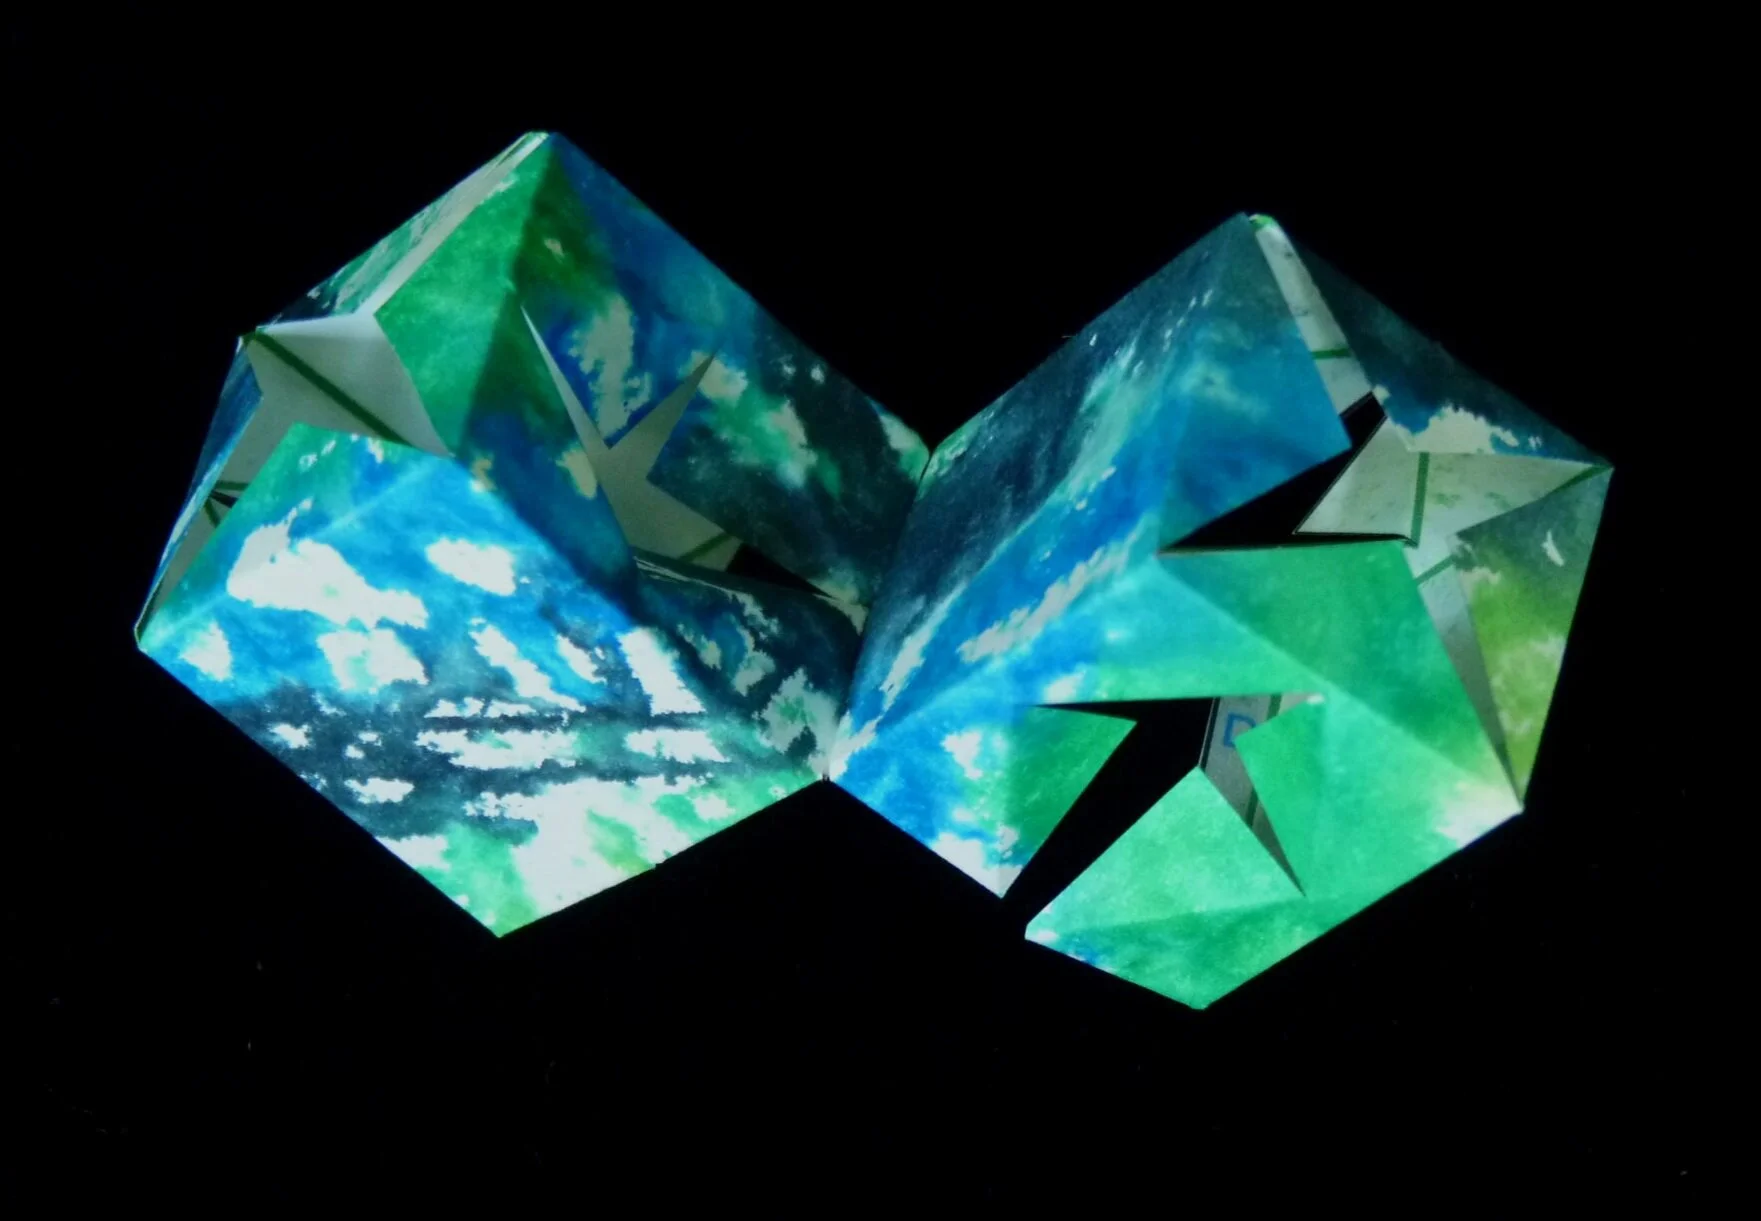
Photo 5. Two Parts Connected after Step 5
Step 6
Connect the third part to the project by gluing any two Glue Flap C’s on the third part to an two Glue Flap D’s on the first part, and by gluing two Glue Flap D’s on the third part to the adjacent two Glue Flap C’s on the second part. I found it easier to to glue one flap at a time, even though there are always two flaps to be connected.

Photo 6. Three parts connected after Step 6
Step 7
Connect the fourth part to the project by gluing any two Glue Flap C’s on the fourth part to two Glue Flap D’s on the second part, and by gluing two Glue Flap D’s on the fourth part to the adjacent two Glue Flap C’s on the third part.

Photo 7. Four Parts Connected after Step 7
Step 8
Complete the project by attaching the fifth and sixth parts. Connect the fifth part to the first, third, and fourth parts; connect the sixth part to the first, second, fourth, and fifth parts. For each connection, always glue two Flaps C’s to two Flap D’s.

Photo 8. Completed 3-D Plus

Photo 9. Completed 3-D Plus, Another View
Another Example
A second example of the 3-d Plus project.
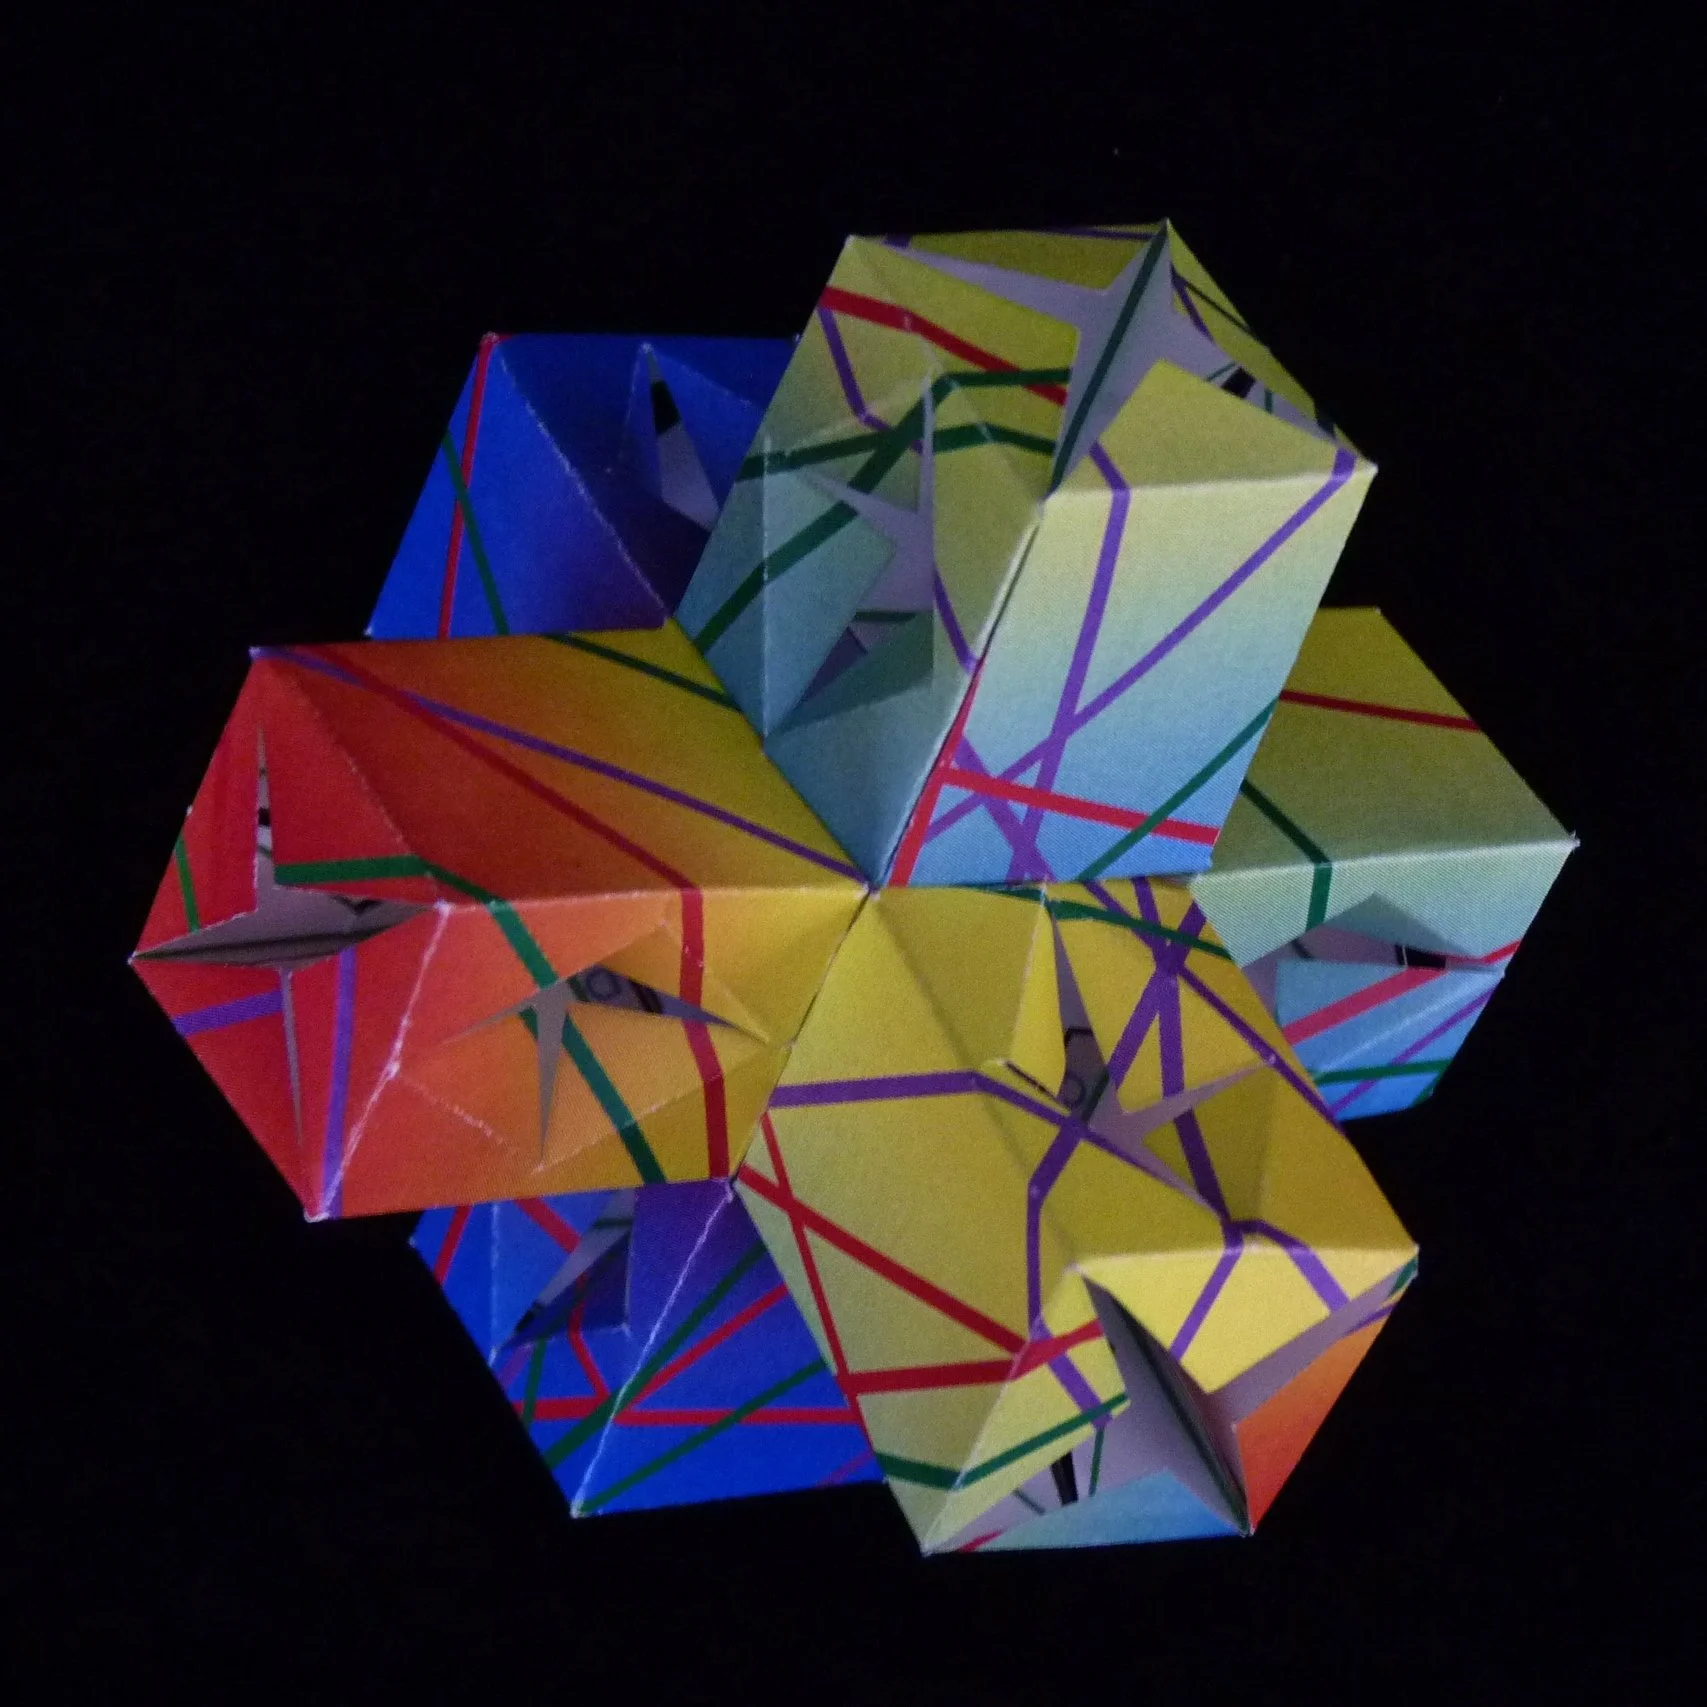
Photo 10. Another Completed 3-d Plus Project
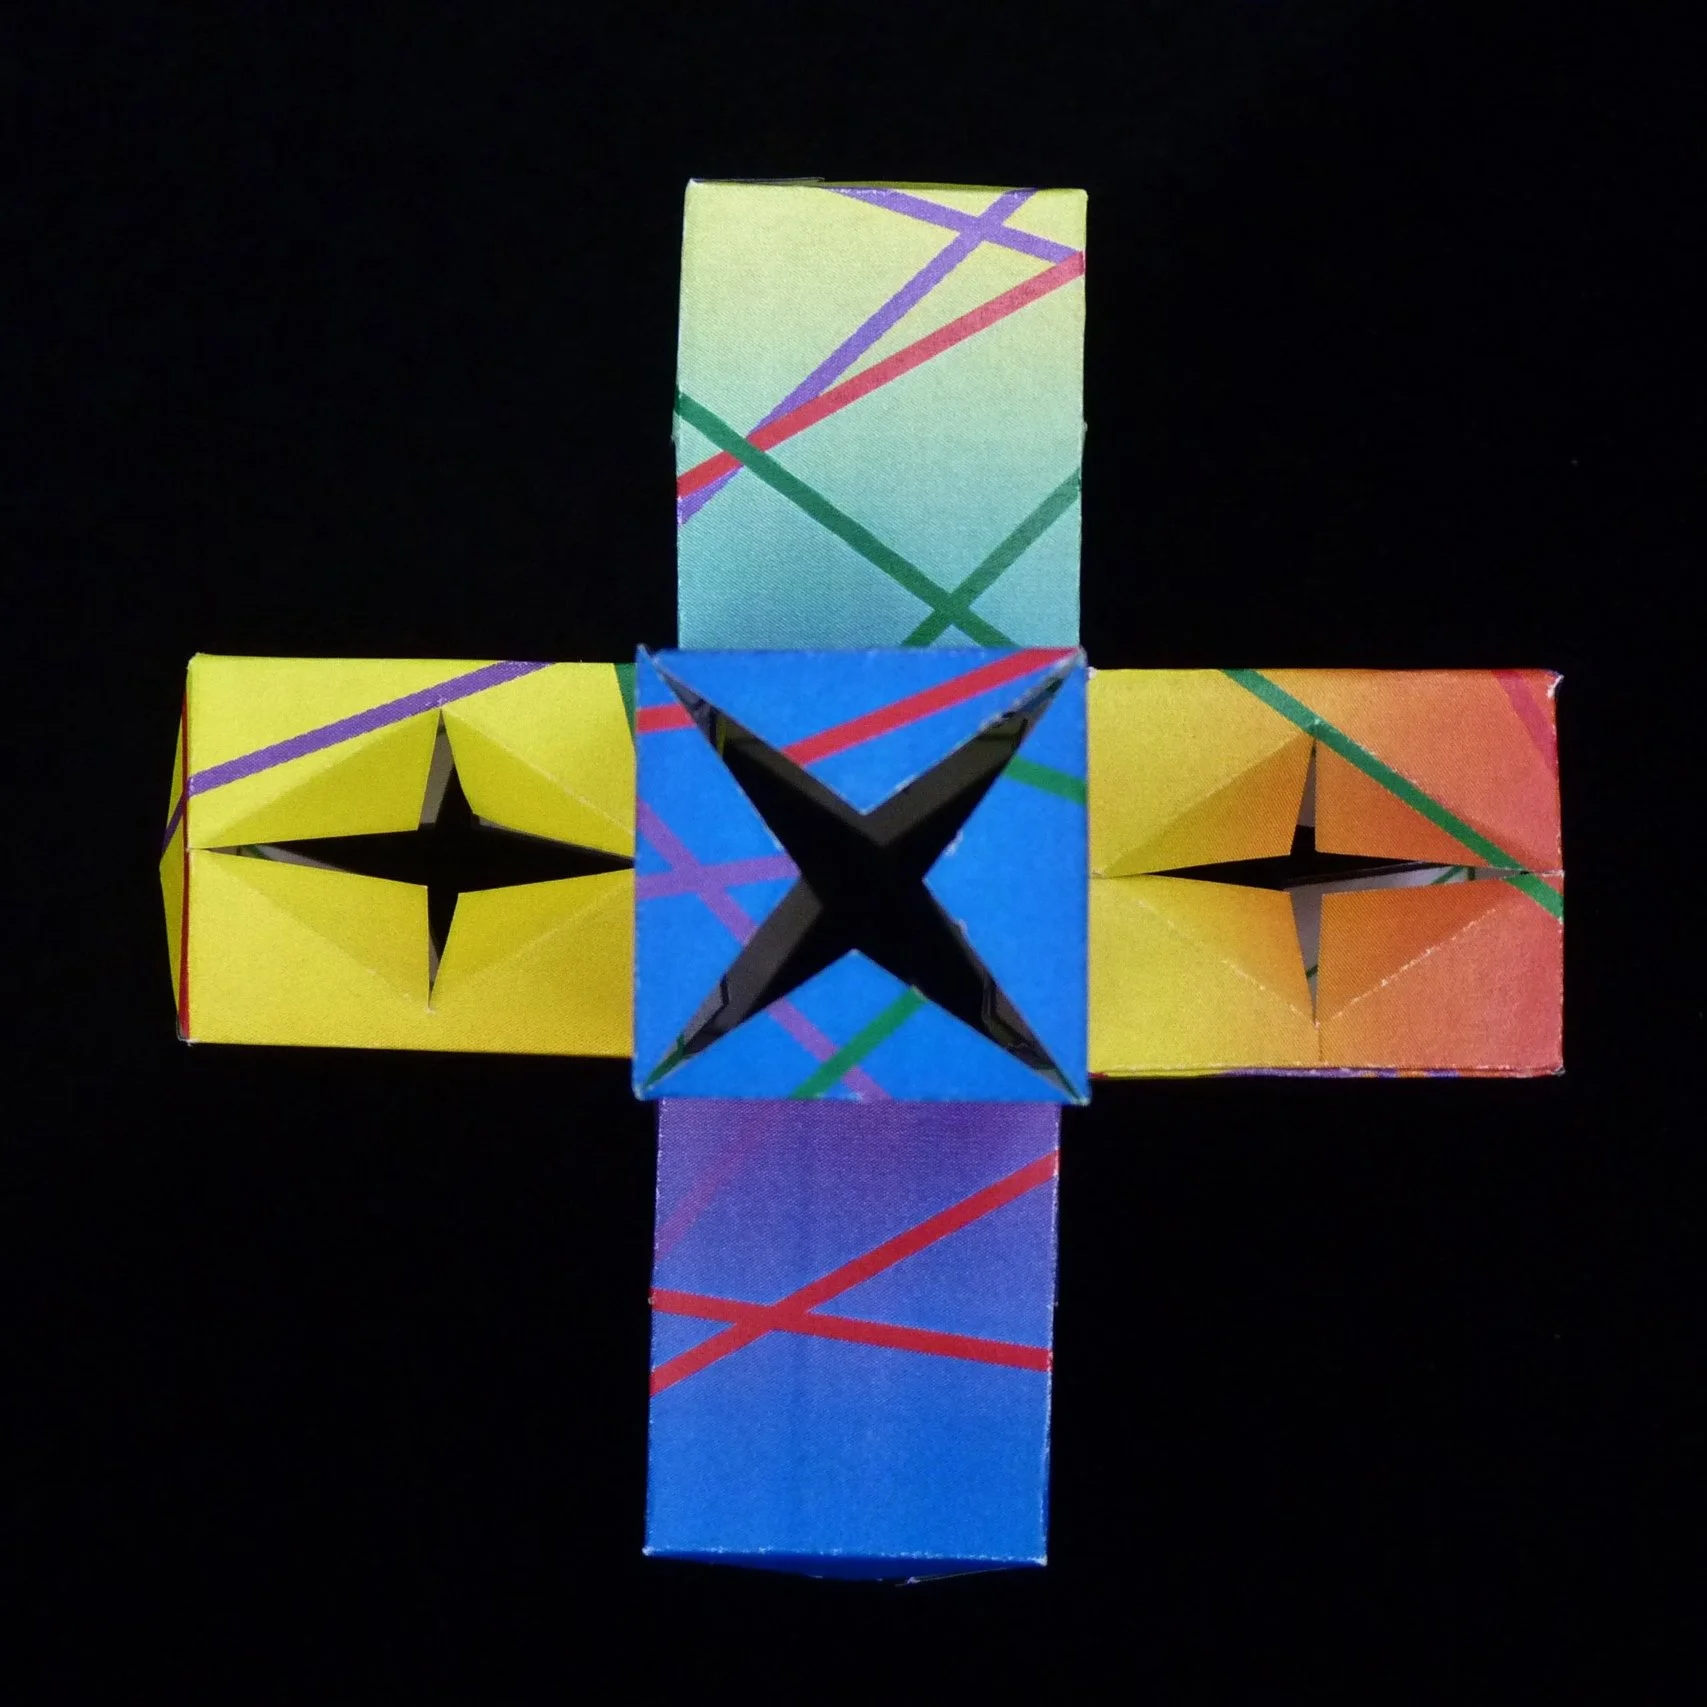
Photo 11. Second View of Another Completed 3-d Plus Project